In this guide, i’ll explan How to disassemble Toshiba Portégé Z30-A
to remove and replace battery, SSD, keyboard, Wireless ALN card, RAM,
heatsink and cooling fan, speaker and motherboard.
Toshiba Portégé Z30-A teardown step:
Remove all screws from bottom case.
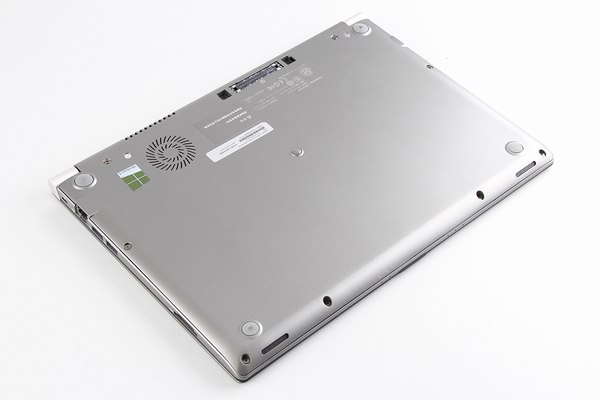
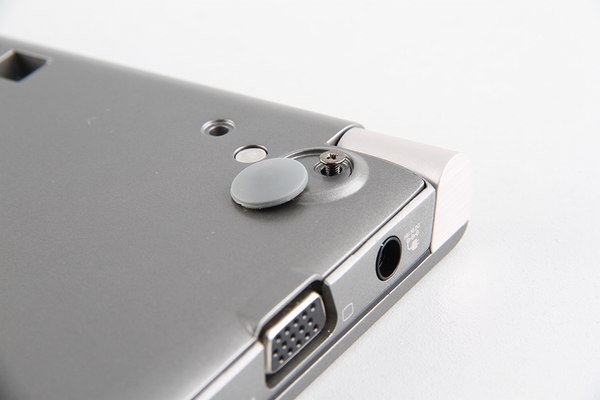
Some screws hidden under plastic mat.
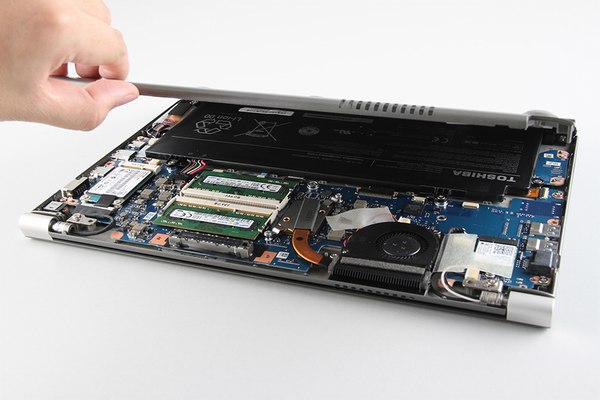
open the bottom case.
the bottom case has removed.
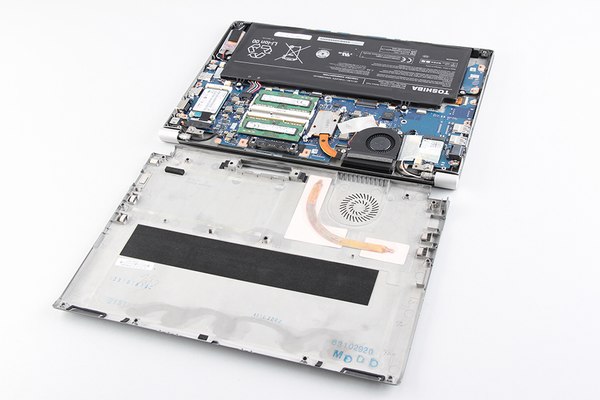
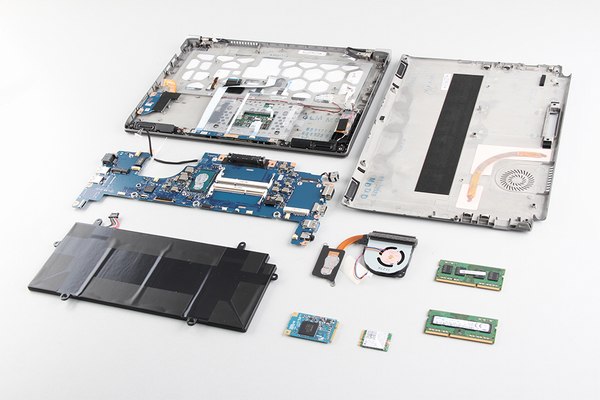
now we can get access the battery, wireless card, ssd, heatsink and cooling fan. remove four screws securing the battery, then remove the battery.
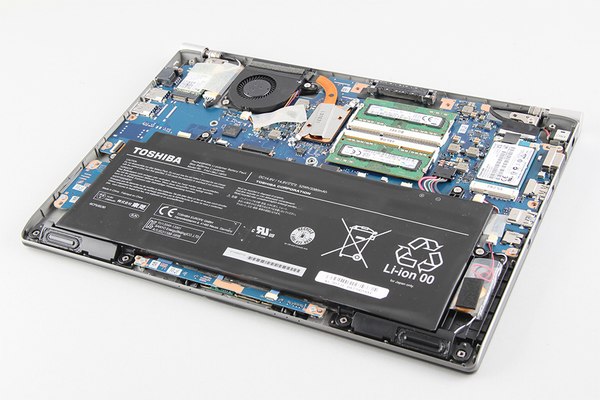
Toshiba Portégé Z30-A using a 14.8v, 52wh li-ion battery.
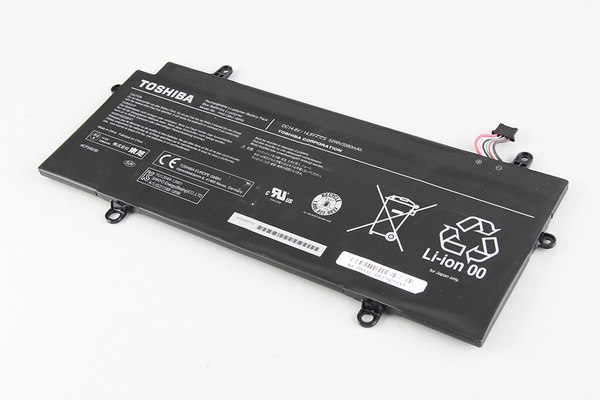
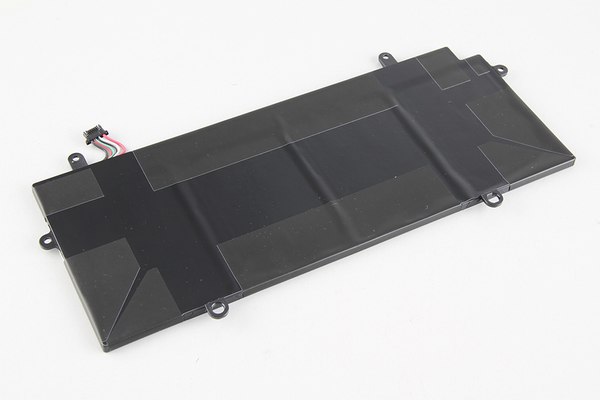
remove two ram memory.
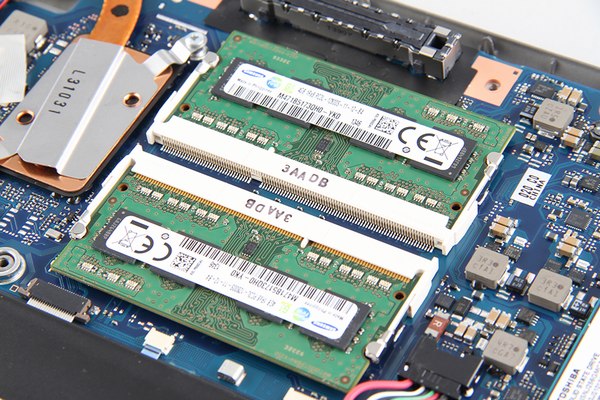
two samsung 4GB ram memory.
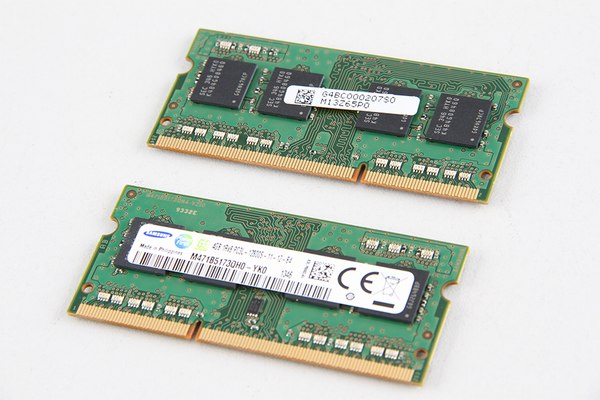
remove two screws securing the ssd, then remove it.
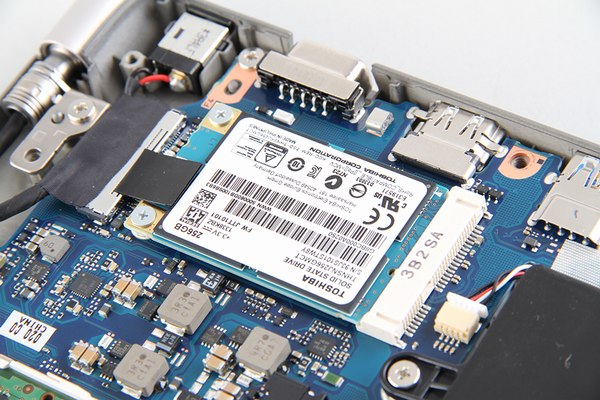
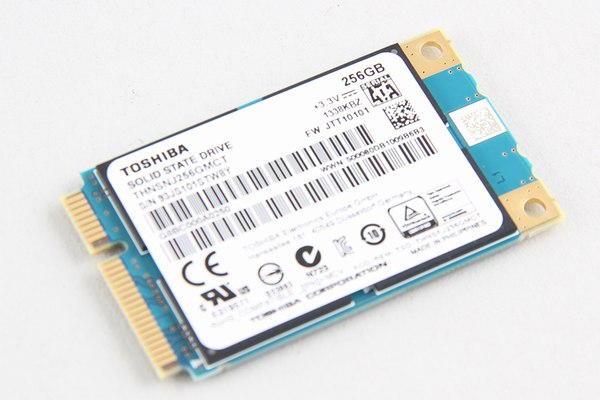
toshiba 256GB ssd.
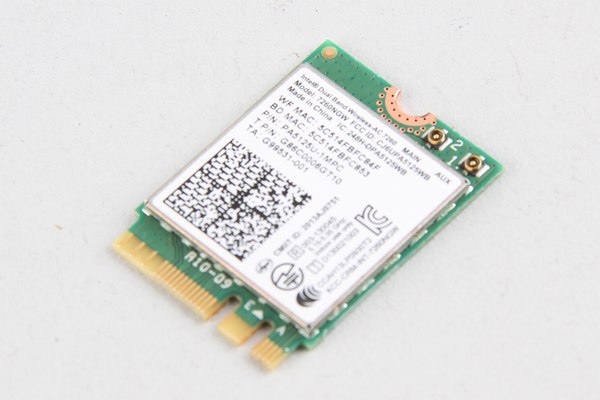
disconnect two antenna, remove one screw, then remvoe the wireless card.
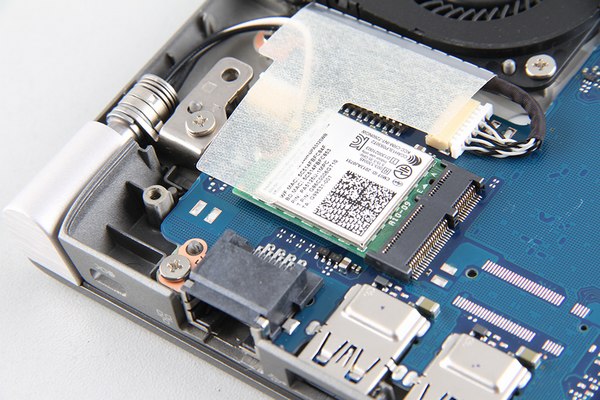
intel dual band wireless-ac 7260 card.
remove two screws securing the heatsink, remove two screws securing the cooling fan, the heatsink and cooling fan can be removed.
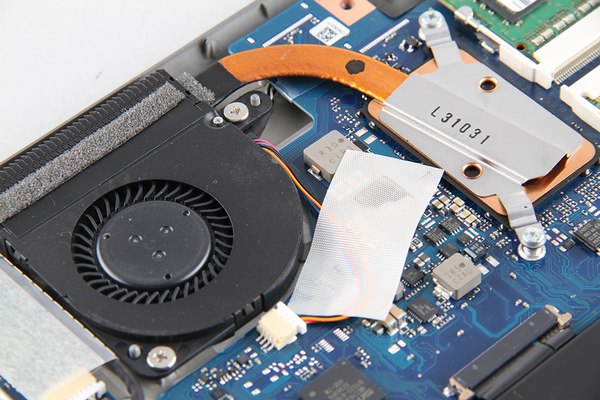
the heatsink and cooling fan
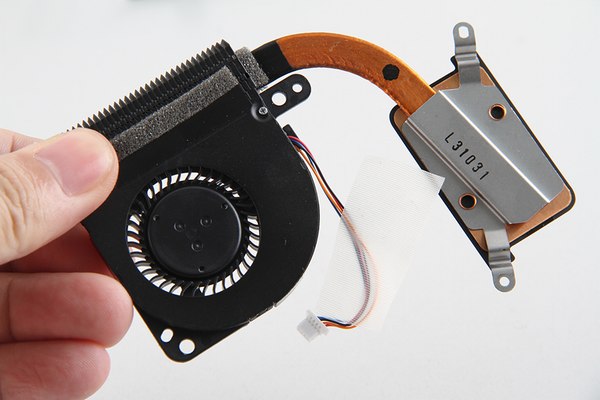
the heatsink and cooling fan
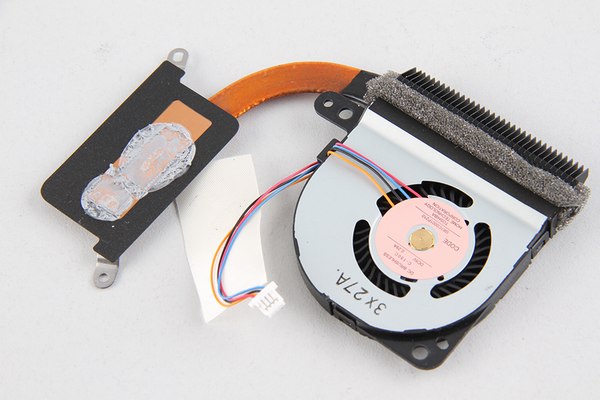
now we will remove the motherboard, disconnect the all cables from motherboard. remove the screws securing the motherboard.
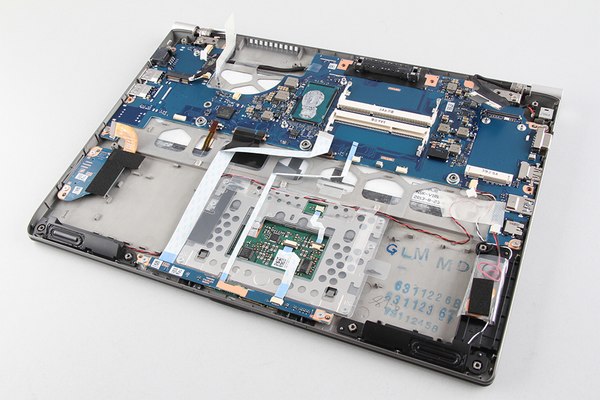
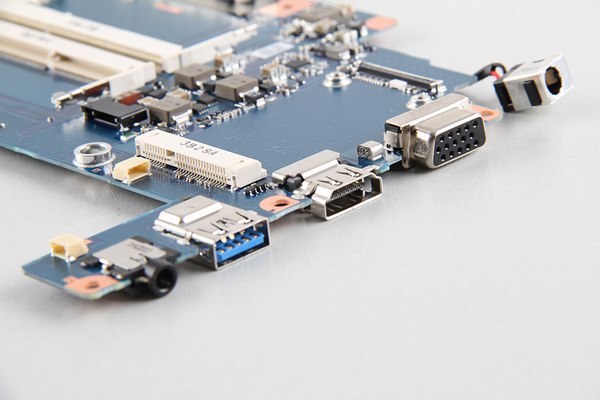
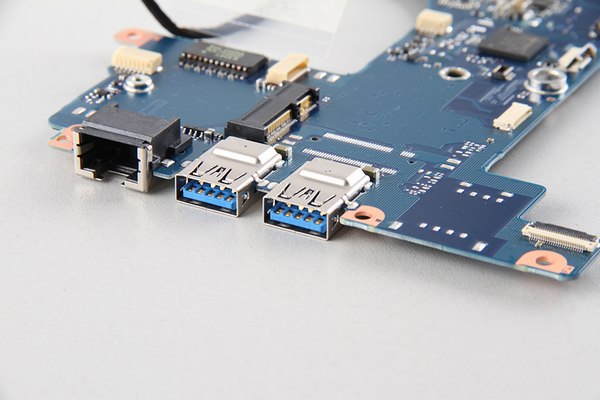
the motherboard has been removed.
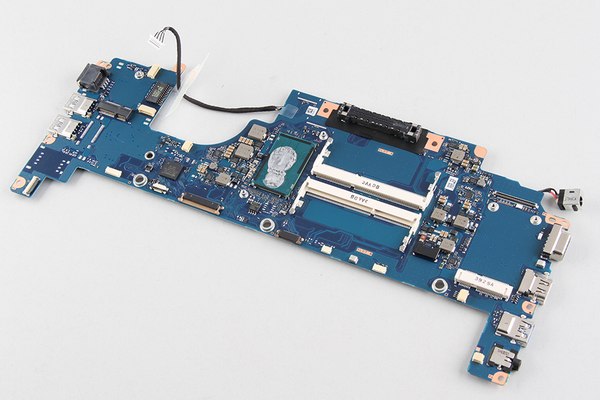
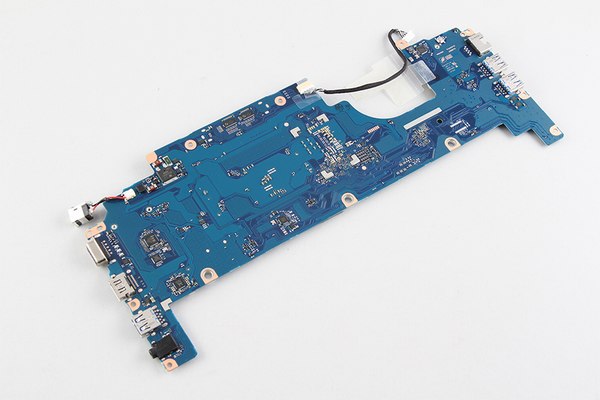
the back of the motherboard.
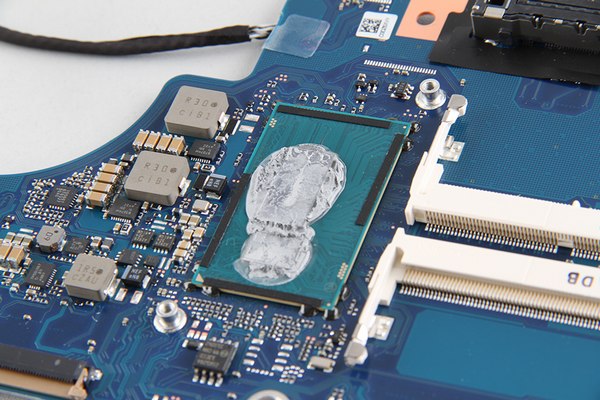
Completed..
Toshiba Portégé Z30-A teardown step:
Remove all screws from bottom case.
Some screws hidden under plastic mat.
open the bottom case.
the bottom case has removed.
now we can get access the battery, wireless card, ssd, heatsink and cooling fan. remove four screws securing the battery, then remove the battery.
Toshiba Portégé Z30-A using a 14.8v, 52wh li-ion battery.
remove two ram memory.
two samsung 4GB ram memory.
remove two screws securing the ssd, then remove it.
toshiba 256GB ssd.
disconnect two antenna, remove one screw, then remvoe the wireless card.
intel dual band wireless-ac 7260 card.
remove two screws securing the heatsink, remove two screws securing the cooling fan, the heatsink and cooling fan can be removed.
the heatsink and cooling fan
the heatsink and cooling fan
now we will remove the motherboard, disconnect the all cables from motherboard. remove the screws securing the motherboard.
the motherboard has been removed.
the back of the motherboard.
Completed..
No comments:
Post a Comment