From this artcile, you will know how to remove/replace battery, hard
drive, ram memory, wireless card, keyboard, fan and motherboard of Dell
Inspiron 17 7737 notebook, refer on this guide, you can upgrade, repair,
clean fan for your Inspiron 17 7737.
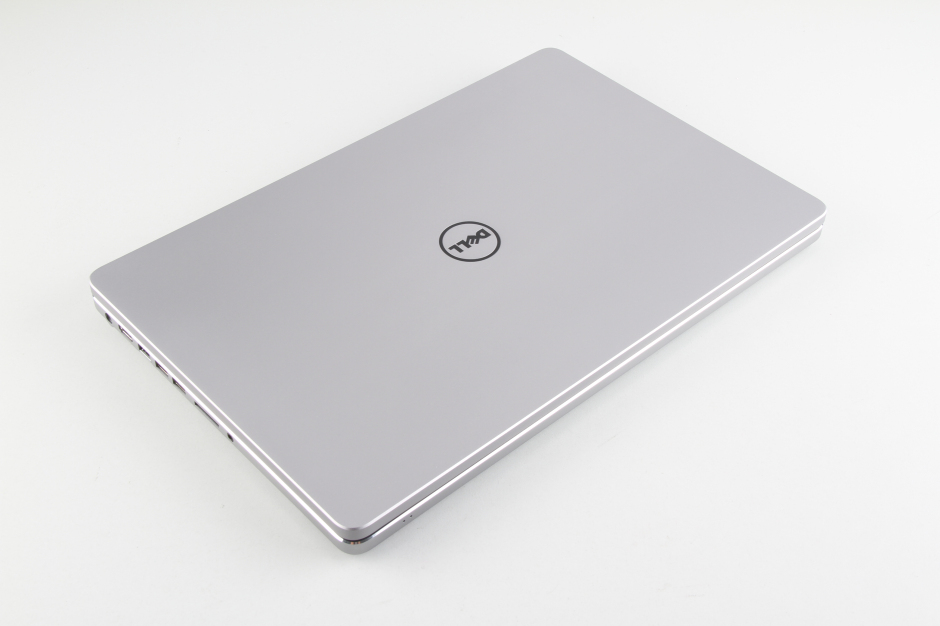
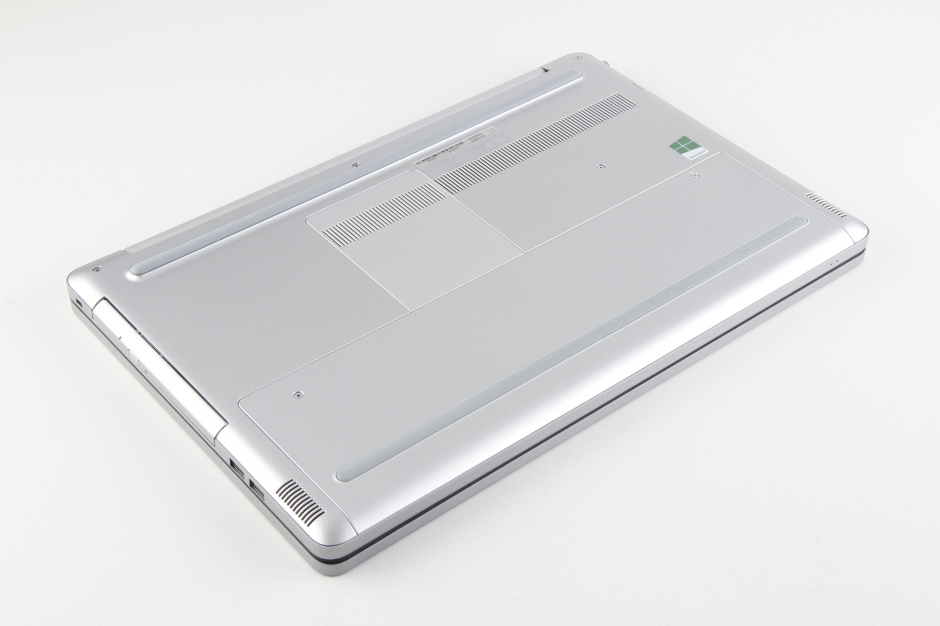
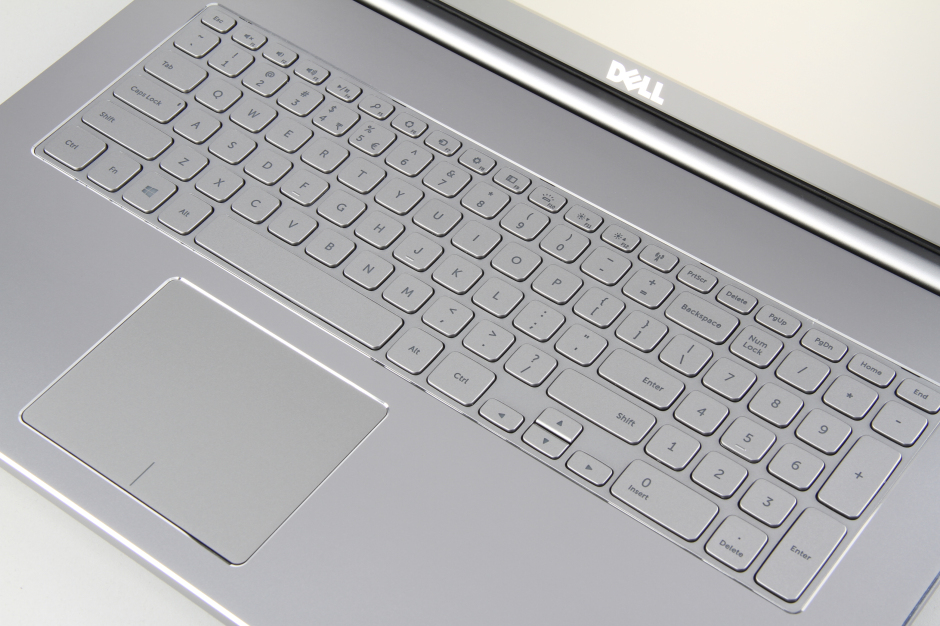
First photos of the front and back of Dell Inspiron 17 7737 notebook
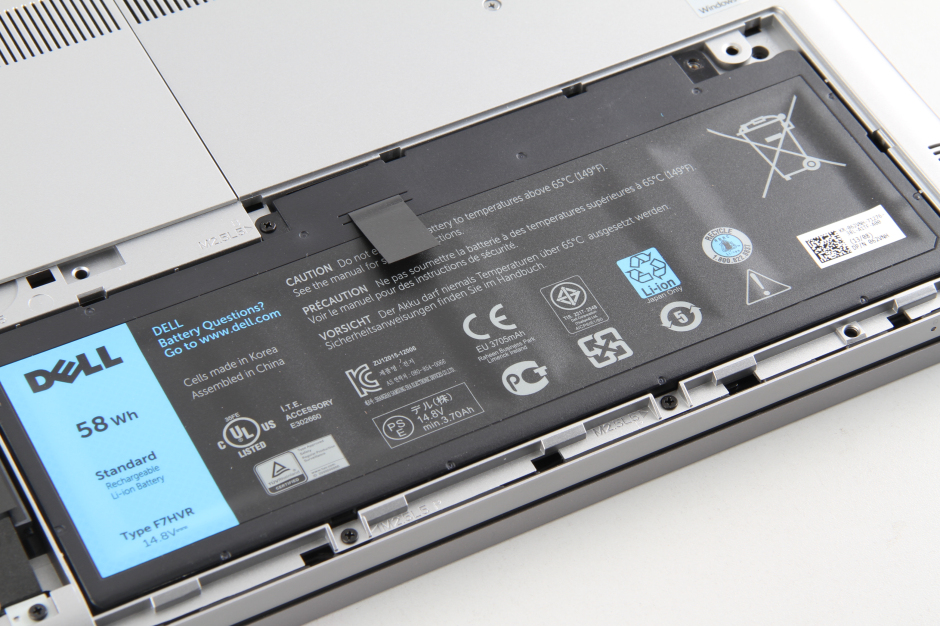
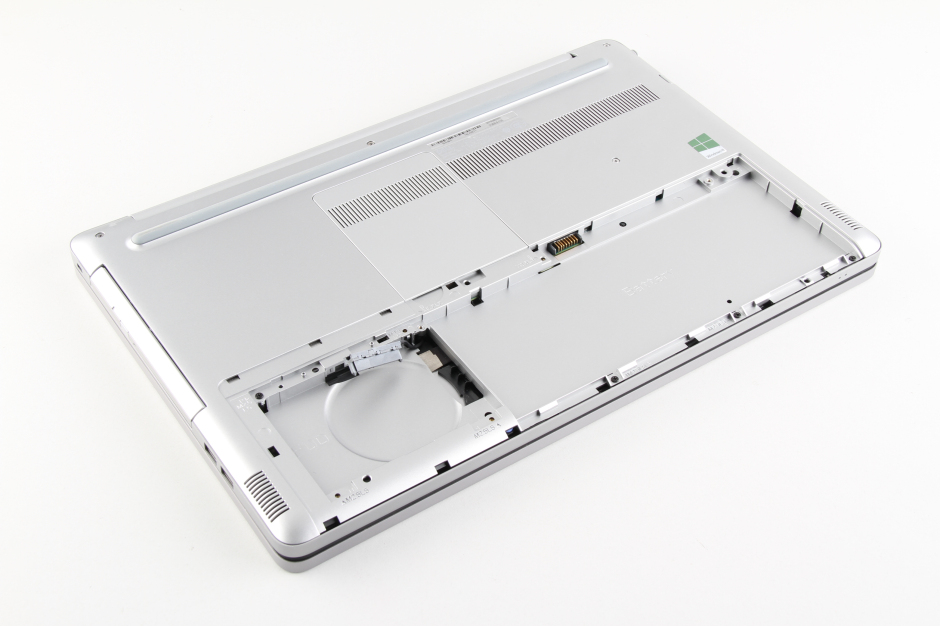
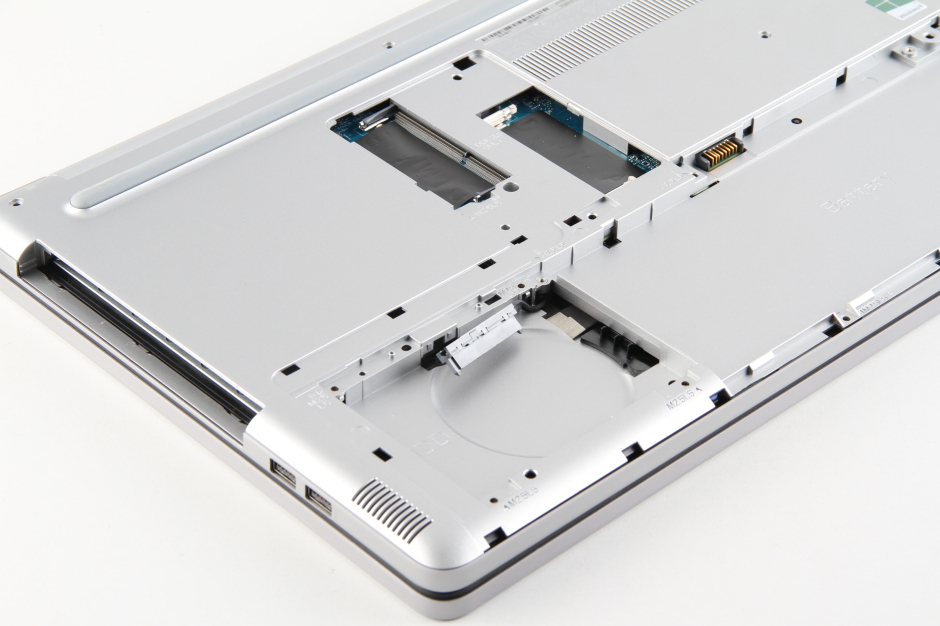
Remove the two screws to remove the back cover, you can see the battery and the hard drive
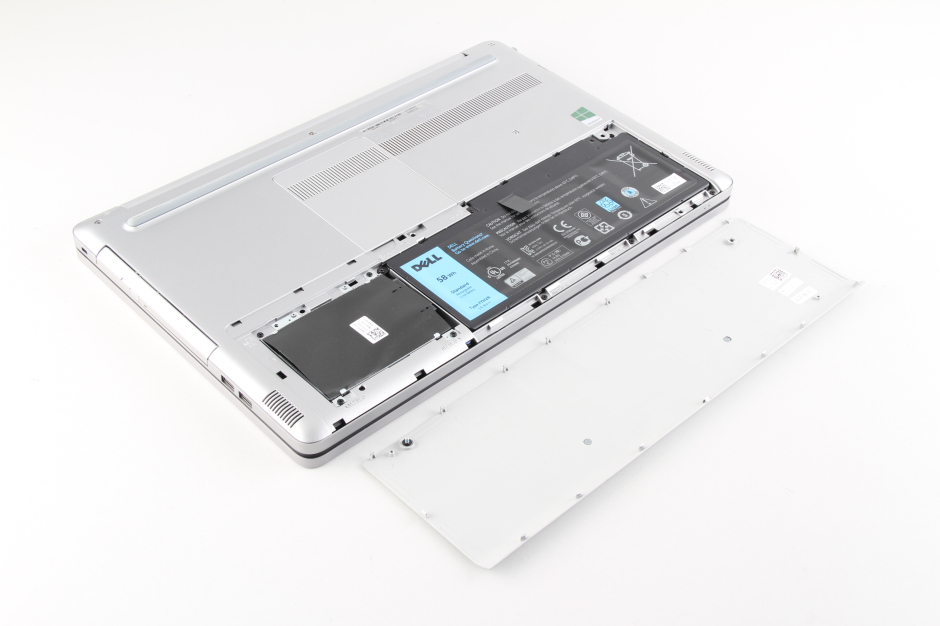
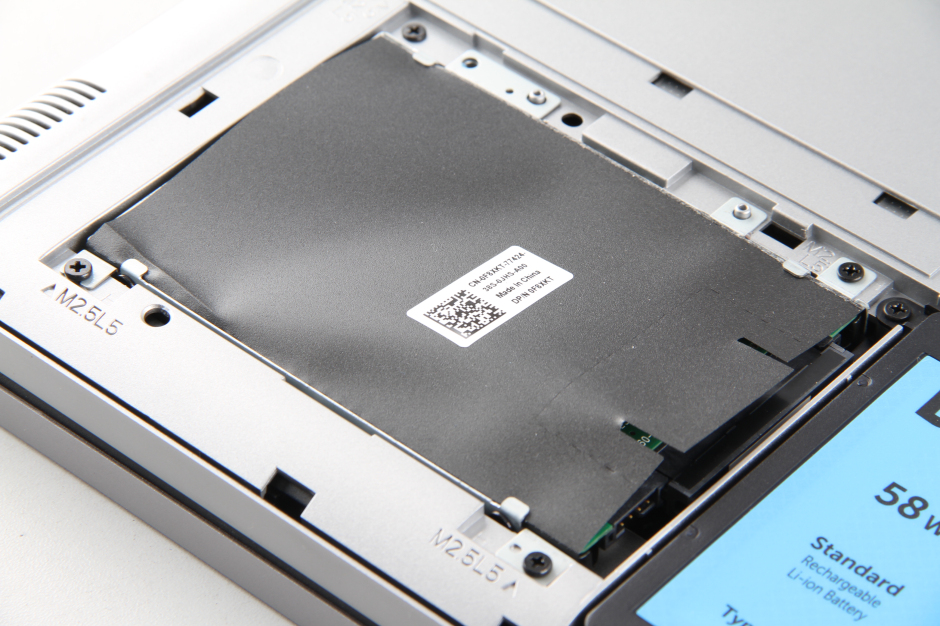
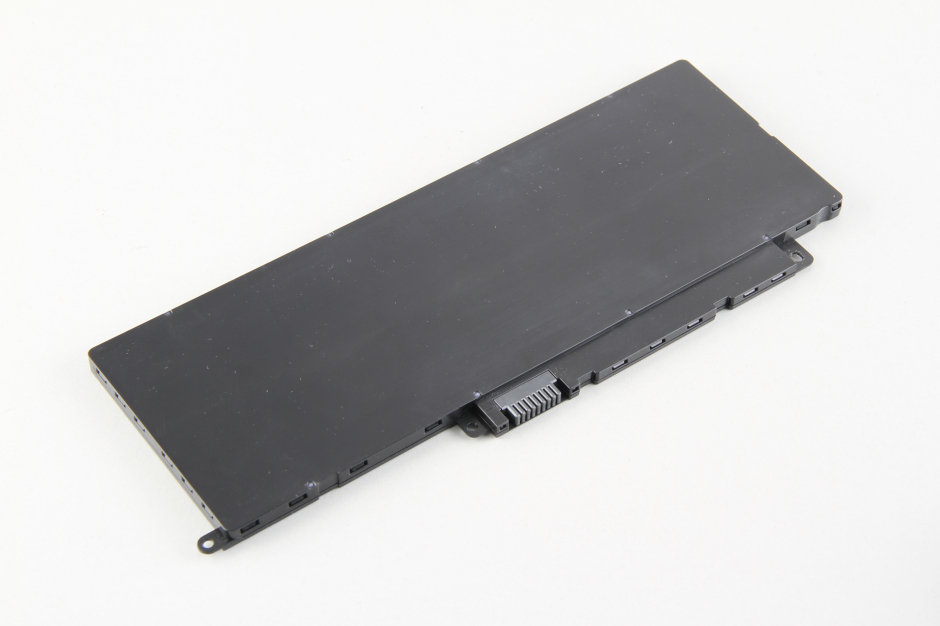
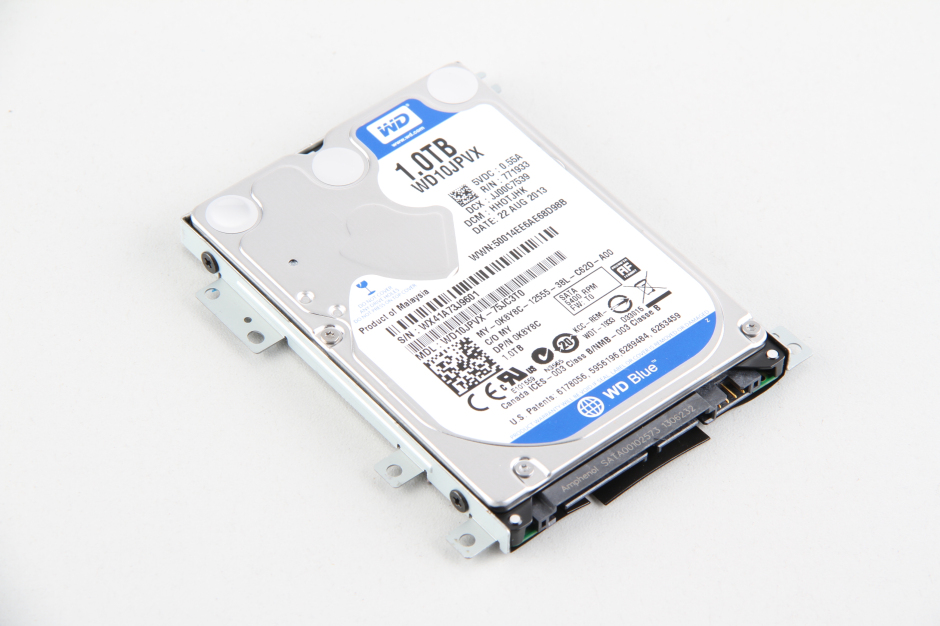
Remove the screws fixing the battery and the hard drive to remove them, to remove the hard drive, you also need to disconnect the connector

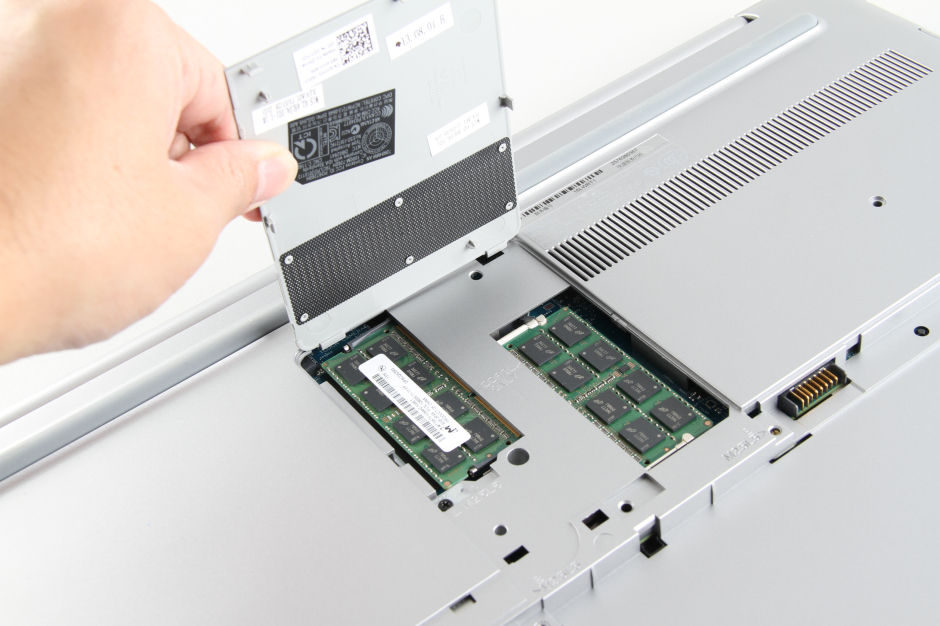
Unscrew the screw to remove the memory access door
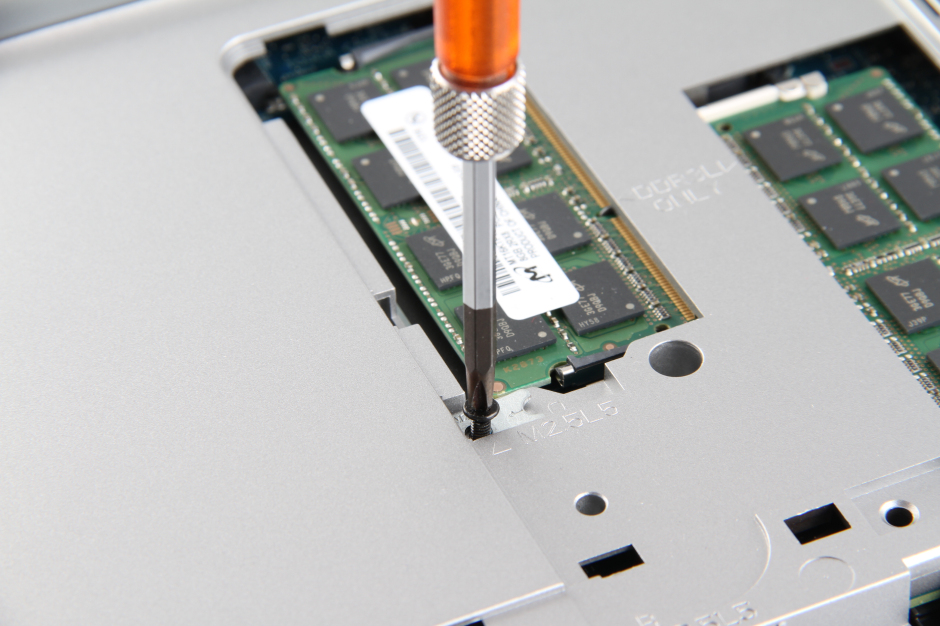
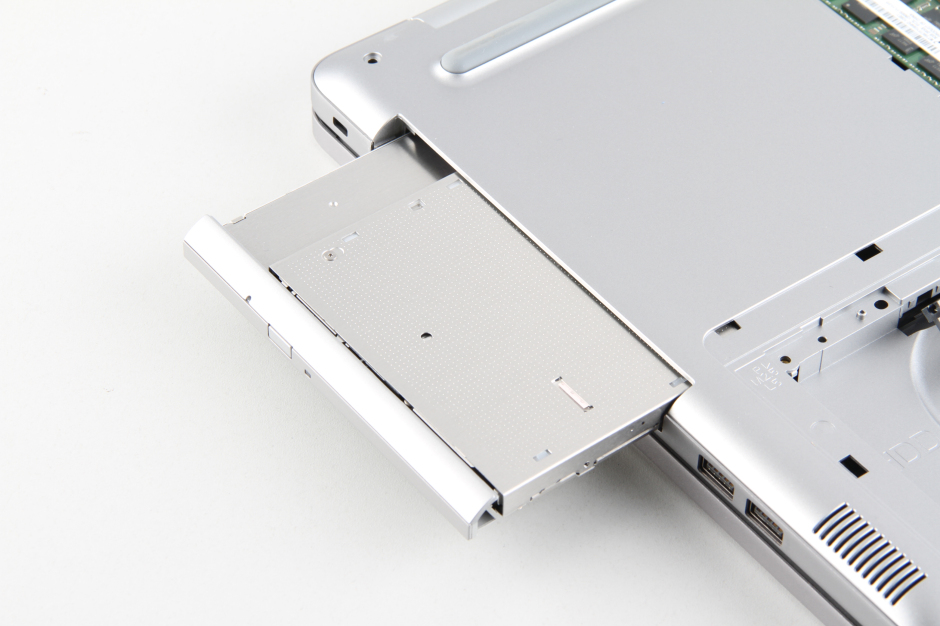
Unscrew the screw next to the RAM module slot and then pull out the DVD drive
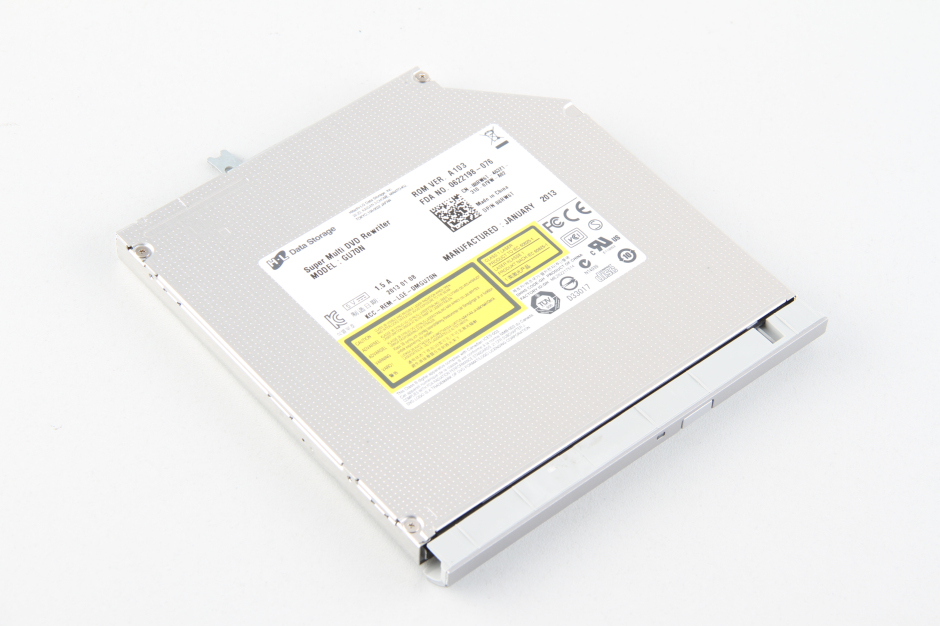
A photo of the removed DVD drive
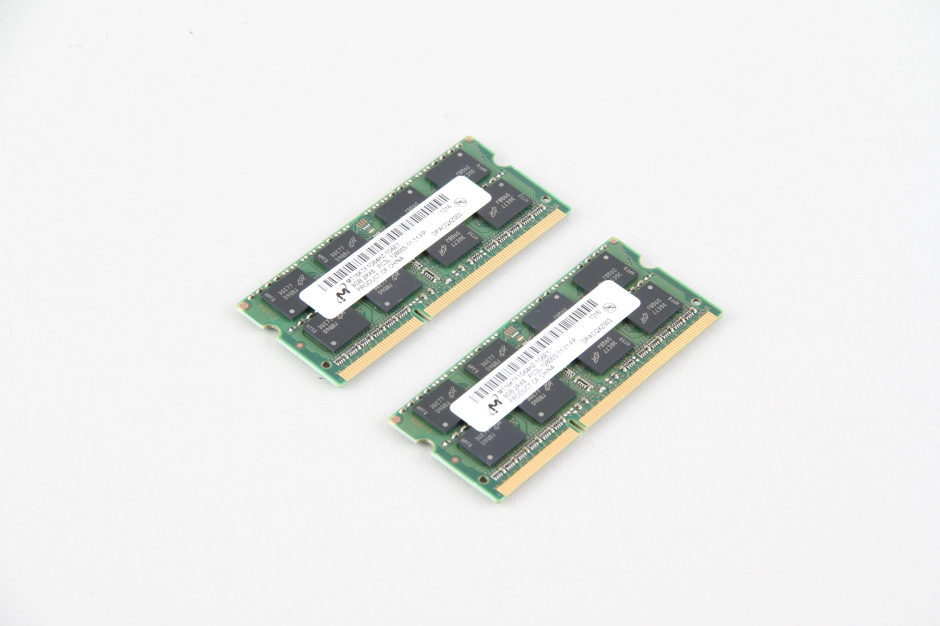
Remove the two RAM modules
Then remove all the screws you can see on the D panel
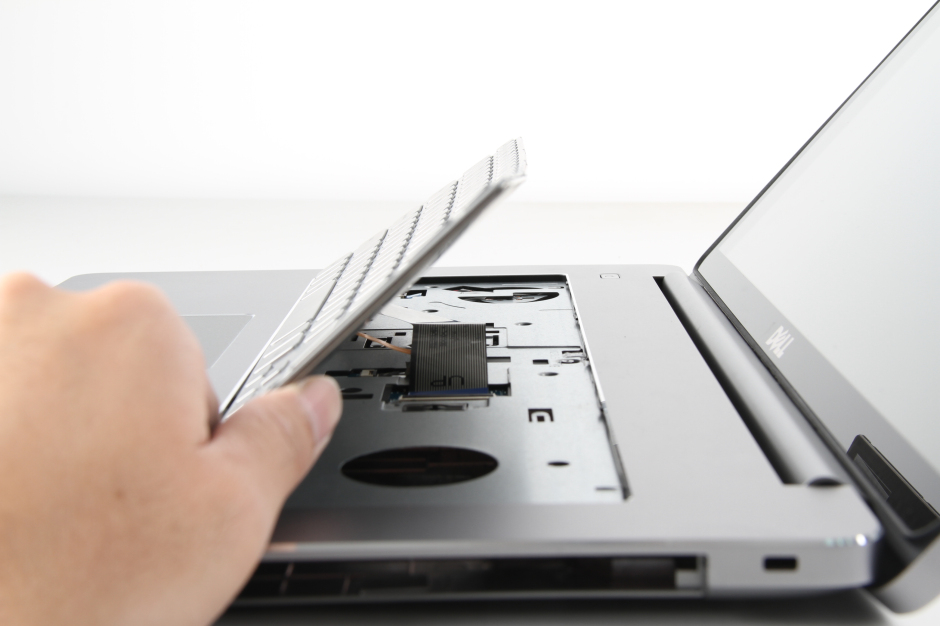
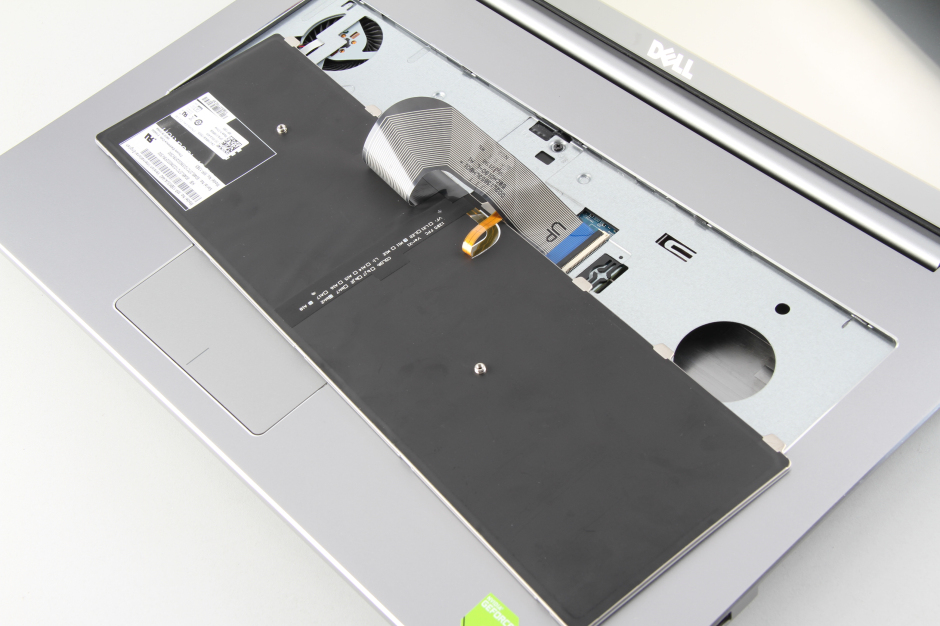
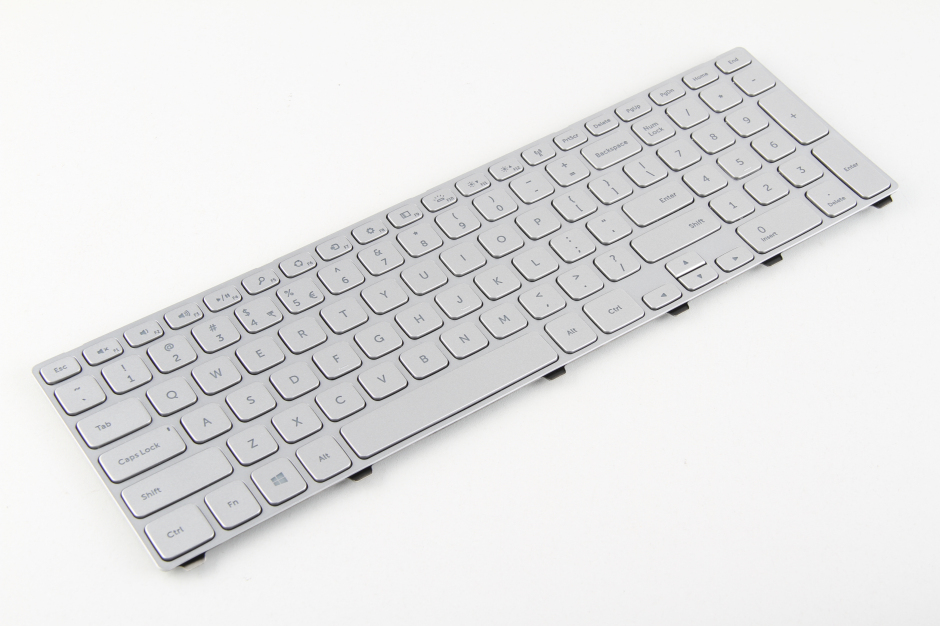
Turn to the front side, press in the only keybaord clip, turn over the keyboard, disconnect the cable to remoe the keyboard
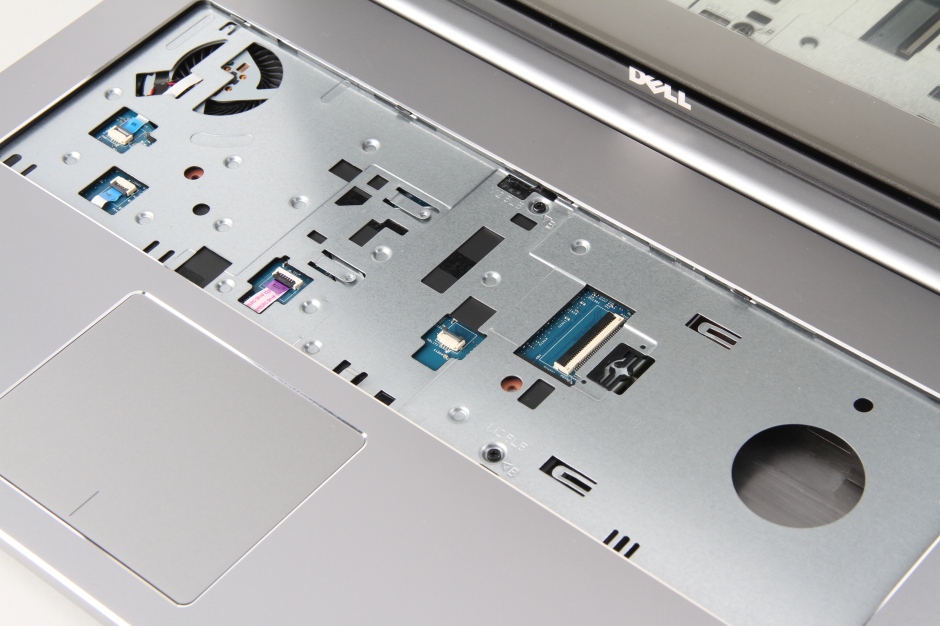
Disconnect the cables on C panel
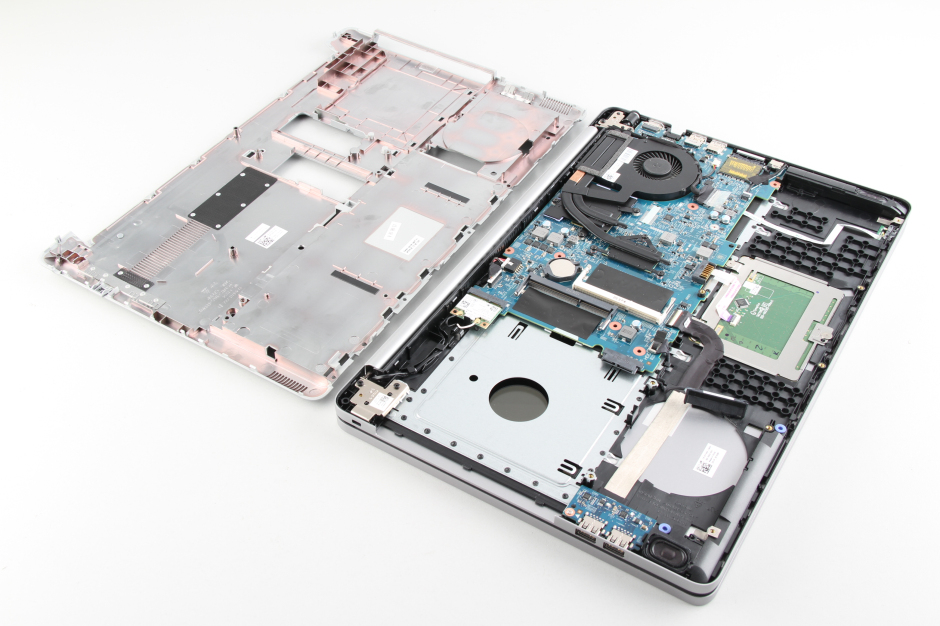
Now turn to the bottom to remove the D panel
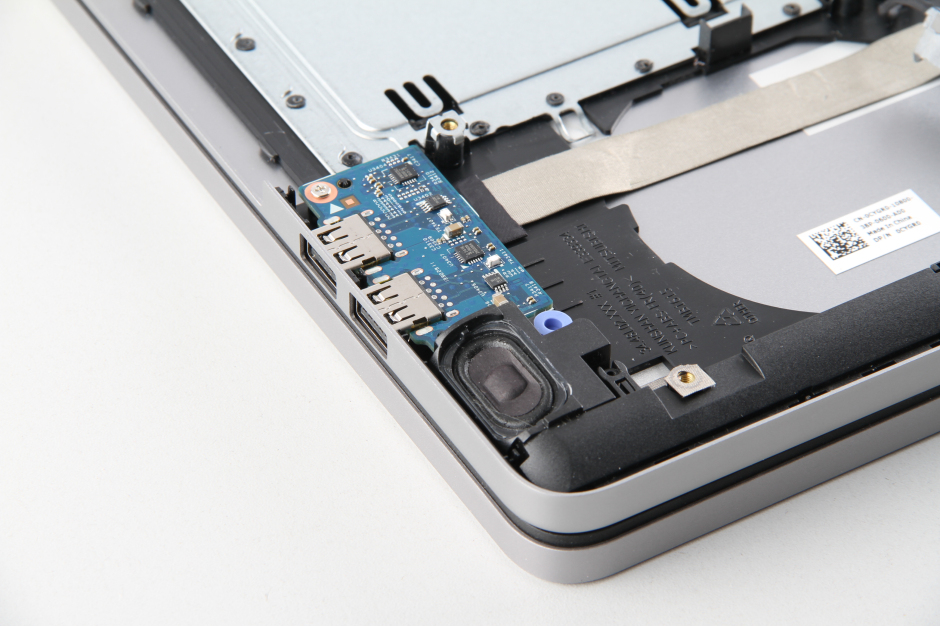
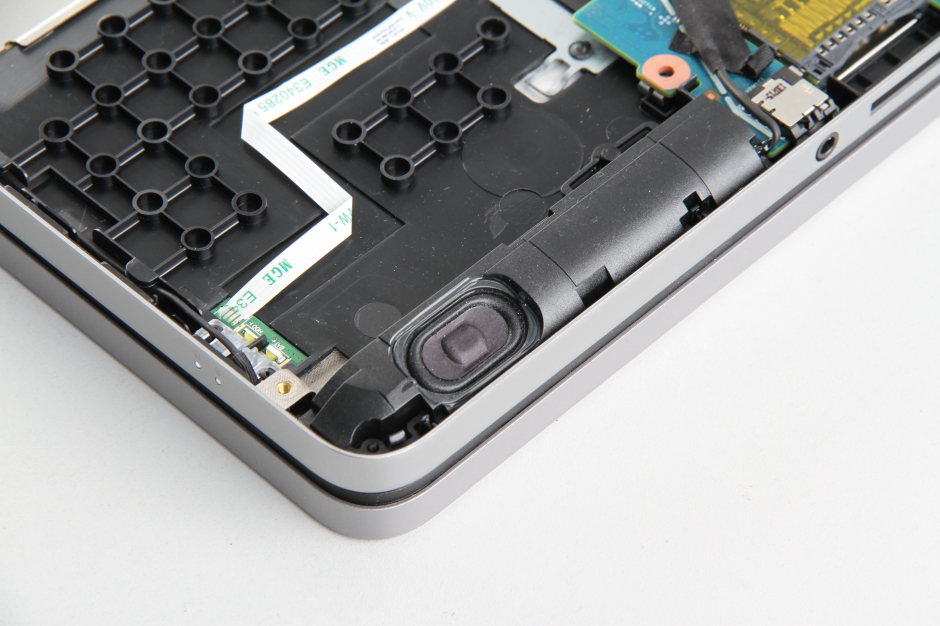
The two speakers
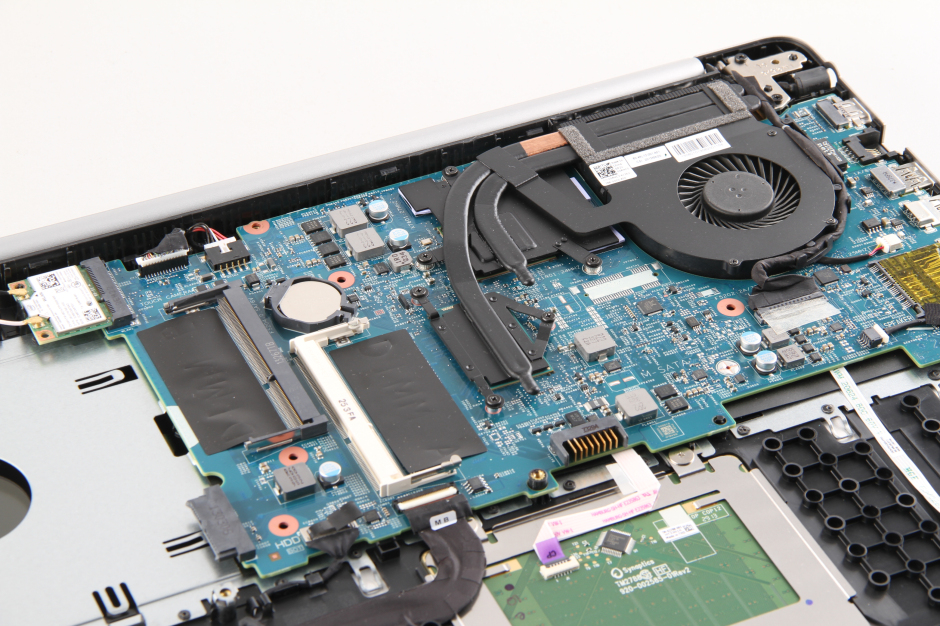
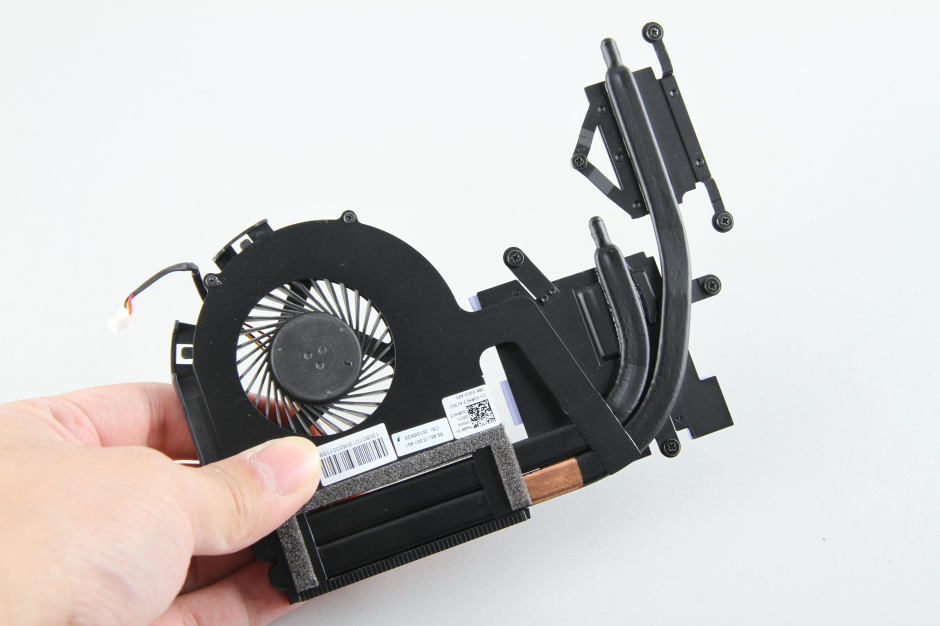
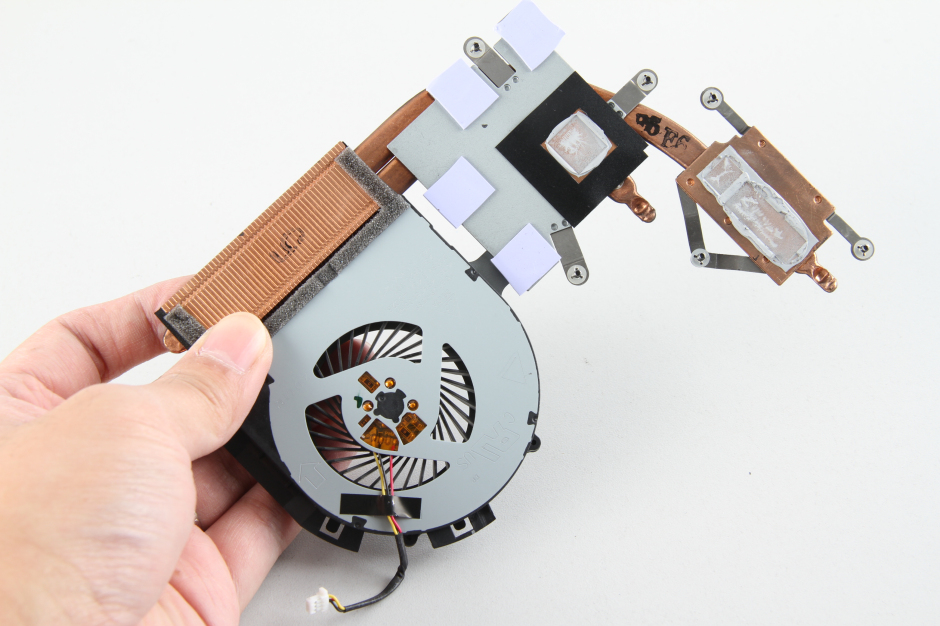
Dell Inspiron 17 7737 fan and heatsink assembly
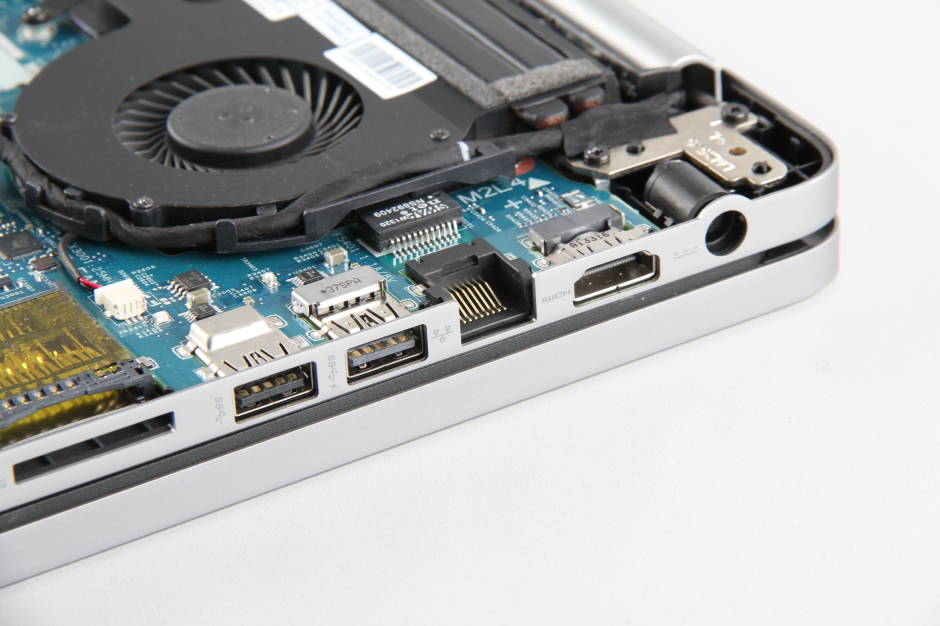
Dell Inspiron 17 7737 USB interfaces
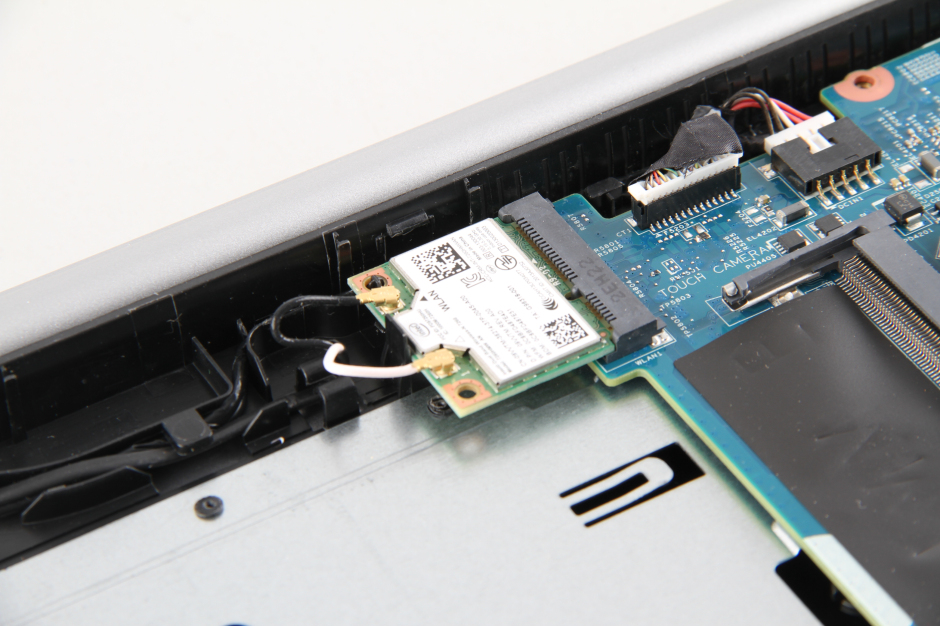
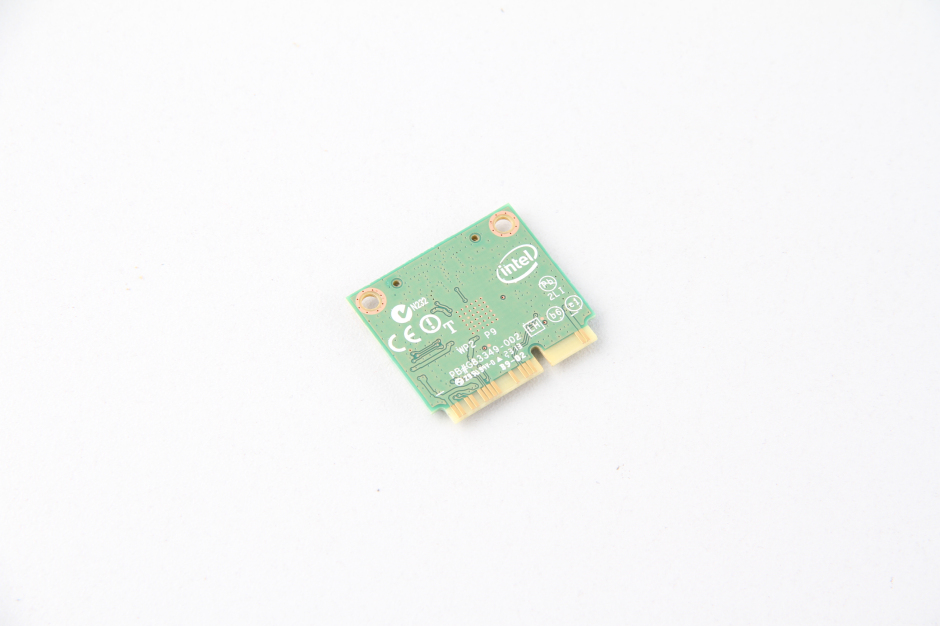
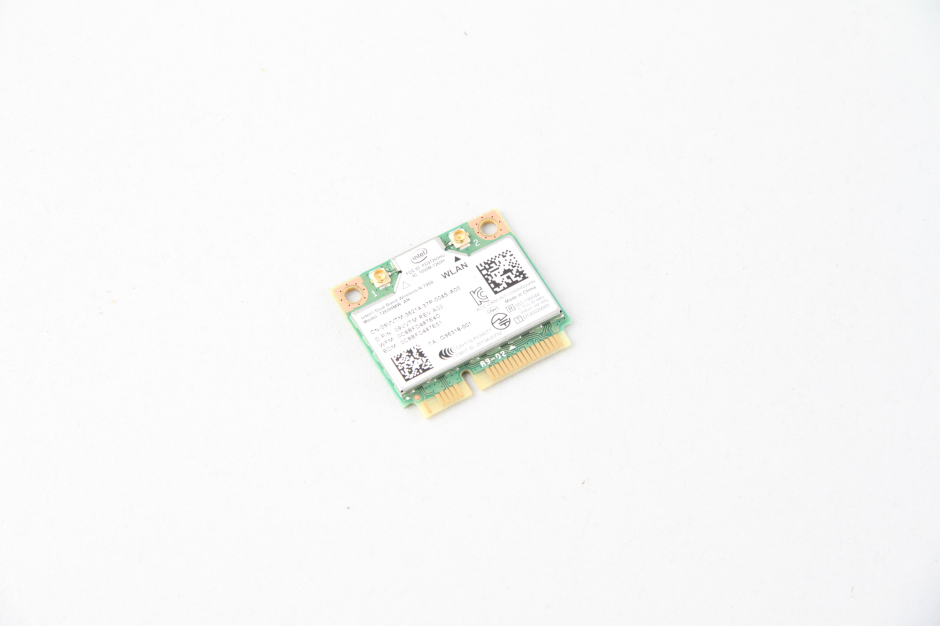
Unplug the two wireless antennas and remove the fixing screw to remove the wireless card
Disconnect the connectors on the motherboard, and remove the screws fixing it (if there are screws), and then you can take out the motherboard
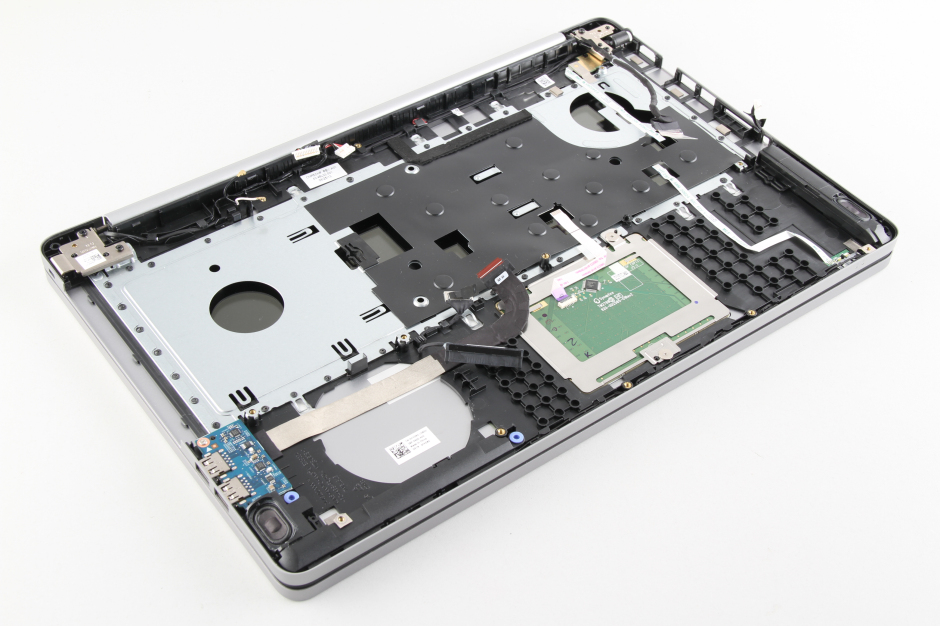
A photo of the remaining laptop
Unplug the fan cable and remove the screws fixing the heatsink, you can remove the fan and heatsink assembly
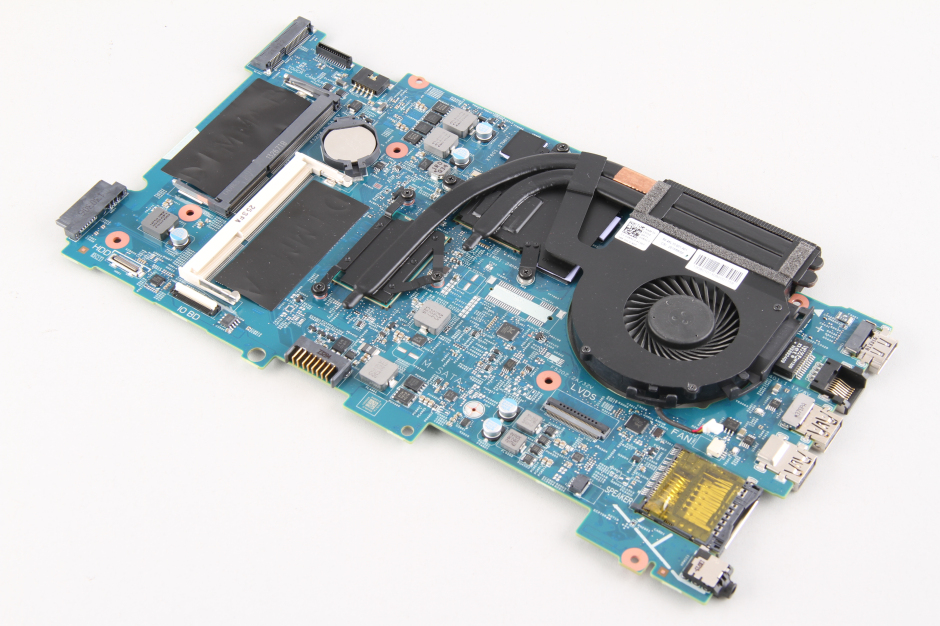
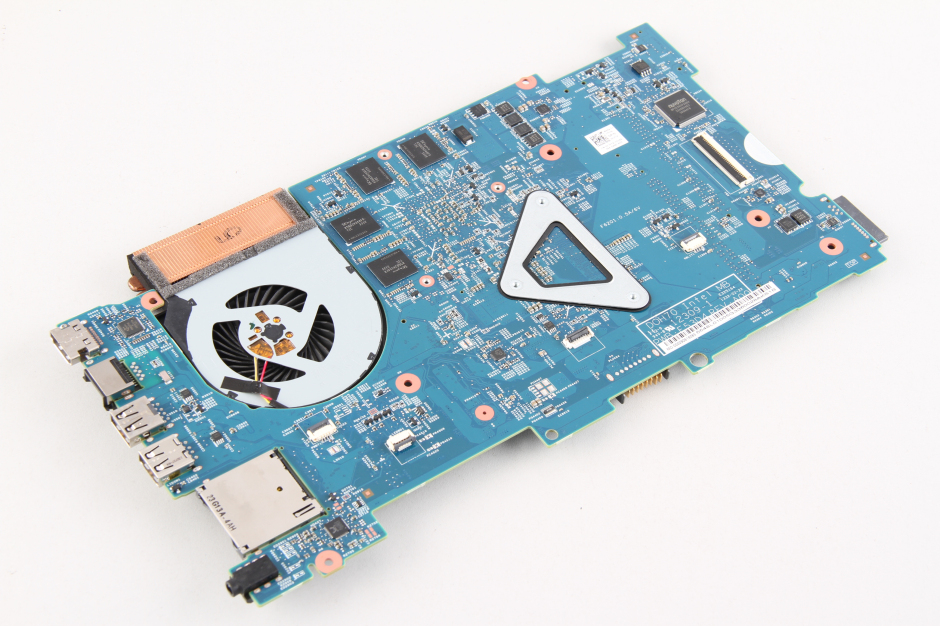
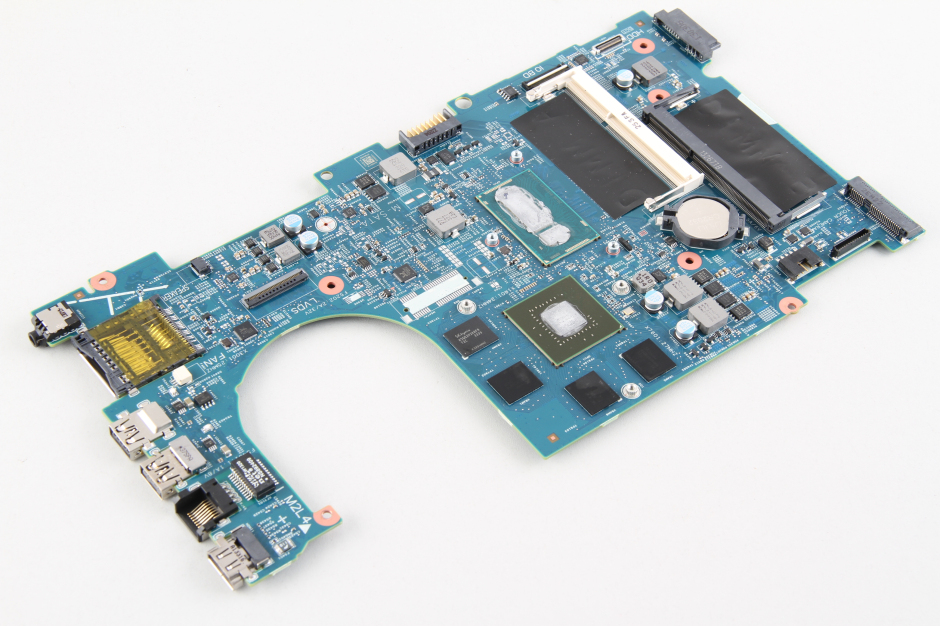
The remaining motherboard
Finally, a photo of all the parts together

First photos of the front and back of Dell Inspiron 17 7737 notebook
Remove the two screws to remove the back cover, you can see the battery and the hard drive
Remove the screws fixing the battery and the hard drive to remove them, to remove the hard drive, you also need to disconnect the connector
Unscrew the screw to remove the memory access door
Unscrew the screw next to the RAM module slot and then pull out the DVD drive
A photo of the removed DVD drive
Remove the two RAM modules
Then remove all the screws you can see on the D panel
Turn to the front side, press in the only keybaord clip, turn over the keyboard, disconnect the cable to remoe the keyboard
Disconnect the cables on C panel
Now turn to the bottom to remove the D panel
The two speakers
Dell Inspiron 17 7737 fan and heatsink assembly
Dell Inspiron 17 7737 USB interfaces
Unplug the two wireless antennas and remove the fixing screw to remove the wireless card
Disconnect the connectors on the motherboard, and remove the screws fixing it (if there are screws), and then you can take out the motherboard
A photo of the remaining laptop
Unplug the fan cable and remove the screws fixing the heatsink, you can remove the fan and heatsink assembly
The remaining motherboard
Finally, a photo of all the parts together
No comments:
Post a Comment