In this guide, i’ll explain How To disassemble Lenovo ThinkPad S3
Yoga to remove bottom case, battery, SSD, RAM memory, wireless lan card,
heatsink and cooling fan, refer on this guide, you can upgrade, clean
fan, repair your ThinkPad S3 Yoga.
Lenovo ThinkPad S3 Yoga Teardown Step:
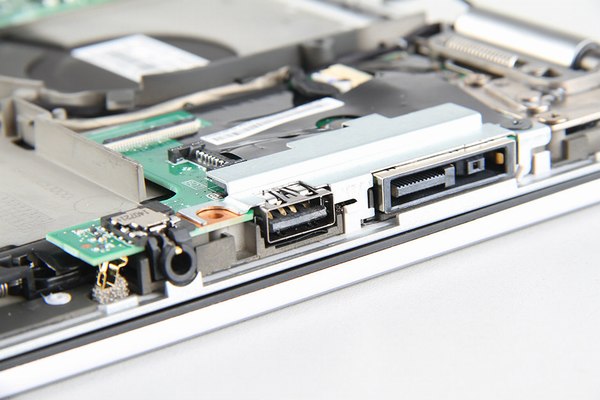
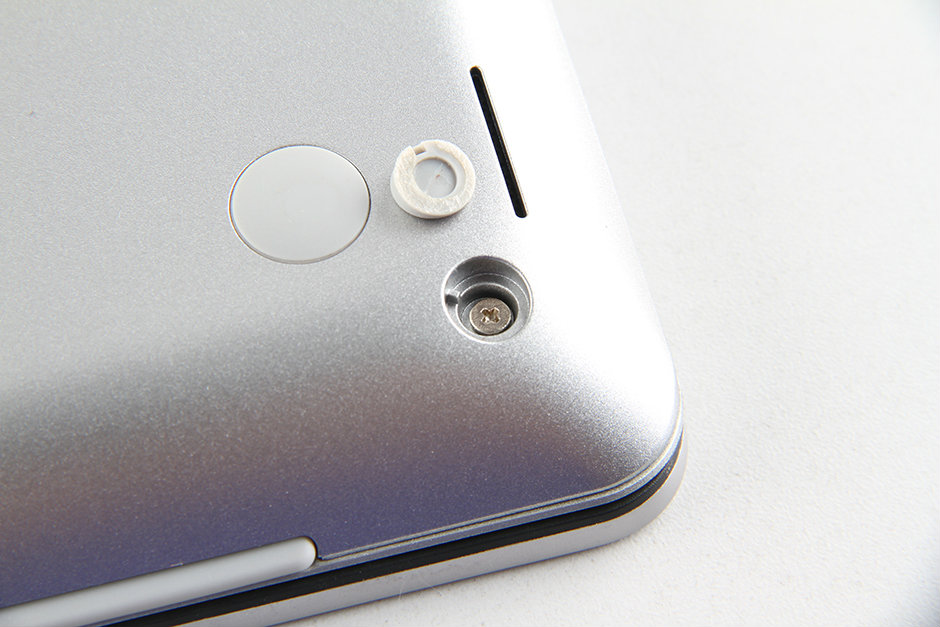
remove all the screws securing the bottom case, including two hidden screws
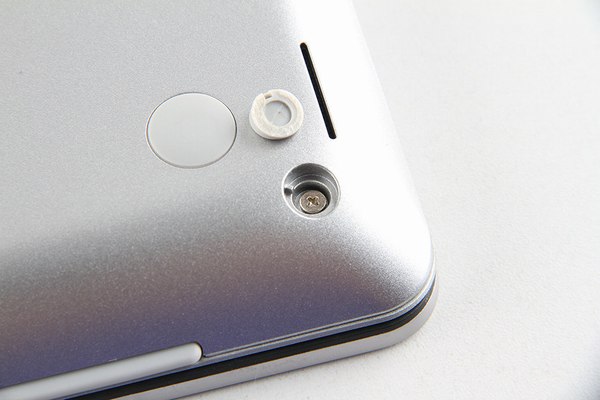
pry up the bottom case


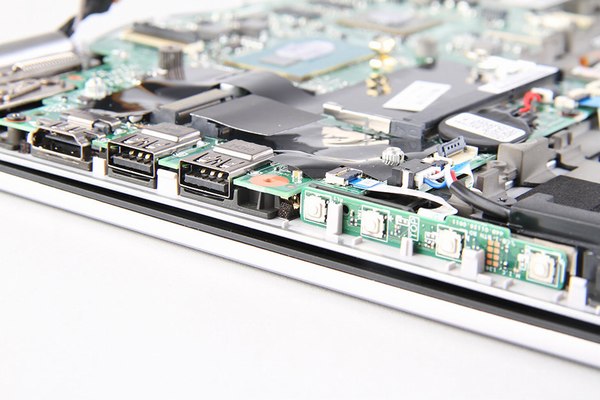
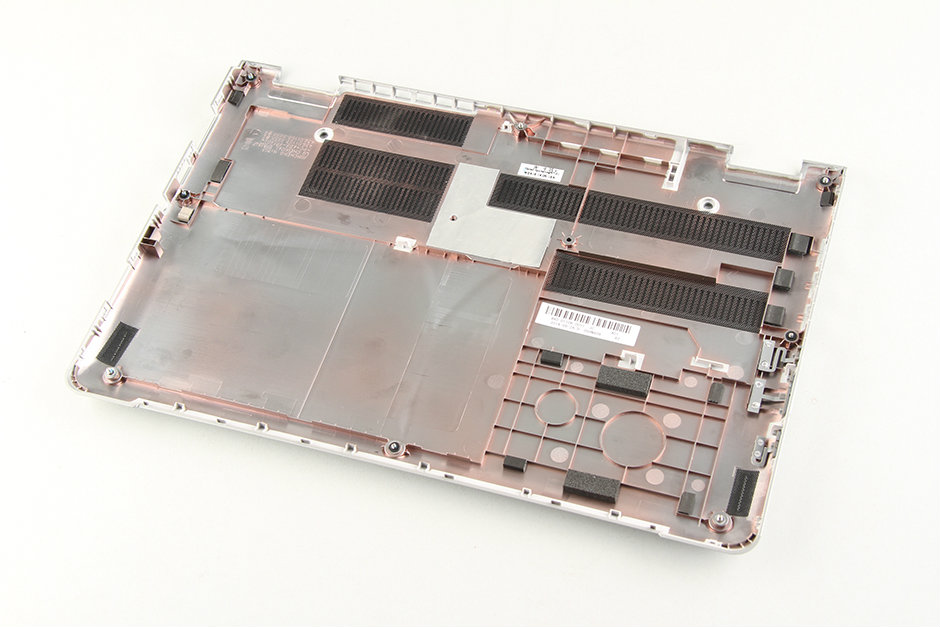
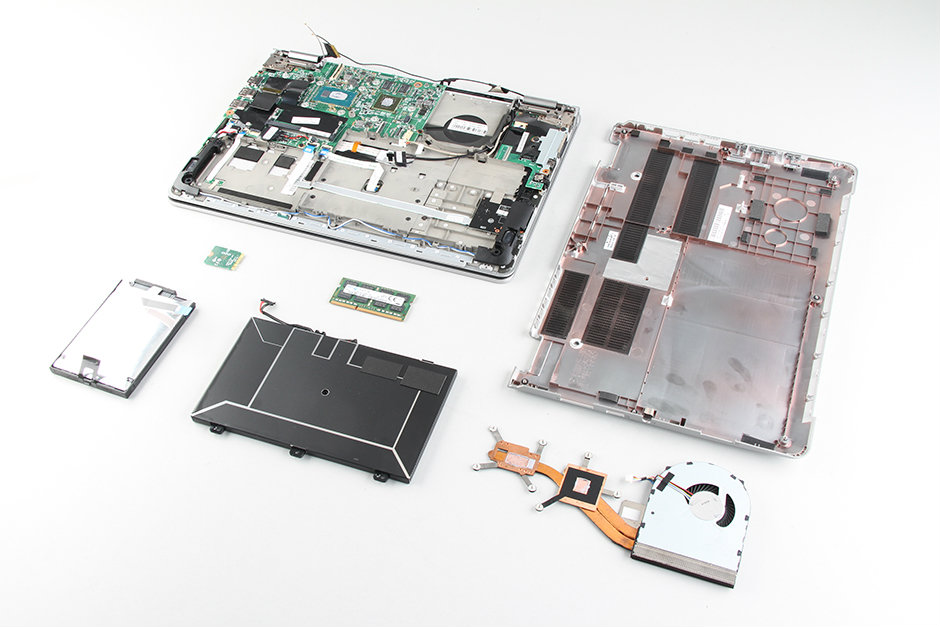
the Lenovo ThinkPad S3 Yoga bottom case
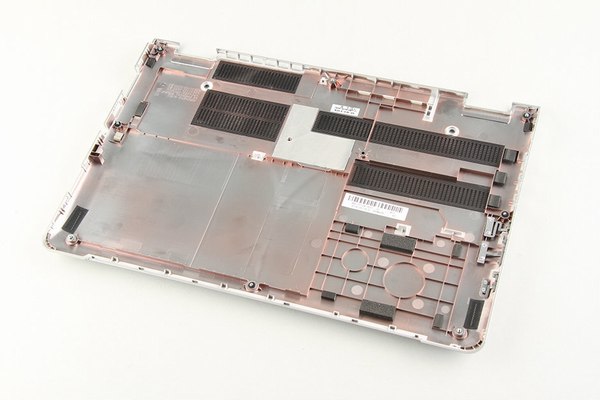
now we can access the battery, SSD, RAM, wireless lan card, heatsink and cooling fan

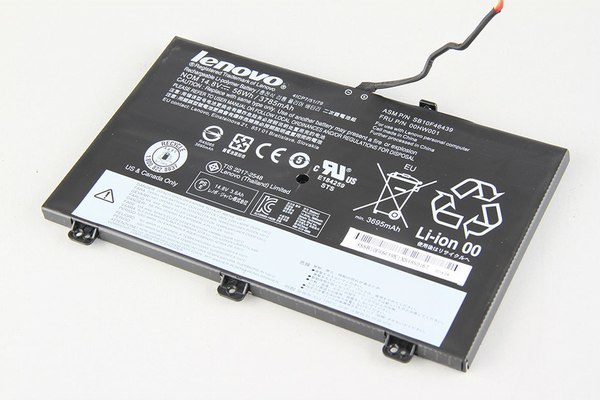
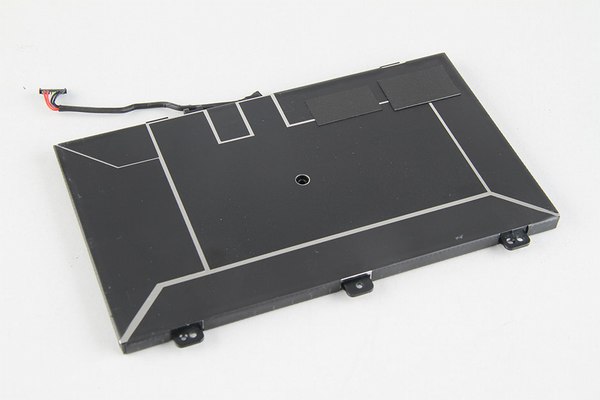
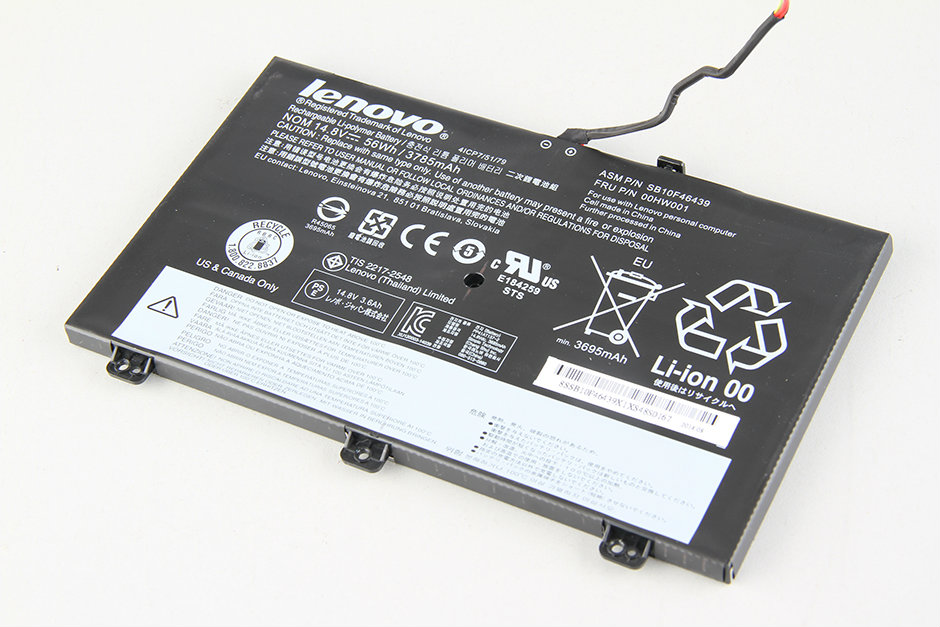
remove the screws securing the battery, disconnect the battery power cable from motherboard, lift up the black tape, the battery can be removed.

Lenovo ThinkPad S3 Yoga come with a 14.8v, 56wh/3785mah li-polymer battery, lenovo p/n: SB10F46439, 00HW001
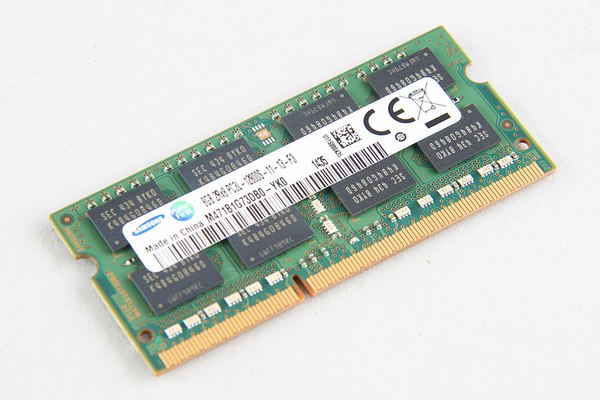
Separate the clips, then remove the RAM

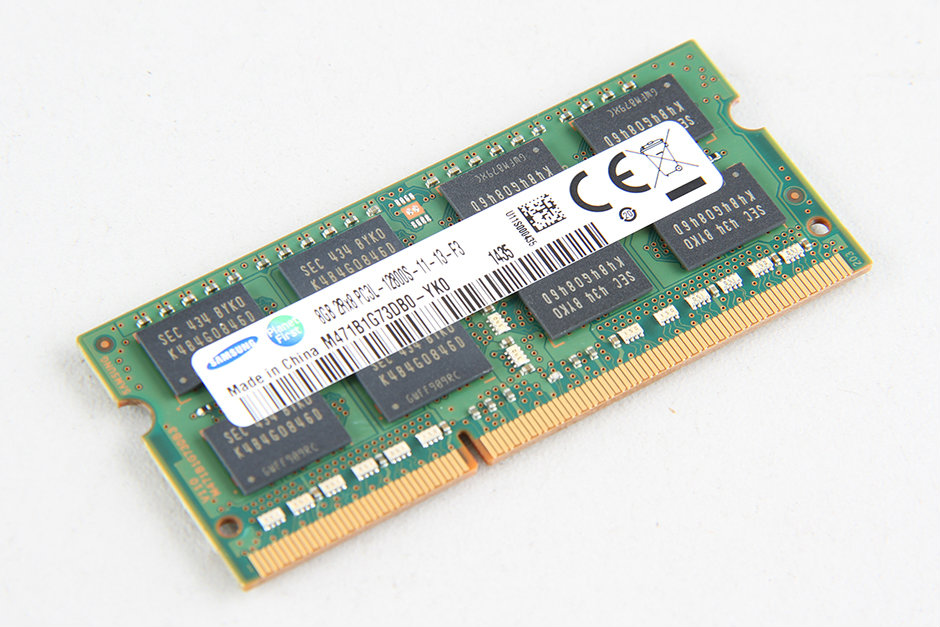
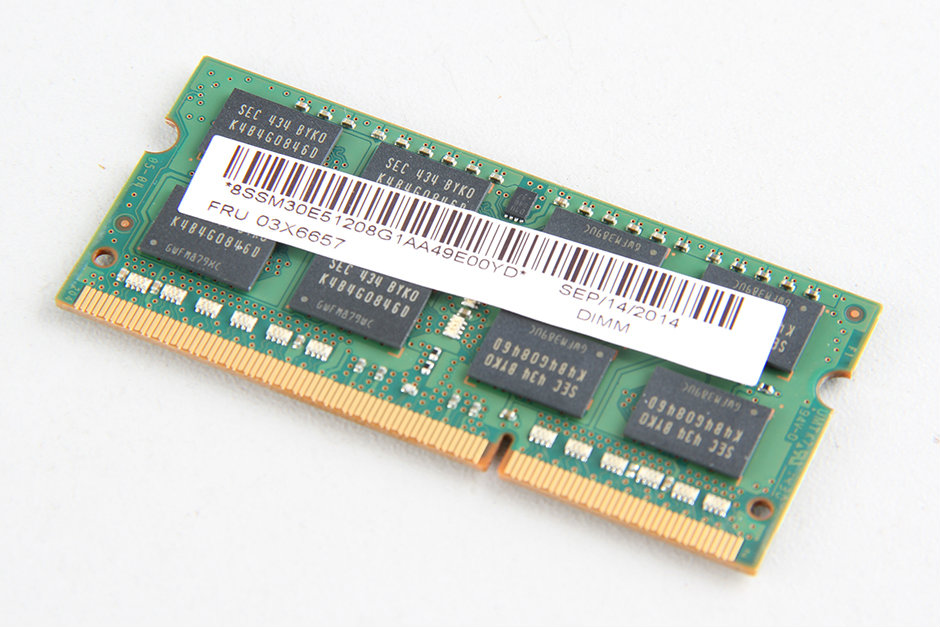
ThinkPad S3 Yoga come with a Samsung 8GB PC3L-12800S RAM memory

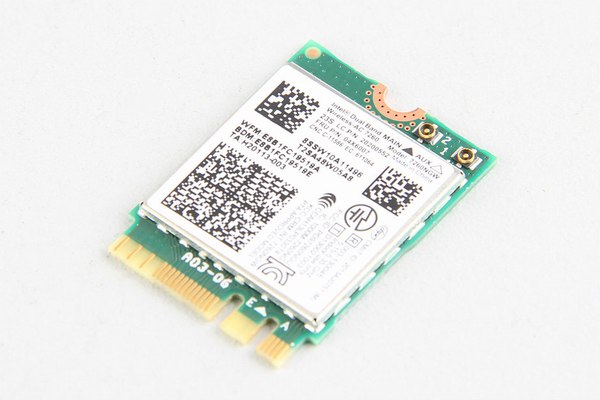
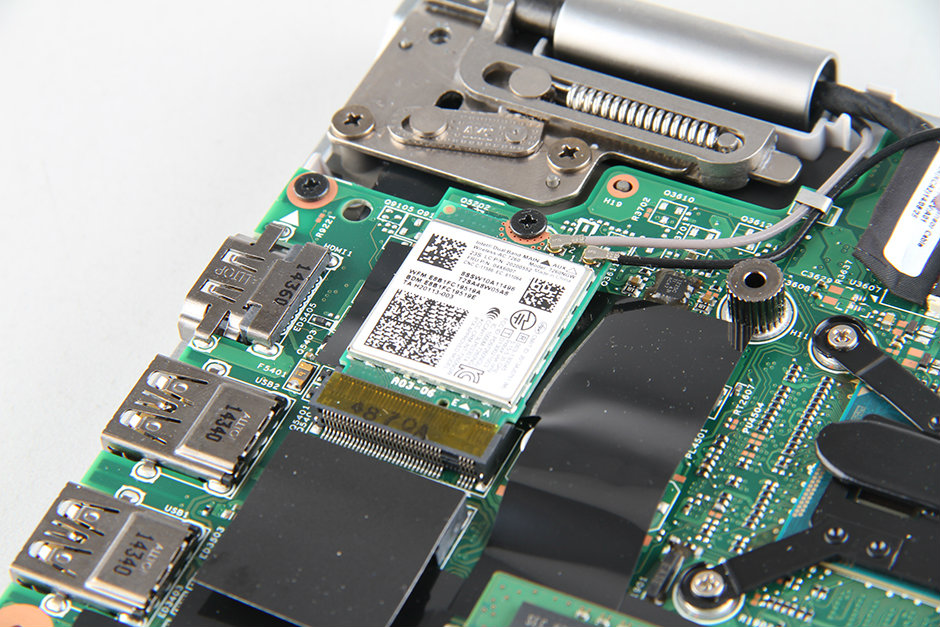
disconnect two antennas and remove one screw, then remove the wireless lan card
note:below the wireless card is the spare NGFF port for user add SSD.

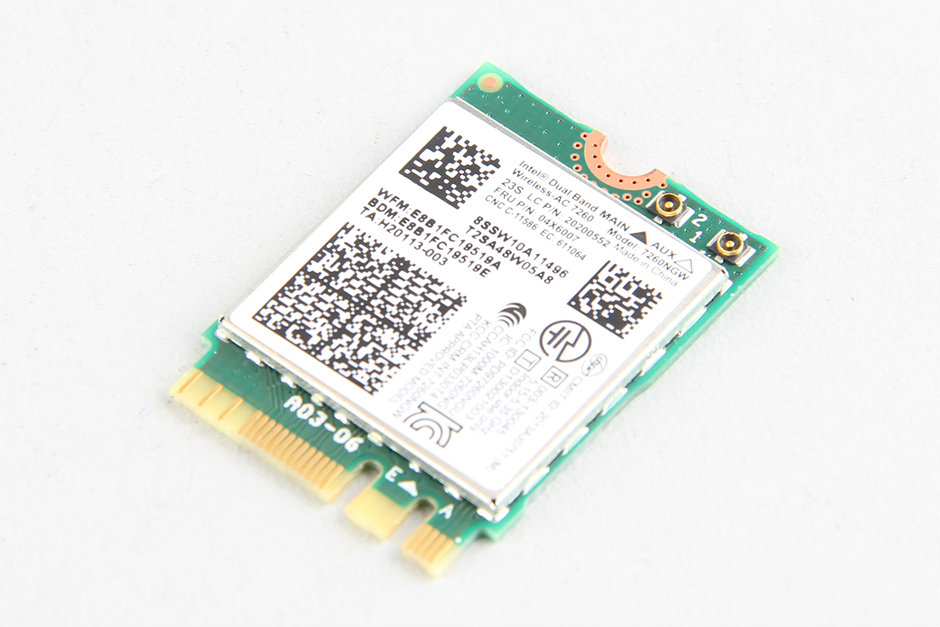
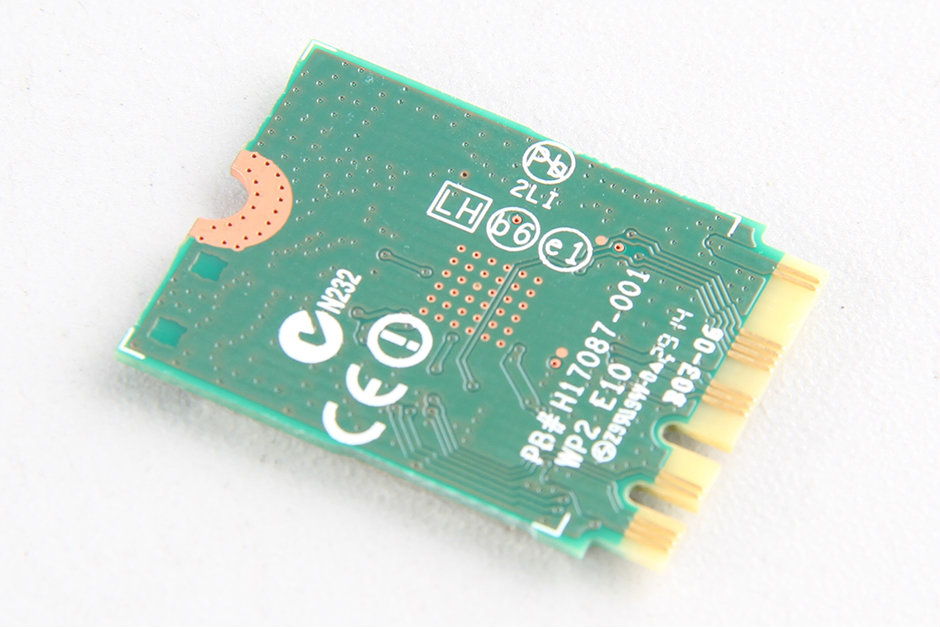
ThinkPad S3 Yoga come with a Intel Dual Band Wireless-AC 7260 wireless lan card

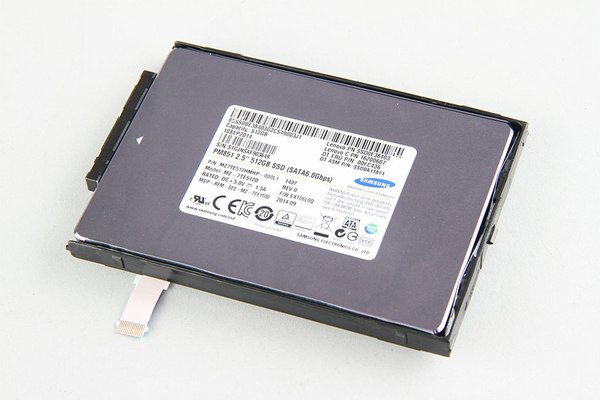
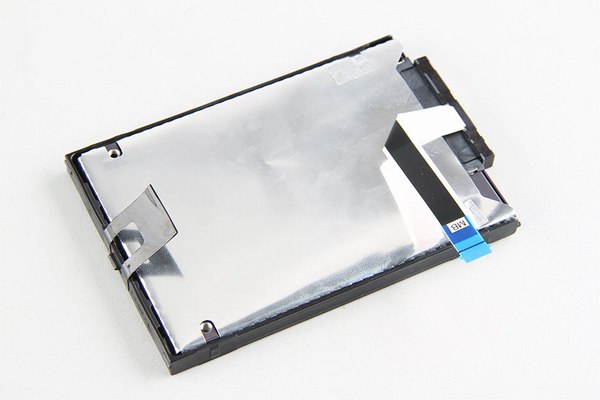
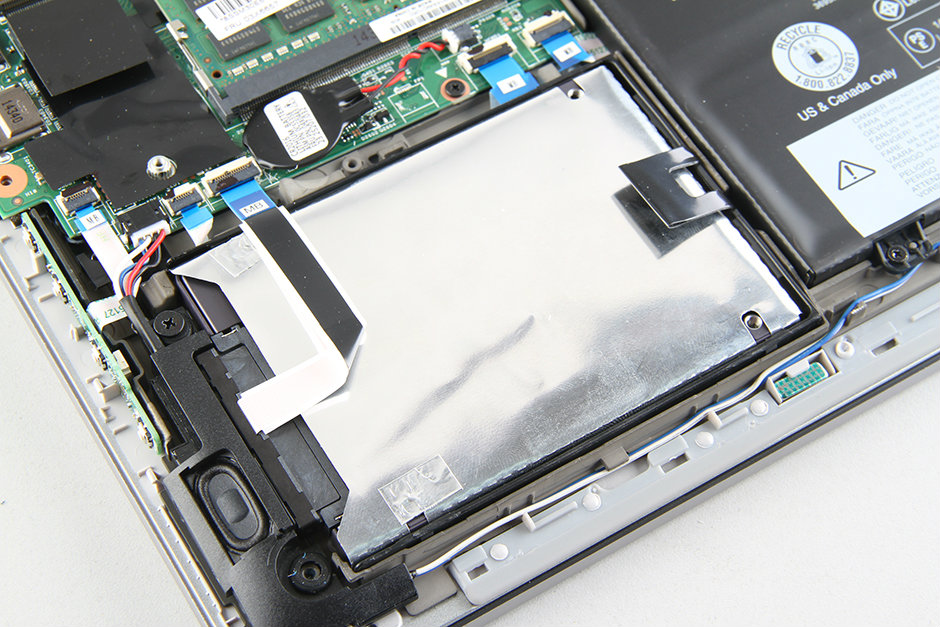
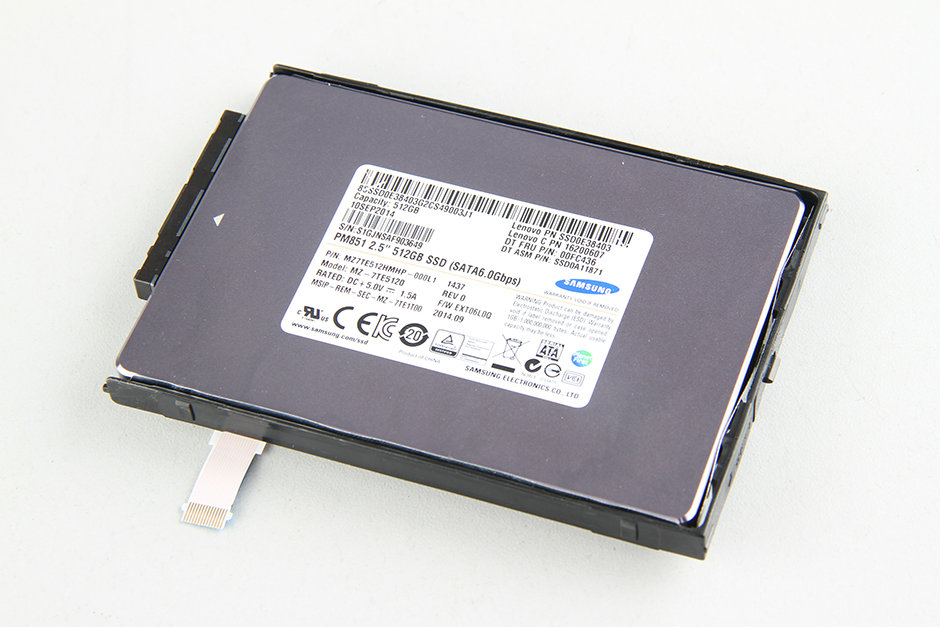
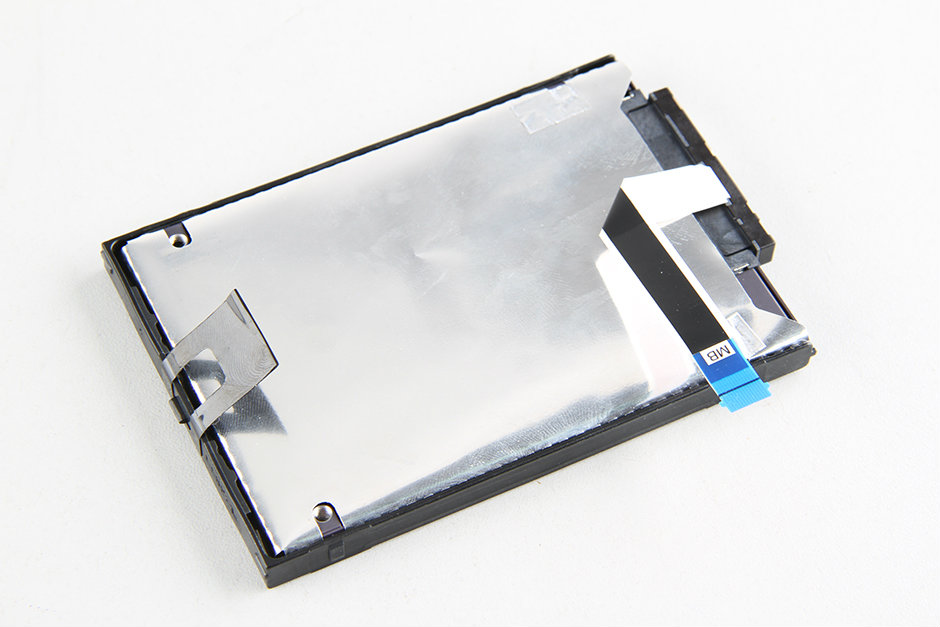
disconnect the cable from motherboard, lift up the black tape, sliding it and disconnect from motherboard.
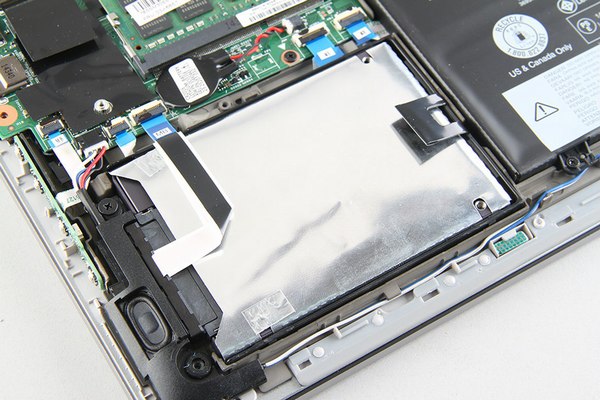
ThinkPad S3 Yoga come with a Samsung PM851 2.5″ 512GB SSD.
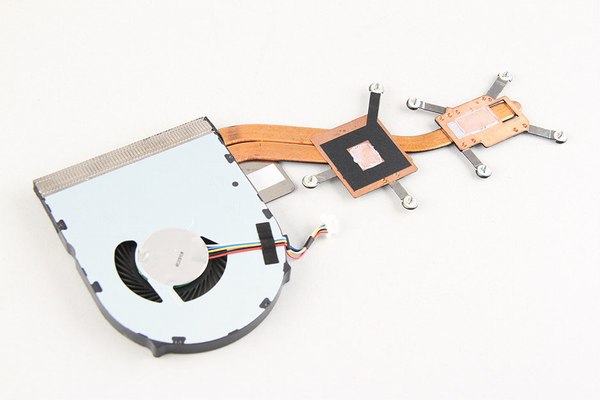
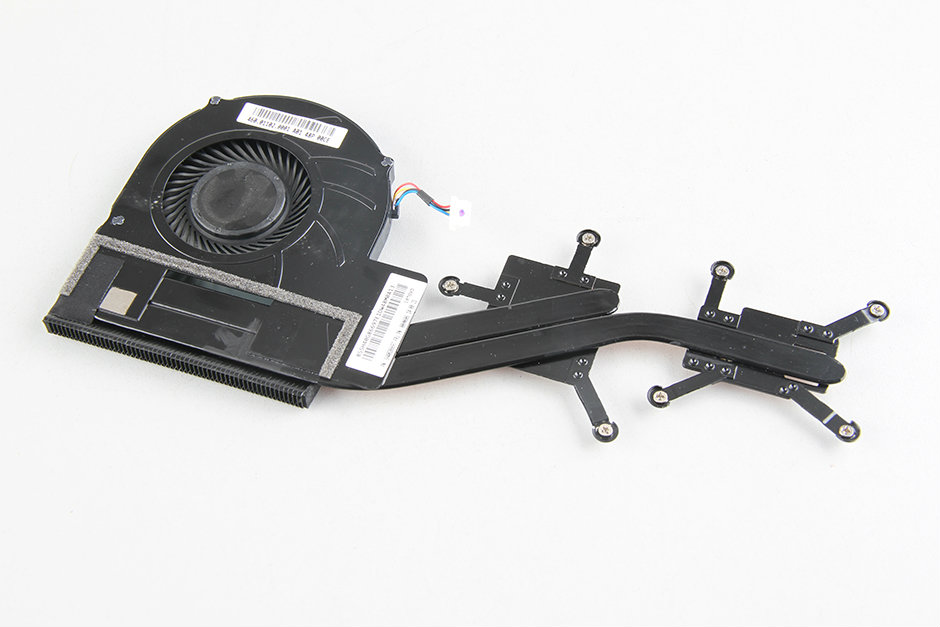
disconnect the yellow cable and cooling fan cable from motherboard, loosen all the screws securing the heatsink

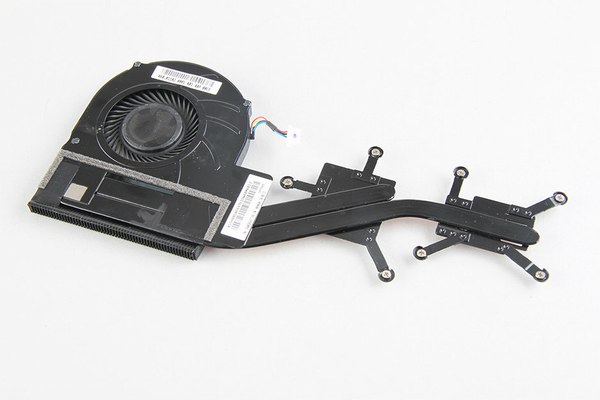
ThinkPad S3 Yoga heatsink and cooling fan

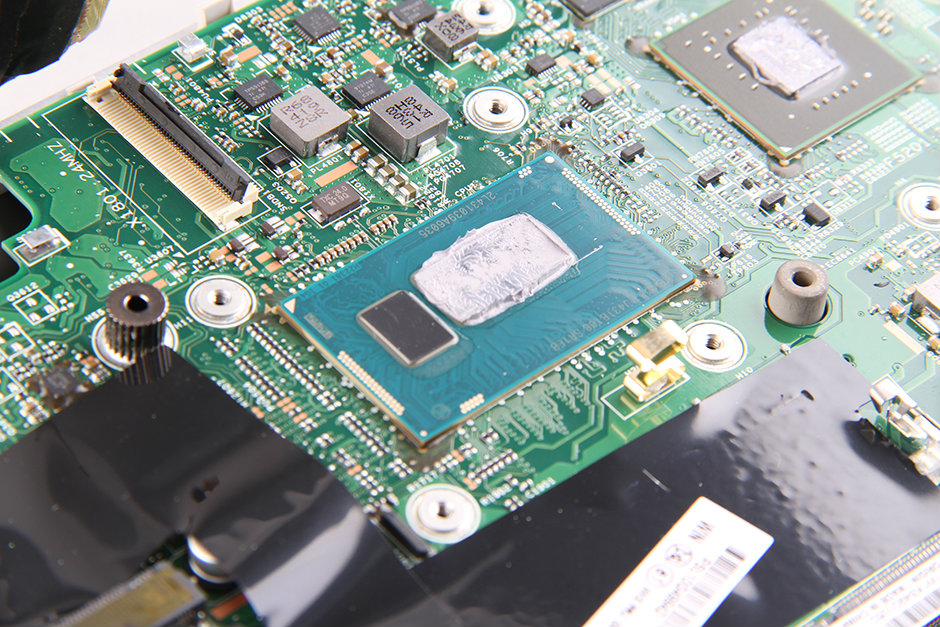
the graphics card chip
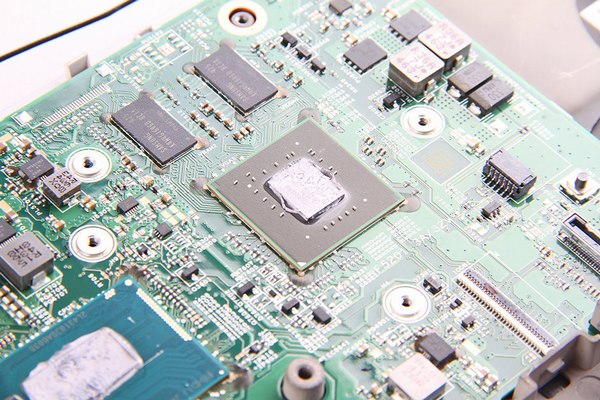
the intel processor


Lenovo ThinkPad S3 Yoga Teardown Step:
remove all the screws securing the bottom case, including two hidden screws
pry up the bottom case
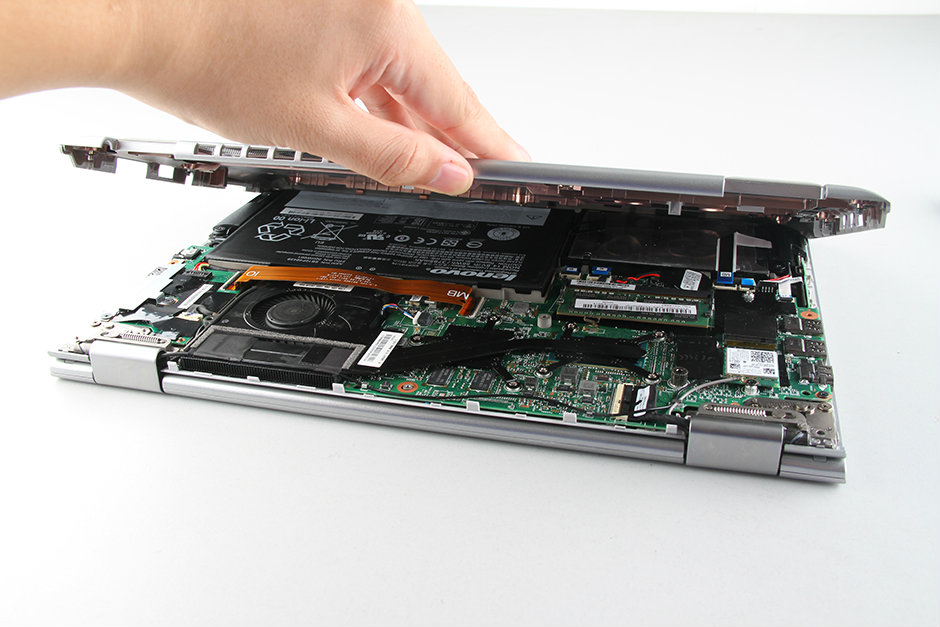
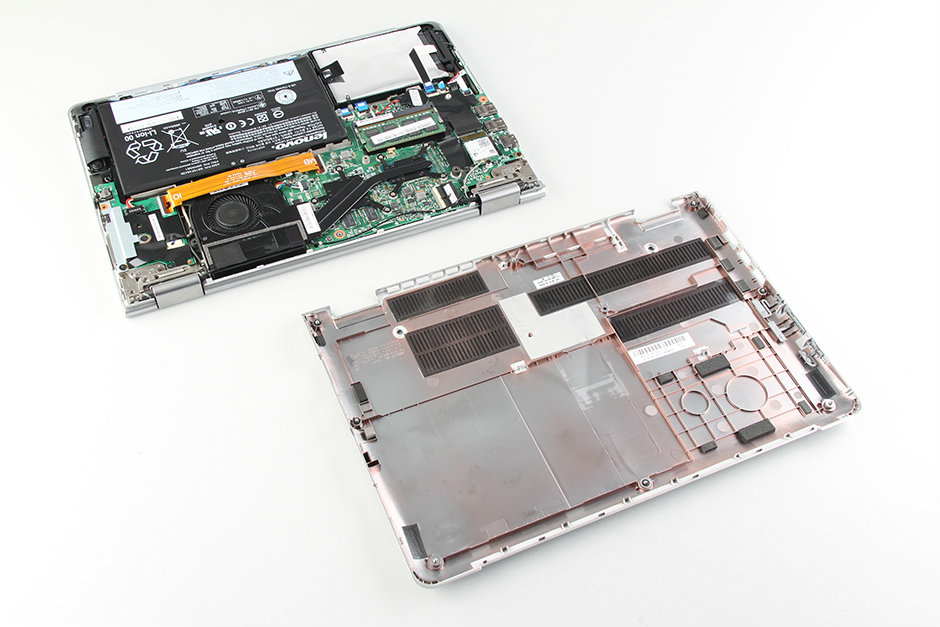
the Lenovo ThinkPad S3 Yoga bottom case
now we can access the battery, SSD, RAM, wireless lan card, heatsink and cooling fan
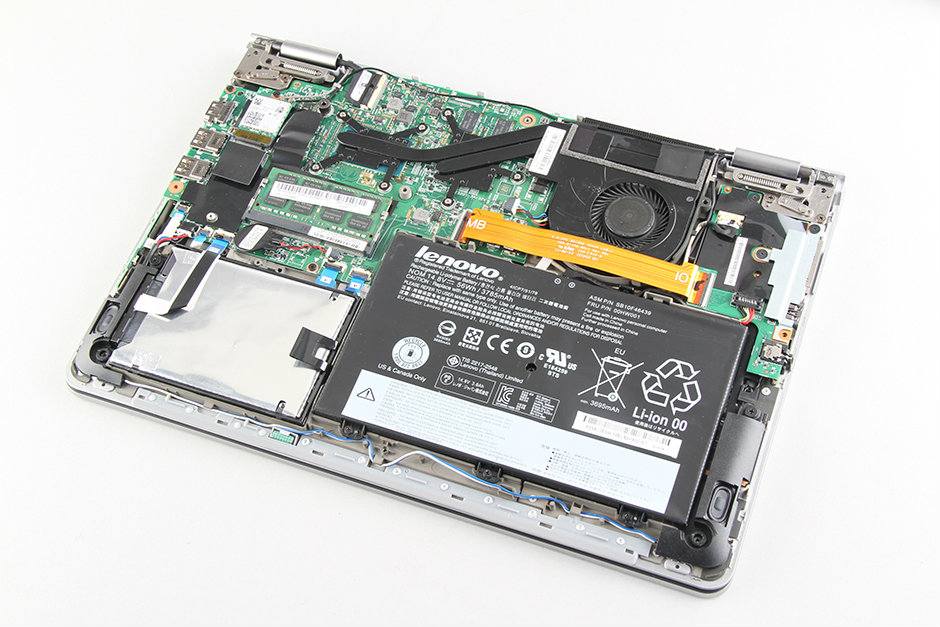
remove the screws securing the battery, disconnect the battery power cable from motherboard, lift up the black tape, the battery can be removed.
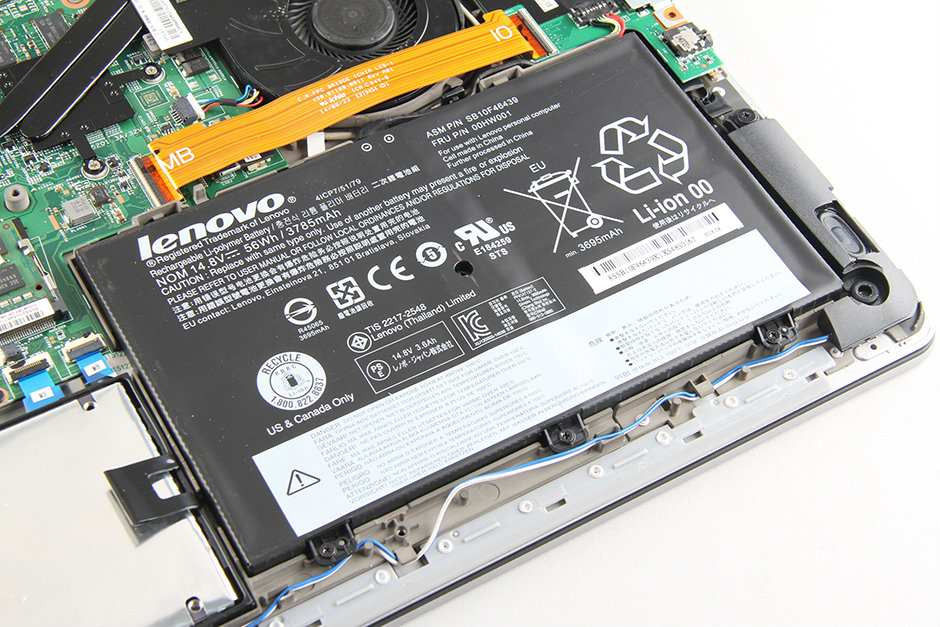
Lenovo ThinkPad S3 Yoga come with a 14.8v, 56wh/3785mah li-polymer battery, lenovo p/n: SB10F46439, 00HW001

Separate the clips, then remove the RAM
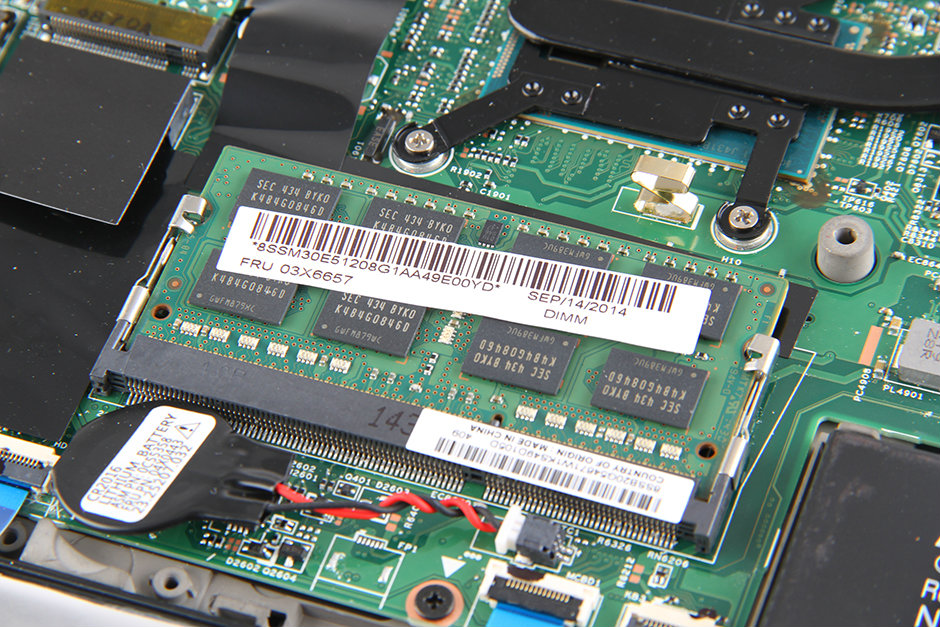
ThinkPad S3 Yoga come with a Samsung 8GB PC3L-12800S RAM memory
disconnect two antennas and remove one screw, then remove the wireless lan card
note:below the wireless card is the spare NGFF port for user add SSD.
ThinkPad S3 Yoga come with a Intel Dual Band Wireless-AC 7260 wireless lan card
disconnect the cable from motherboard, lift up the black tape, sliding it and disconnect from motherboard.
ThinkPad S3 Yoga come with a Samsung PM851 2.5″ 512GB SSD.
disconnect the yellow cable and cooling fan cable from motherboard, loosen all the screws securing the heatsink
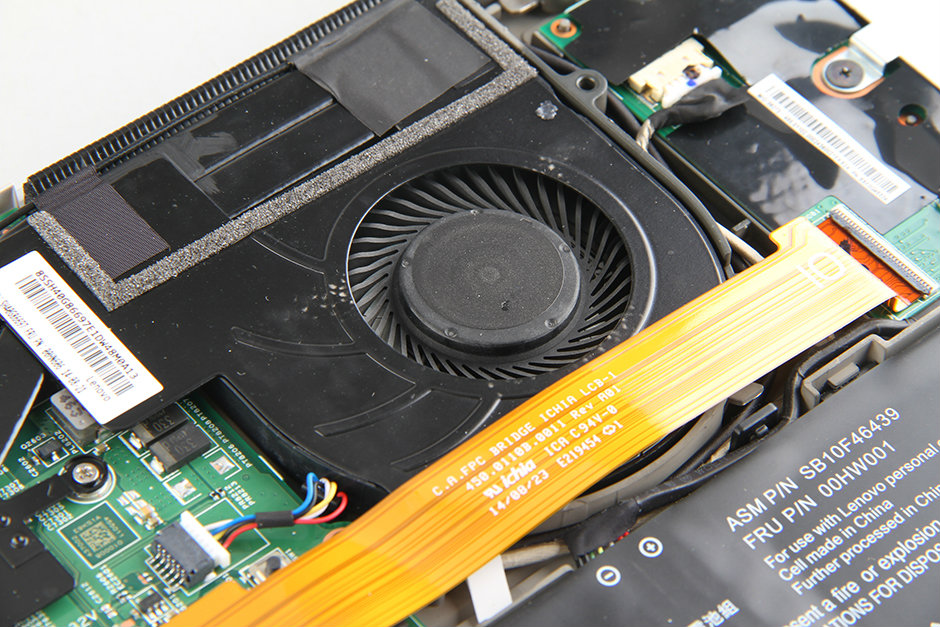
ThinkPad S3 Yoga heatsink and cooling fan


the graphics card chip

the intel processor

No comments:
Post a Comment