In this guide, i’ll explain How To disassemble Lenovo Yoga 3 Pro, i
will remove battery, SSD, wireless card, keyboard, heat sink, usb board,
cooling fan and motherboard, refer on this guide, you can upgrade,
repair your Yoga 3 Pro.
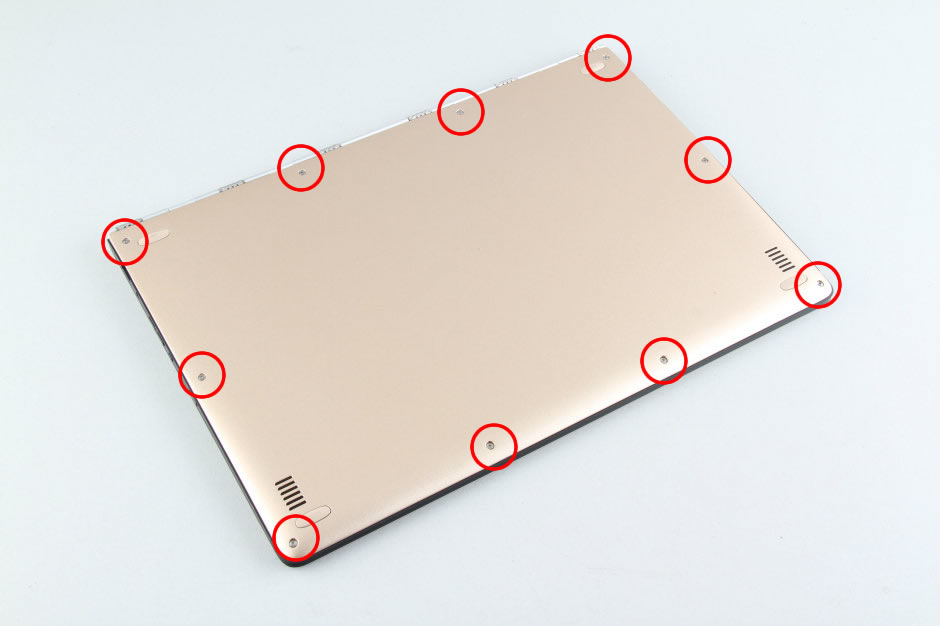
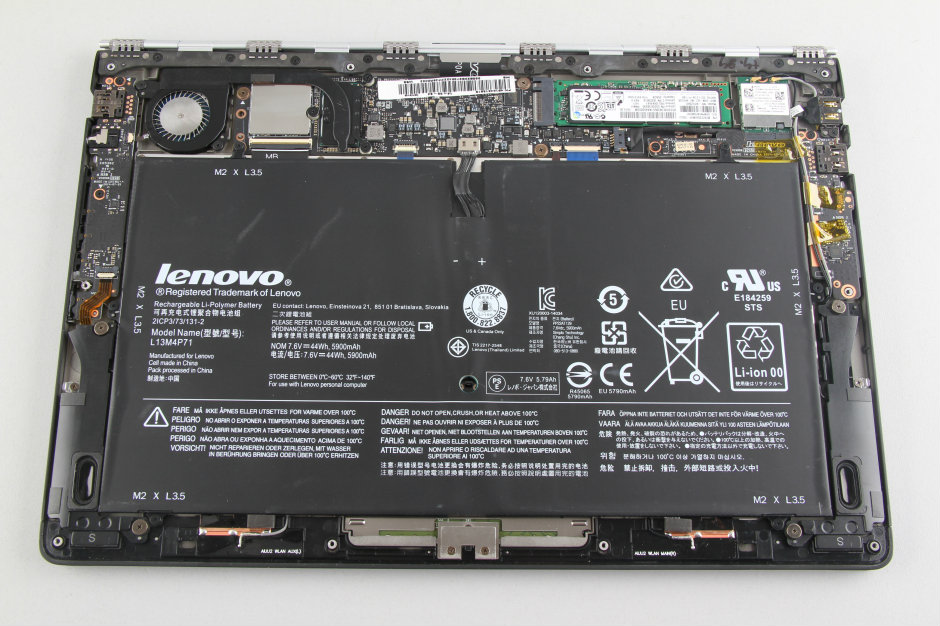
remove ten screws from bottom case.

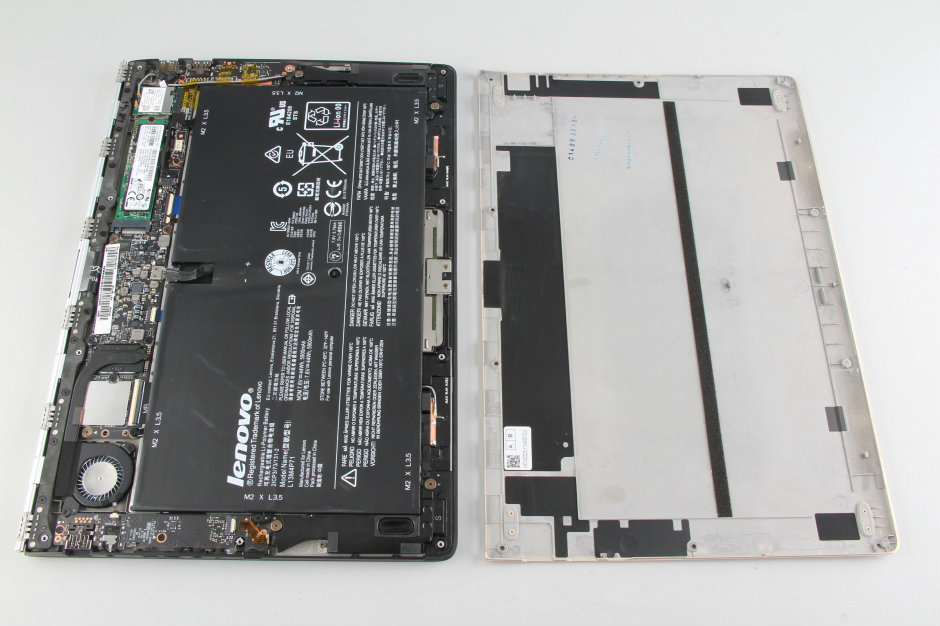
pry up the bottom case with a pry bar.

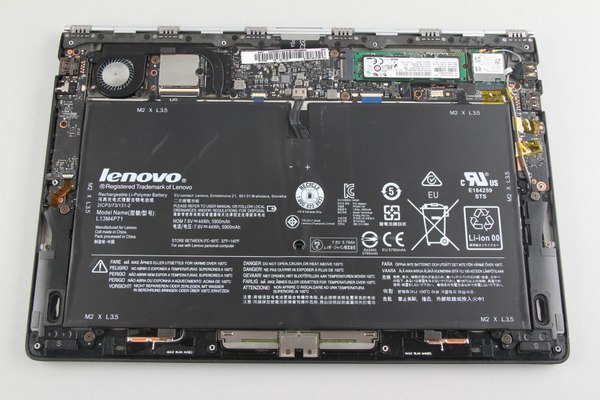
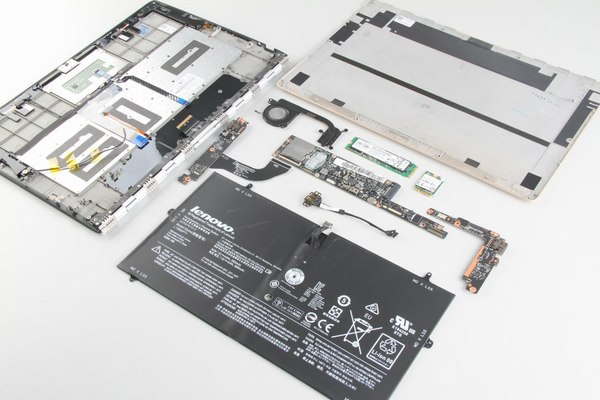
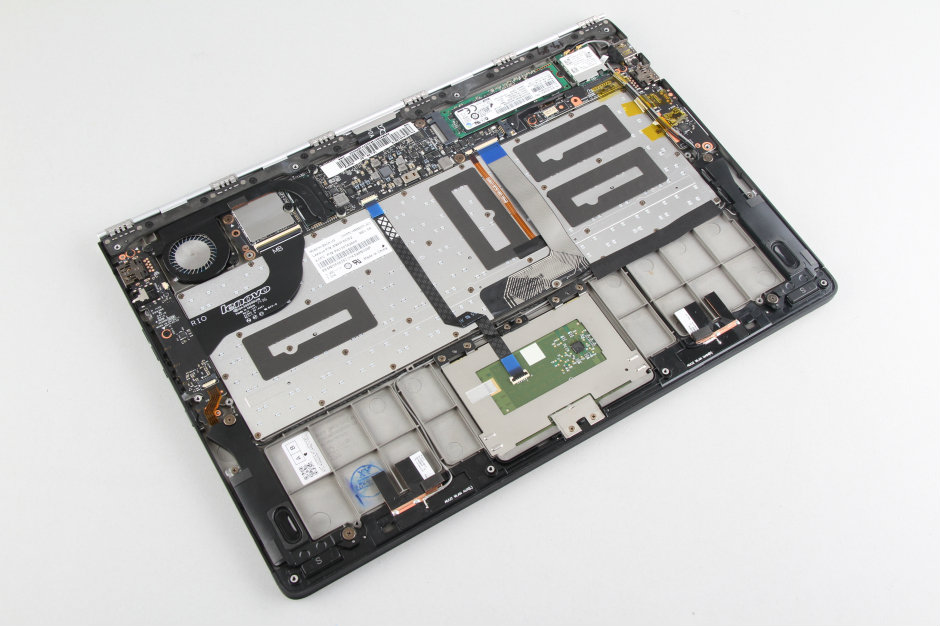
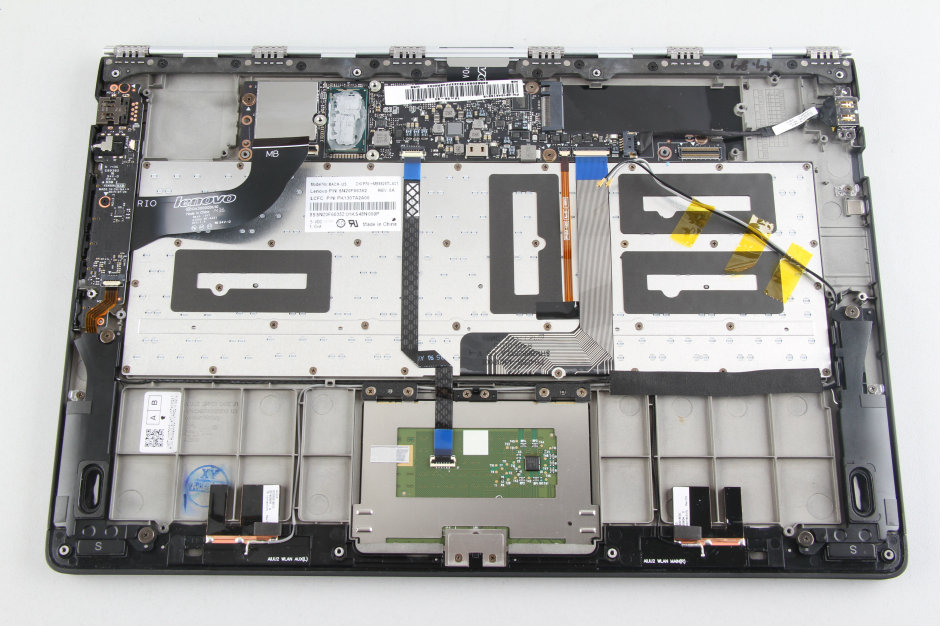
under the bottom case, we can get access the battery, SSD, speakers, wireless card, heat sink and cooling fan.
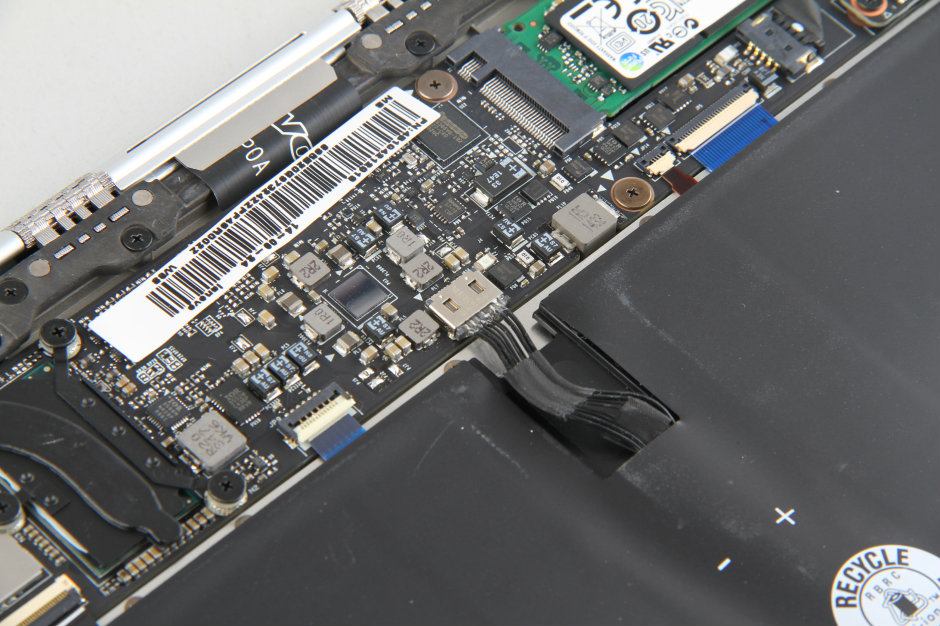
disconnect the battery power cable from motherboard

remove the screws securing the battery, then remove the battery.
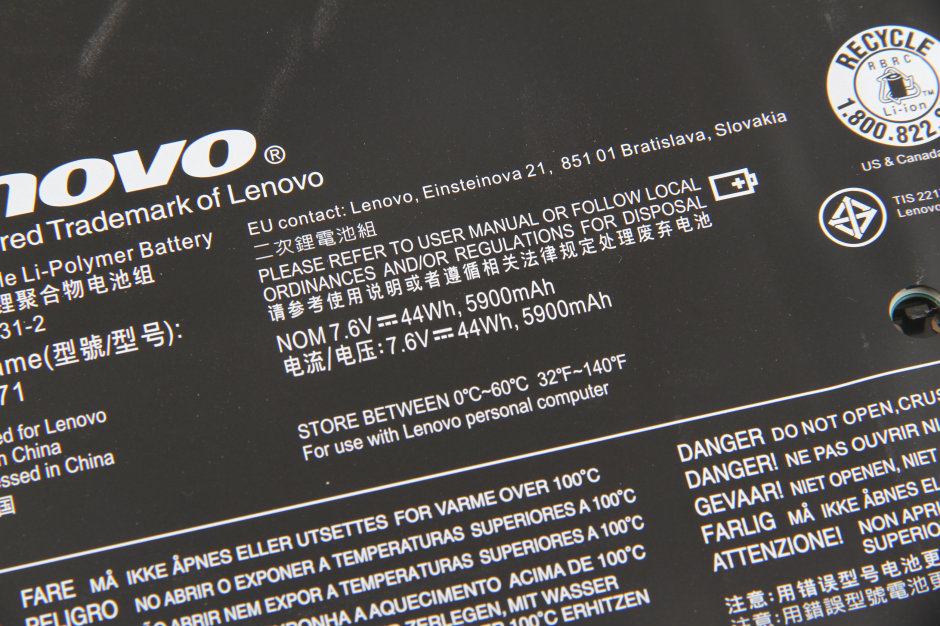
Lenovo Yoga 3 Pro come with a li-polymer battery, lenovo p/n: L13M4P71

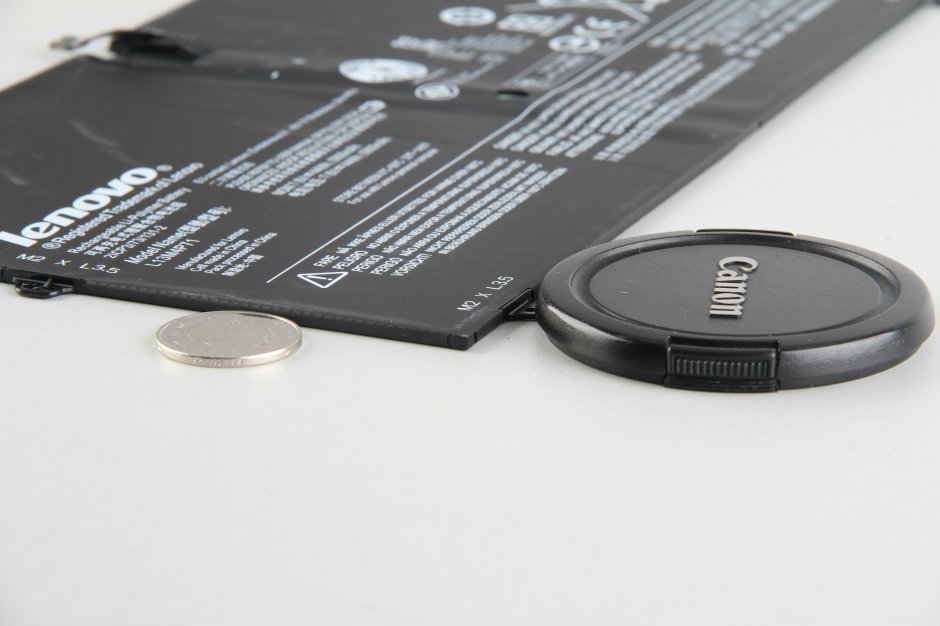
you can see, the battery is very thin

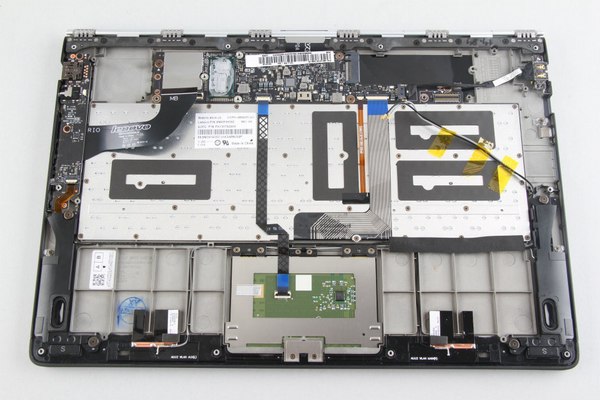
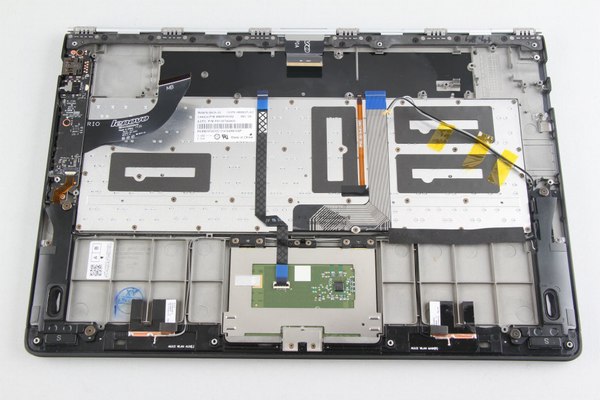
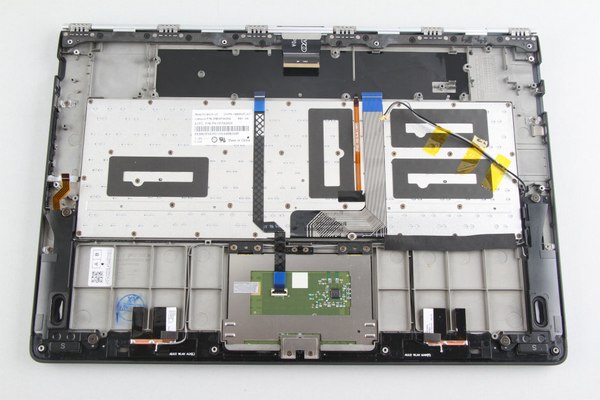
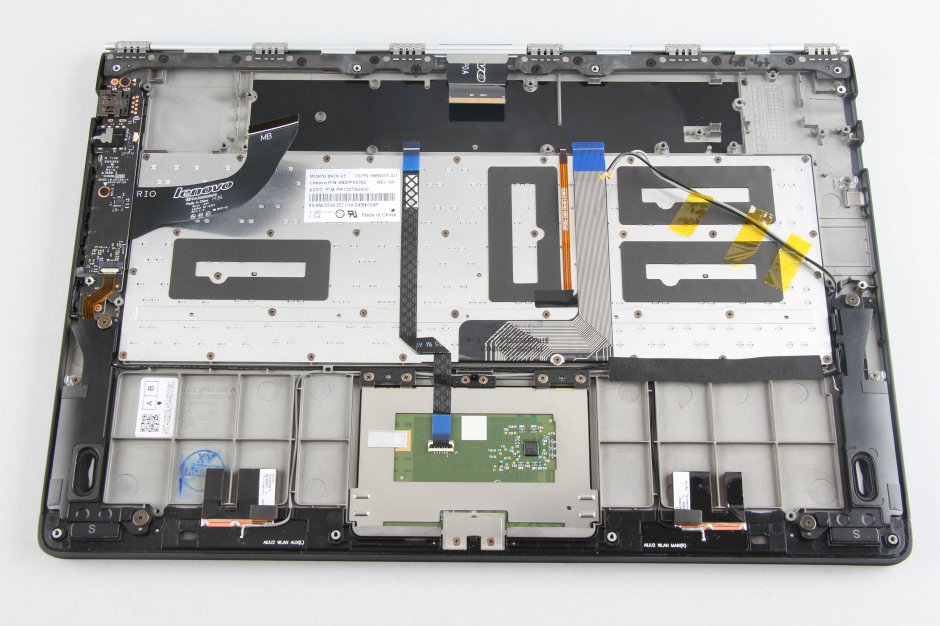
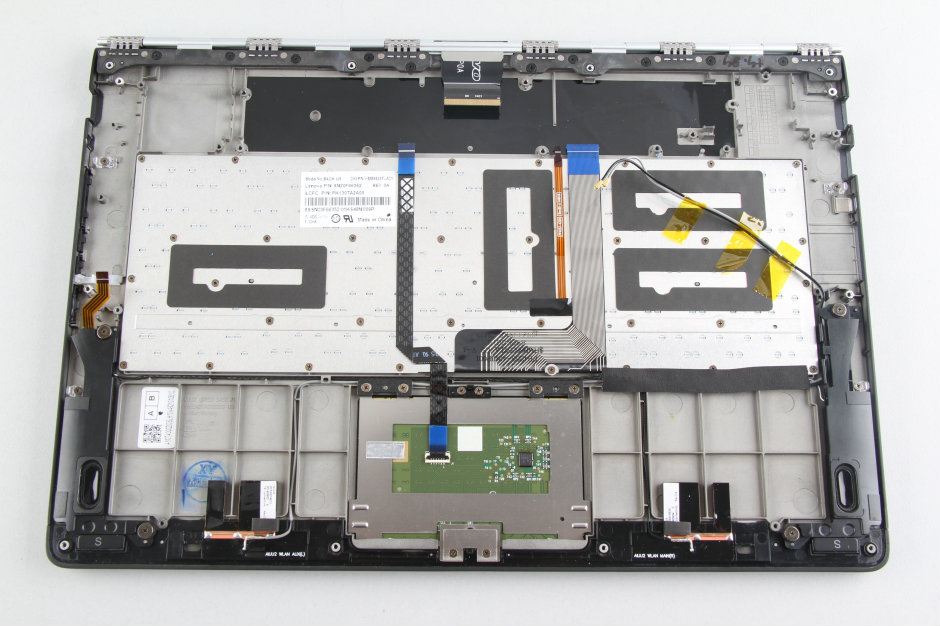
after the battery was removed, we can access the keyboard and touchpad

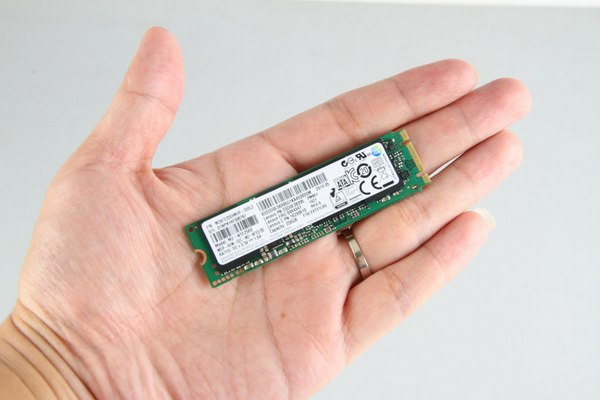
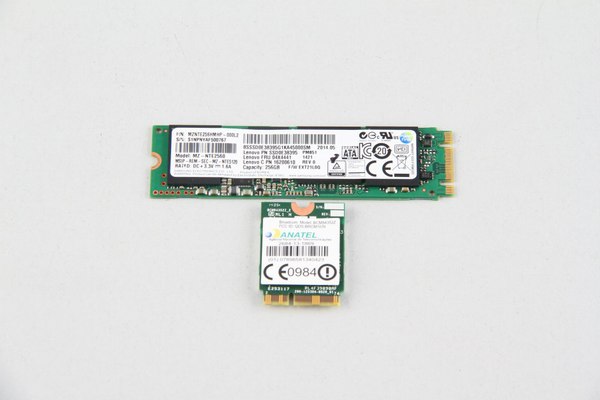
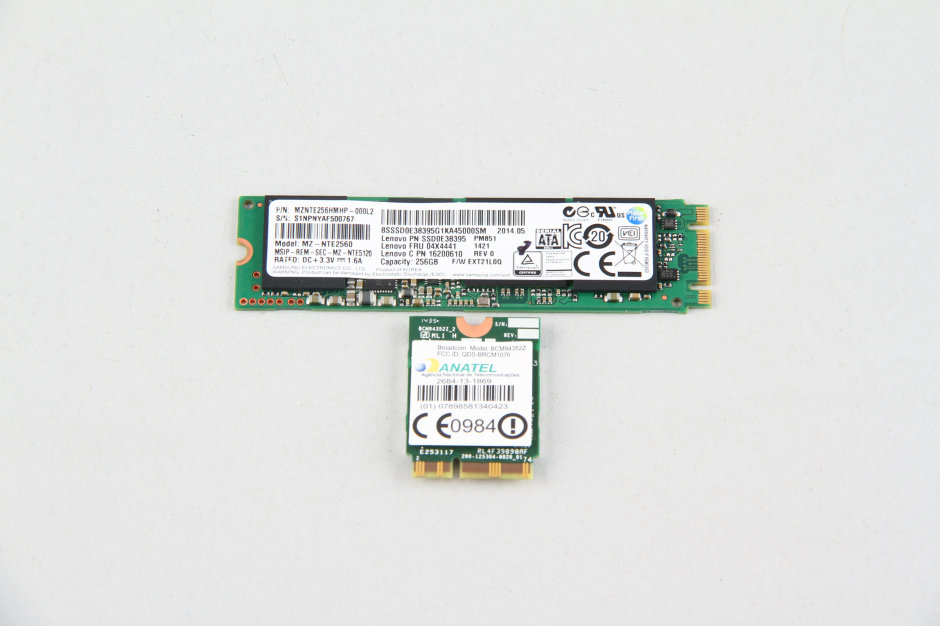
remove one screw securing the ssd, remove the ssd
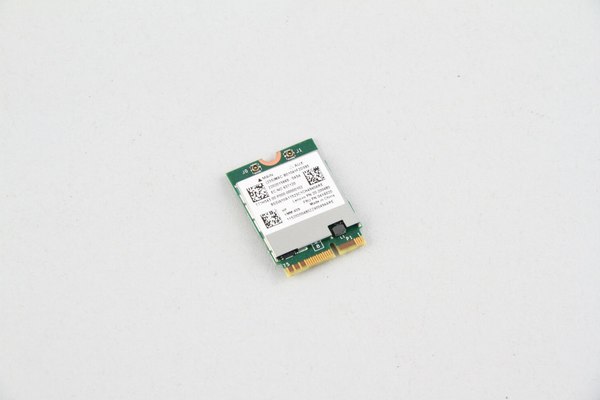
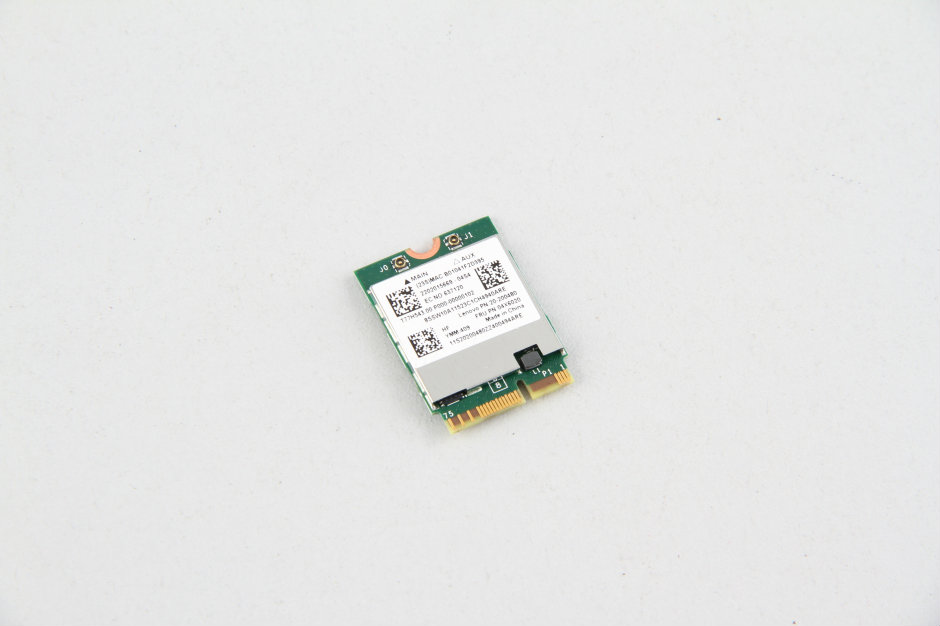
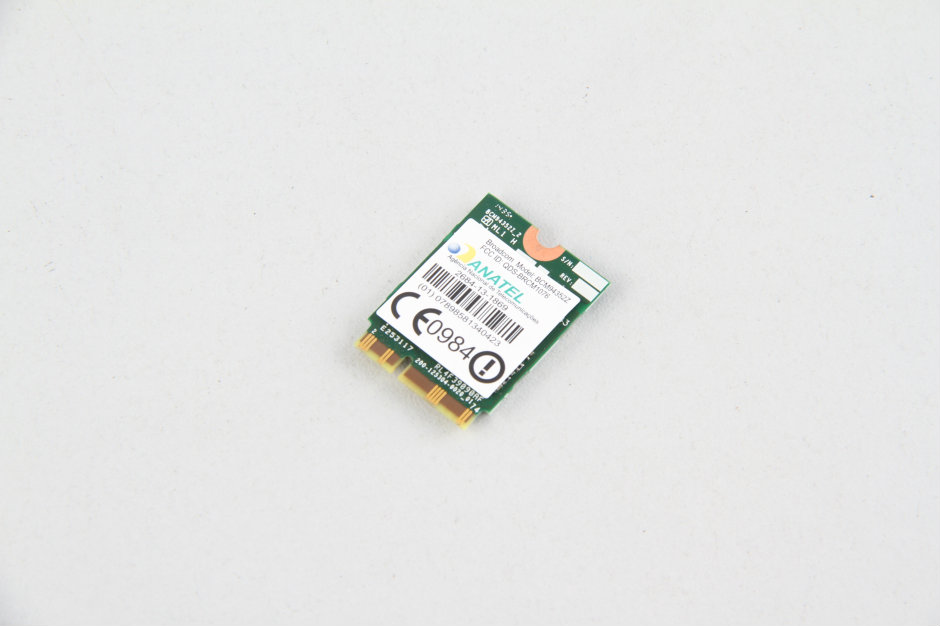
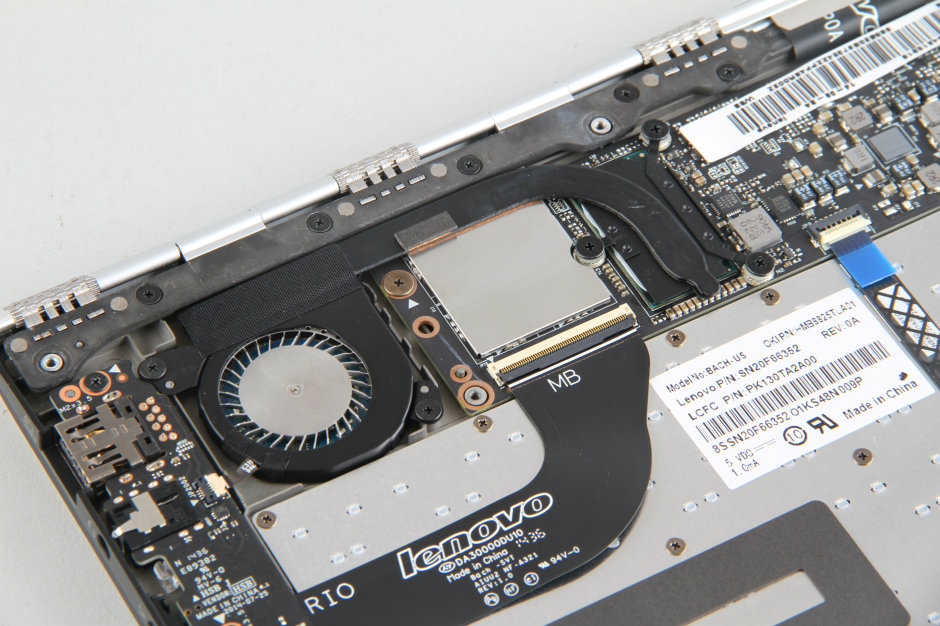
remove one screw and disconnect two antennas, then the wireless card can be removed.

the Lenovo Yoga 3 Pro come with Samsung 256GB SSD, lenovo P/N: 04X4441
T77H543.00 wireless lan card, Broadcom BCM94352Z M.2 NGFF 802.11AC 867Mbps 802.11N Bluetooth 4.0
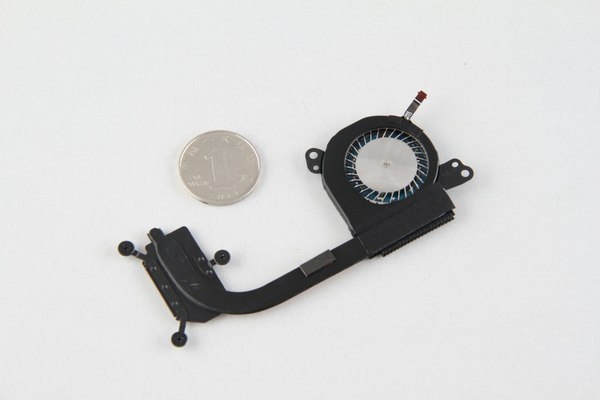
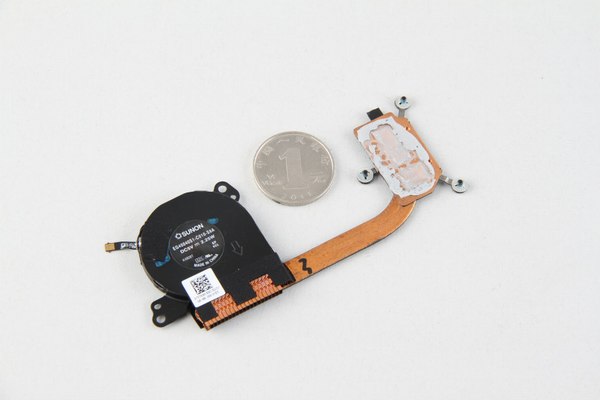
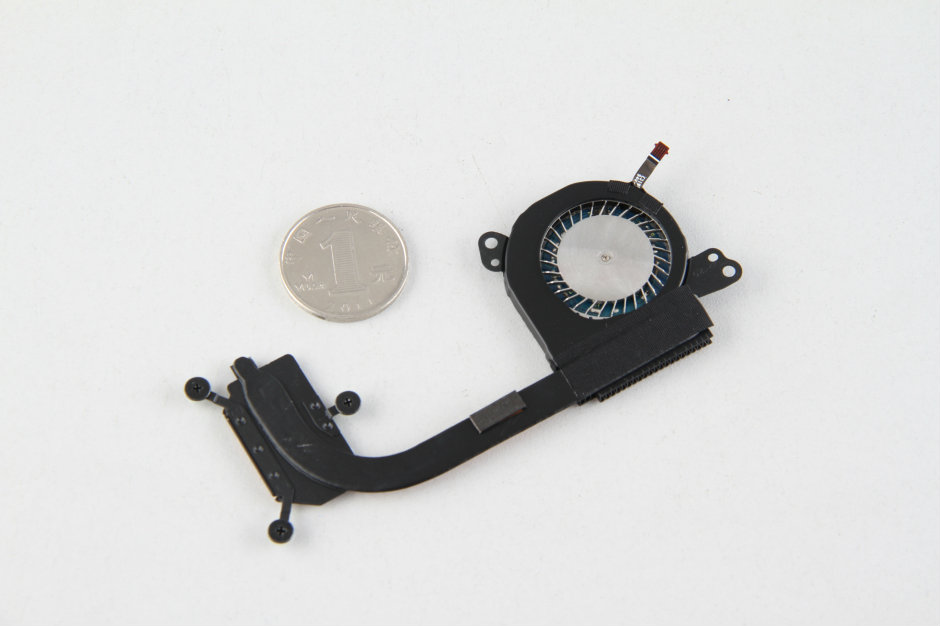
remove two screws securing the cooling fan, loosen three screws securing the heat sink
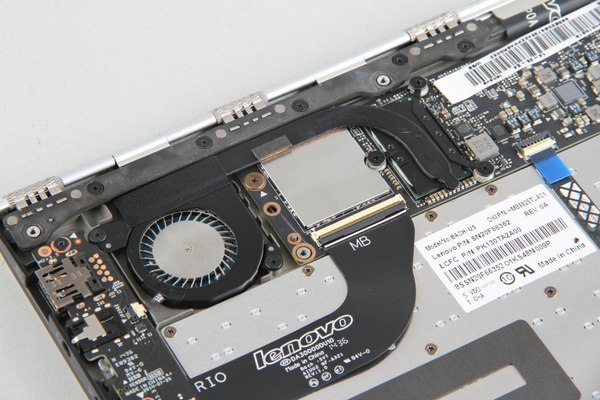
disconnect the cooling fan cable from motherboard.
Lenovo Yoga 3 Pro heat sink and cooling fan
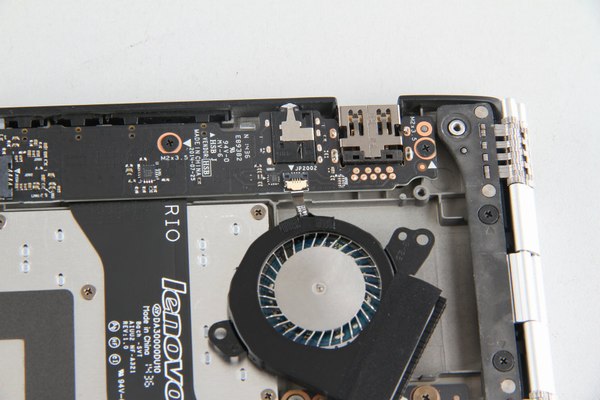
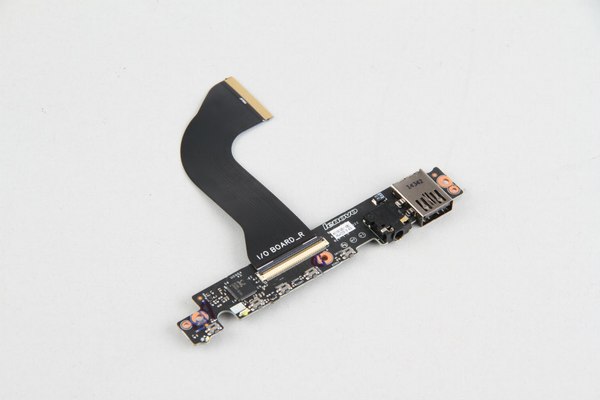
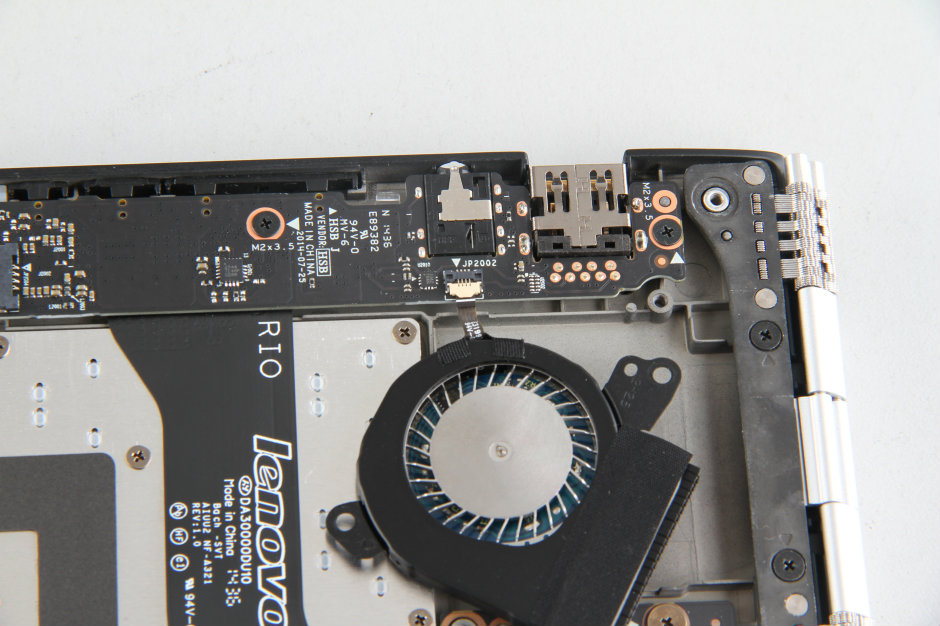
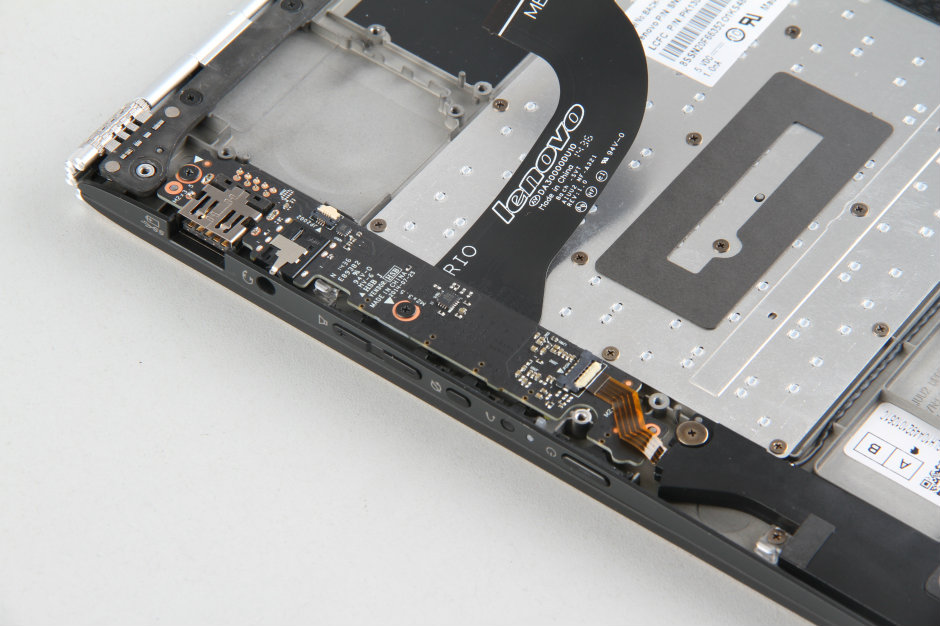
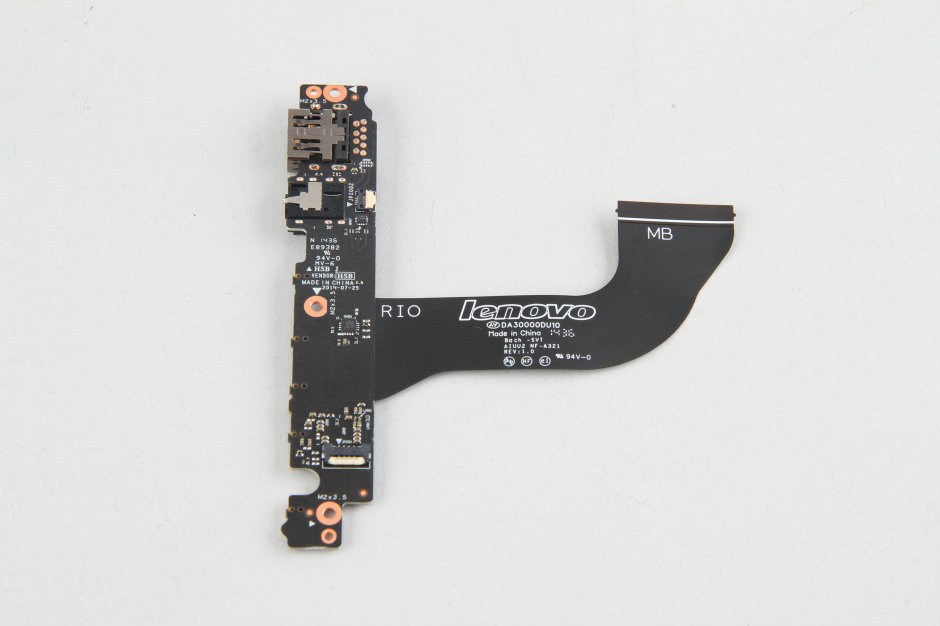
remove the screws securing the right i/o board
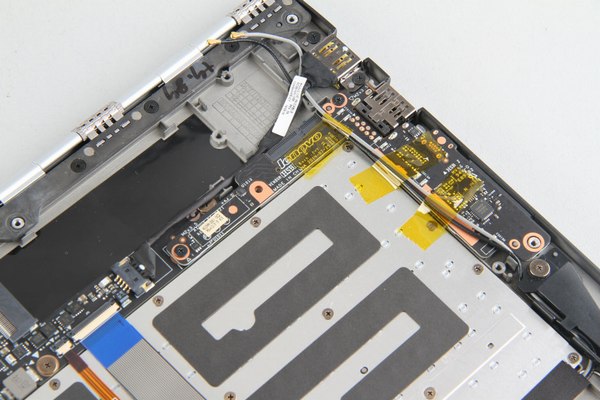
the i/o board
in next step, we will remove the motherboard.
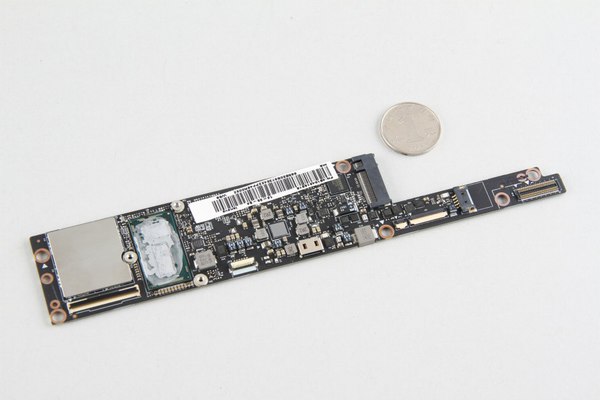
remove the screws securing the motherboard, lift up the motherboard, then disconnect the lcd cable from motherboard

Yoga 3 Pro motherboard
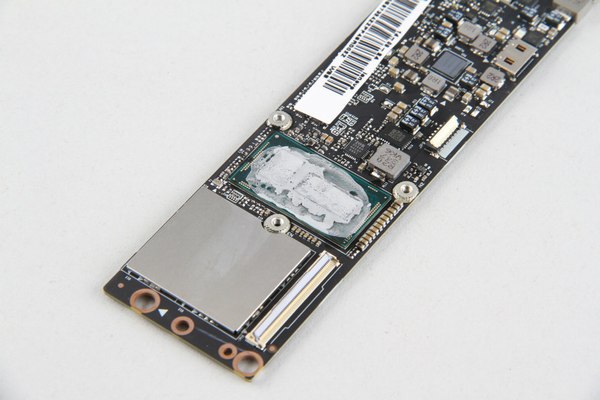
intel processor

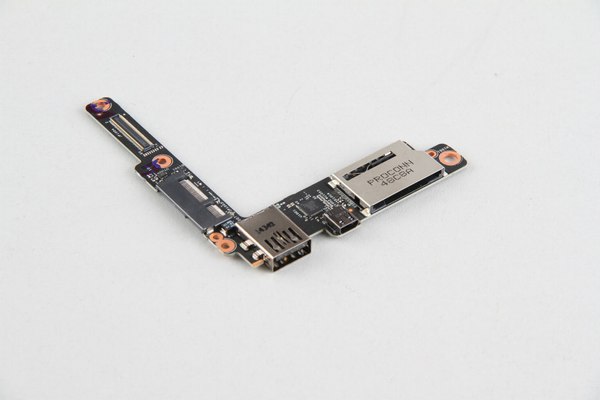
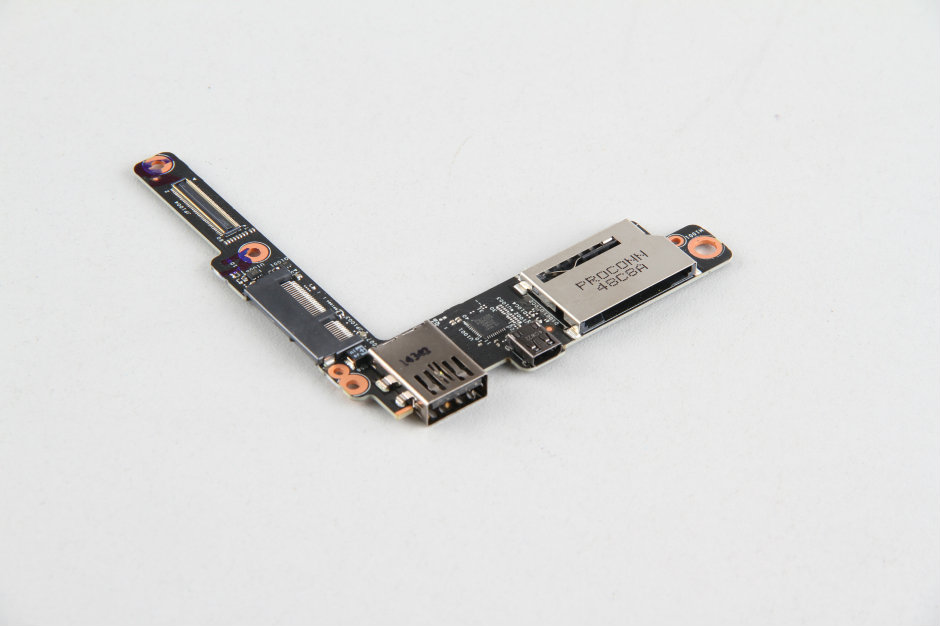
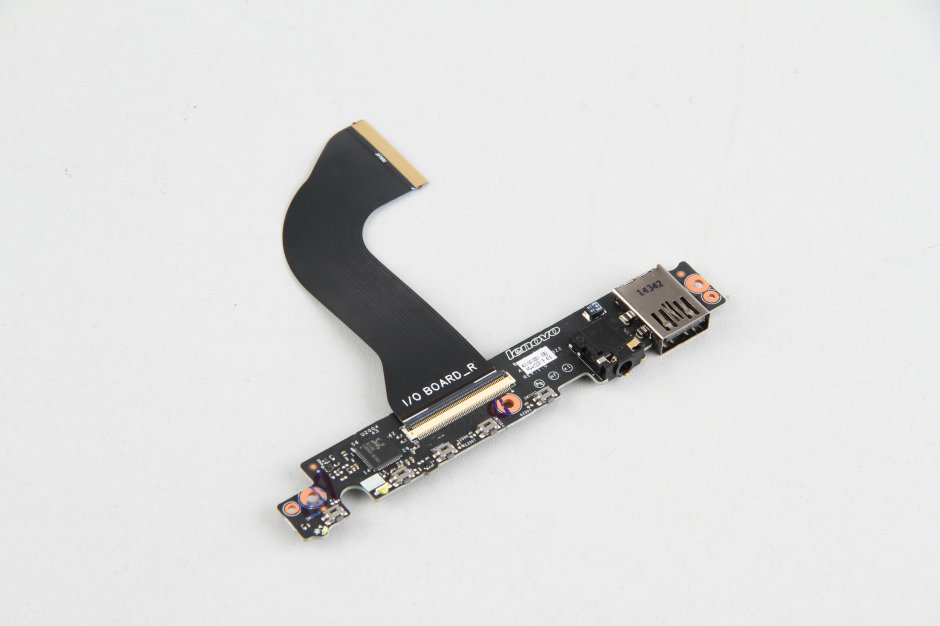
remove the screws securing the left board, disconnect the speaker cable

the left usb board

Completed..
remove ten screws from bottom case.
pry up the bottom case with a pry bar.
under the bottom case, we can get access the battery, SSD, speakers, wireless card, heat sink and cooling fan.
disconnect the battery power cable from motherboard
remove the screws securing the battery, then remove the battery.
Lenovo Yoga 3 Pro come with a li-polymer battery, lenovo p/n: L13M4P71
you can see, the battery is very thin
after the battery was removed, we can access the keyboard and touchpad
remove one screw securing the ssd, remove the ssd
remove one screw and disconnect two antennas, then the wireless card can be removed.

the Lenovo Yoga 3 Pro come with Samsung 256GB SSD, lenovo P/N: 04X4441

T77H543.00 wireless lan card, Broadcom BCM94352Z M.2 NGFF 802.11AC 867Mbps 802.11N Bluetooth 4.0
remove two screws securing the cooling fan, loosen three screws securing the heat sink
disconnect the cooling fan cable from motherboard.
Lenovo Yoga 3 Pro heat sink and cooling fan

remove the screws securing the right i/o board

the i/o board
in next step, we will remove the motherboard.
remove the screws securing the motherboard, lift up the motherboard, then disconnect the lcd cable from motherboard
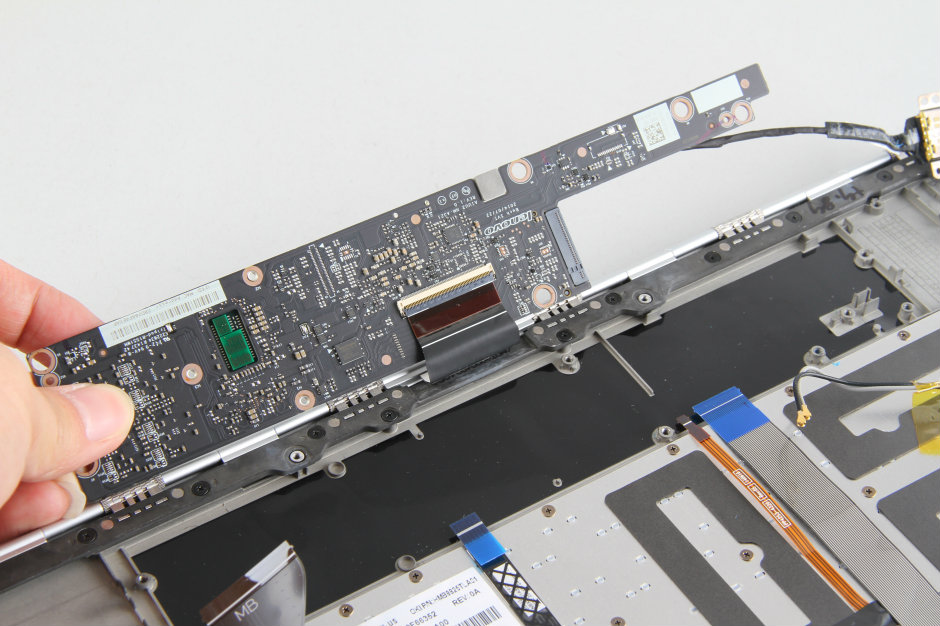
Yoga 3 Pro motherboard
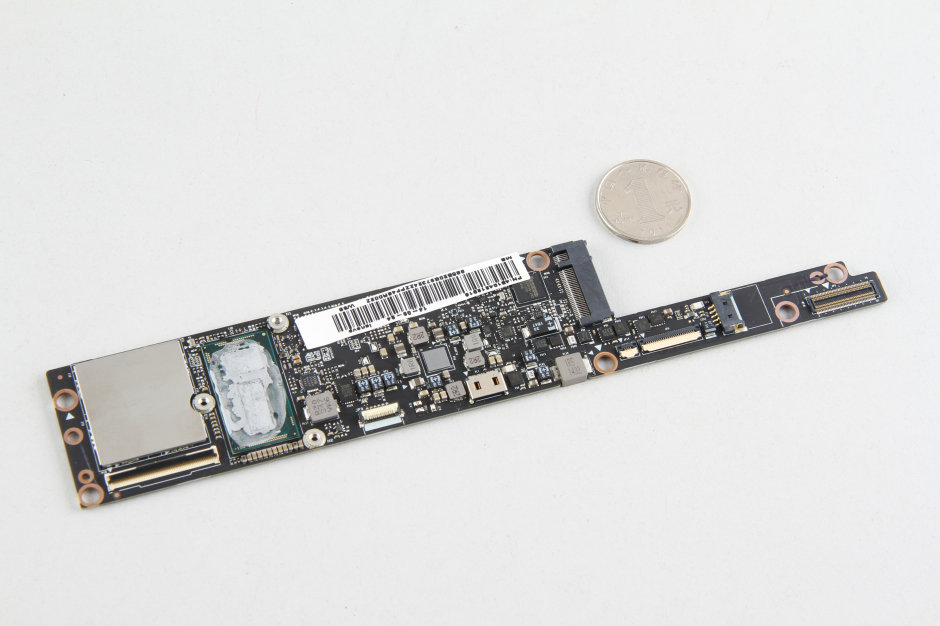
intel processor


remove the screws securing the left board, disconnect the speaker cable
the left usb board

Completed..
No comments:
Post a Comment