In this guide, i’ll explain How To disassemble HP Pavilion DV6 to
remove RAM, hard drive, wireless card, keyboard, palm rest, cooling fan
and motherboard, refer on this guide, you can repair, upgrade, clean fan
for your Pavilion DV6.
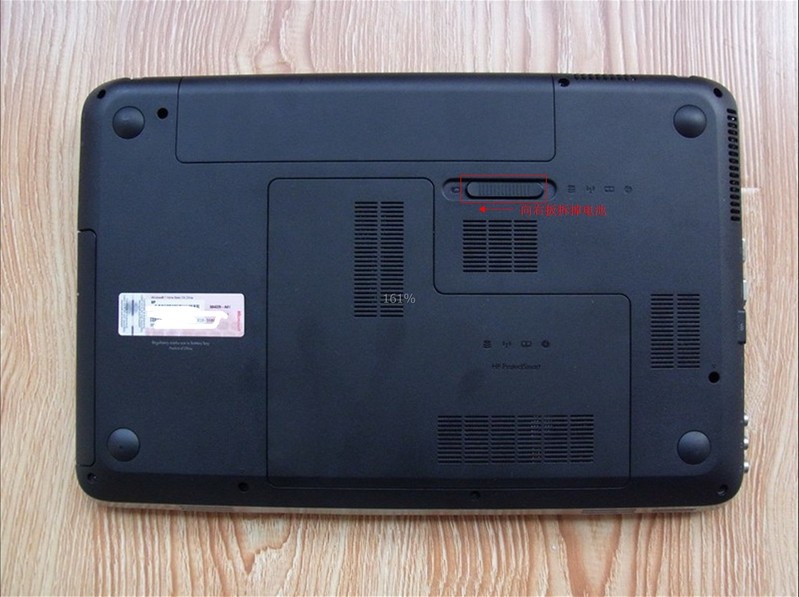
turn off your laptop, unlock and remove the battery

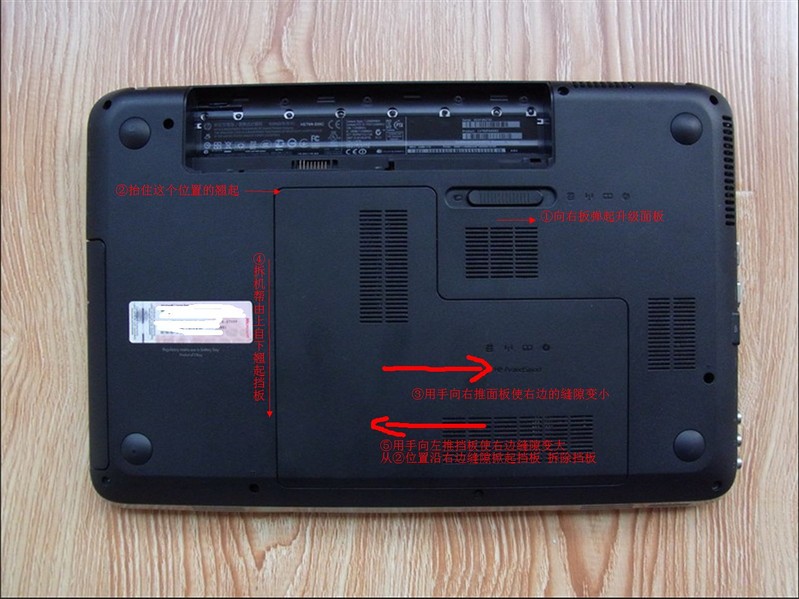
released the latch, remove the service cover

once the service cover was removed, we can access the hard drive, ram and wireless card.

remove the ram, hard drive and dvd drive

disconnect two antenna and remove two screws, then remove the wireless card

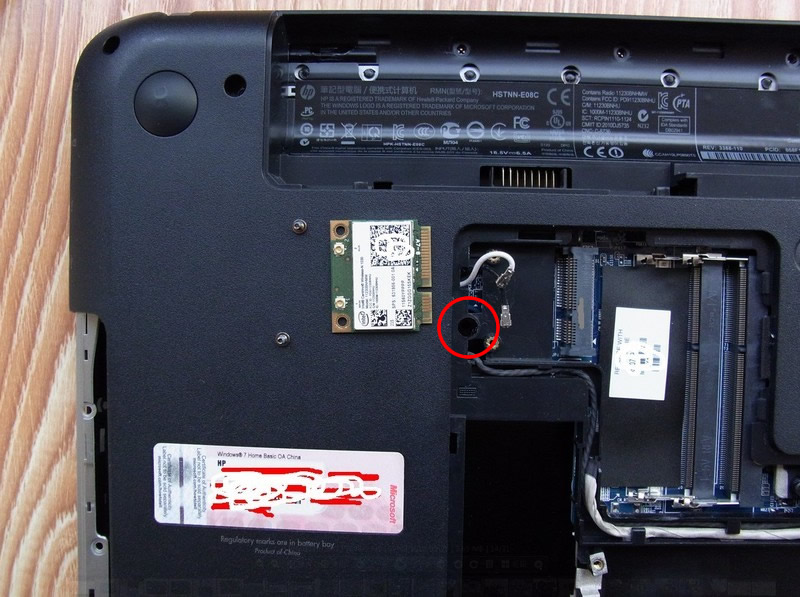
remove the screw securing the keyboard

turn over the laptop, lift up the keyboard, disconnect the keyboard cable and remove the battery

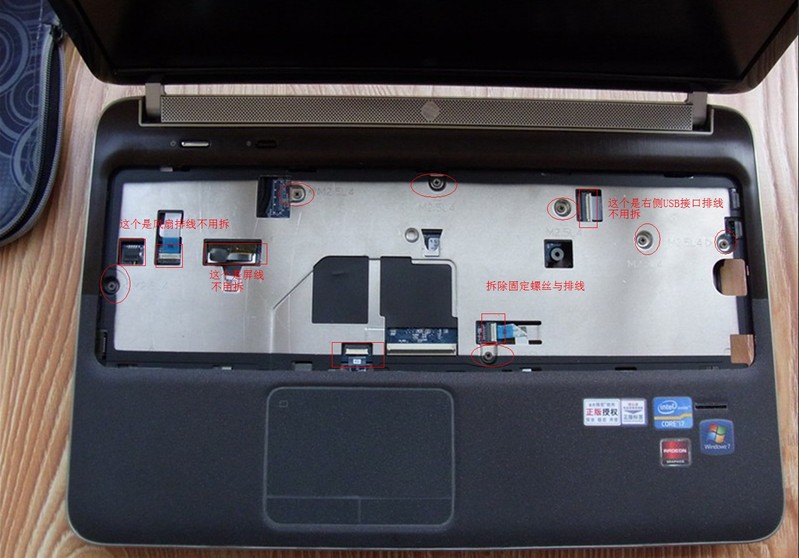
remove seven screws securing the palm rest, disconnect all the cables

remove all the screws from bottom case

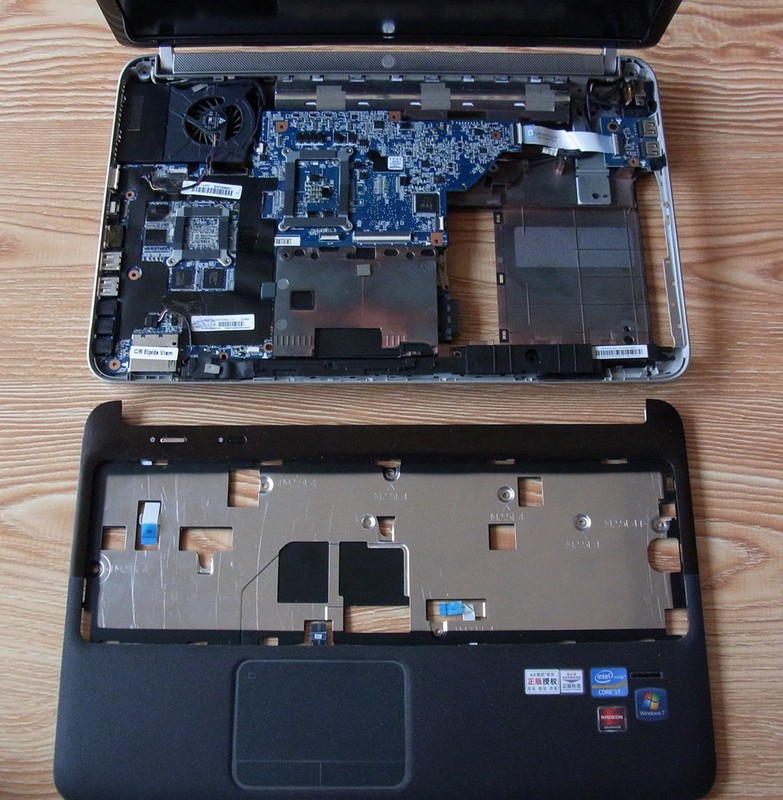
then you can pry up the palm rest with a pry bar and guitar picks

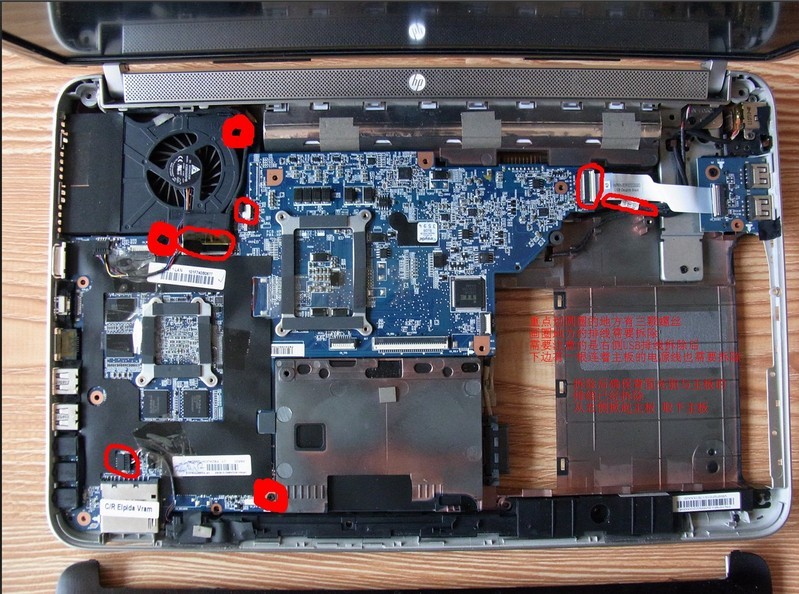
disconnect the speaker cable, dc jack cable, lcd cable and usb board cable, remove the screws securing the motherboard

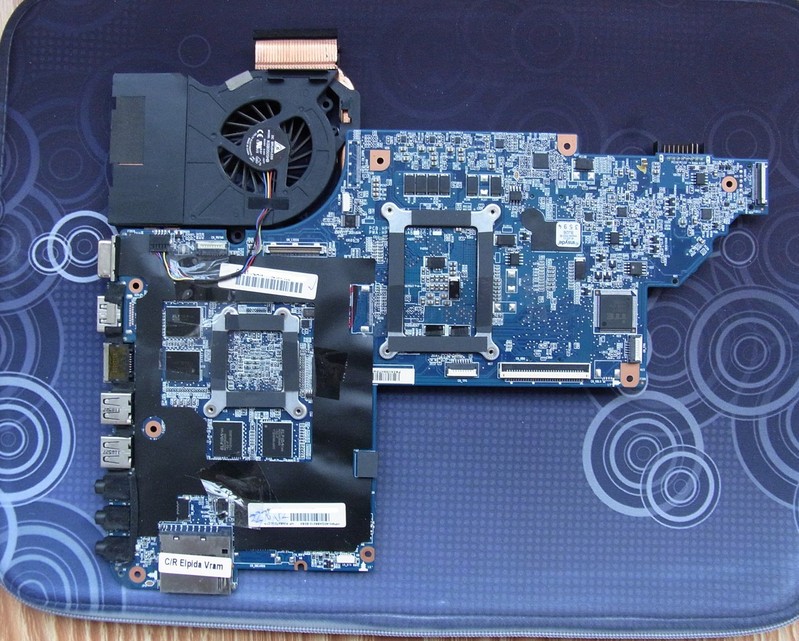
now the motherboard has been removed

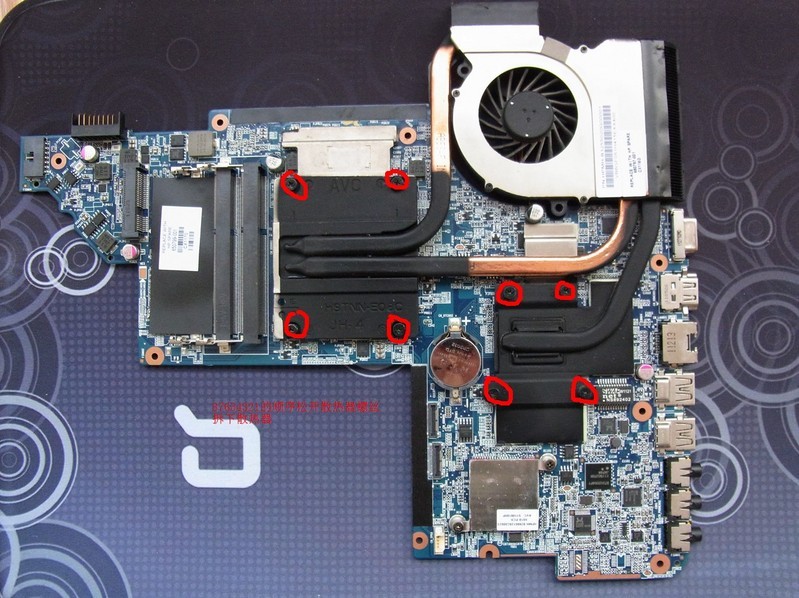
remove eight screws securing the heat sink

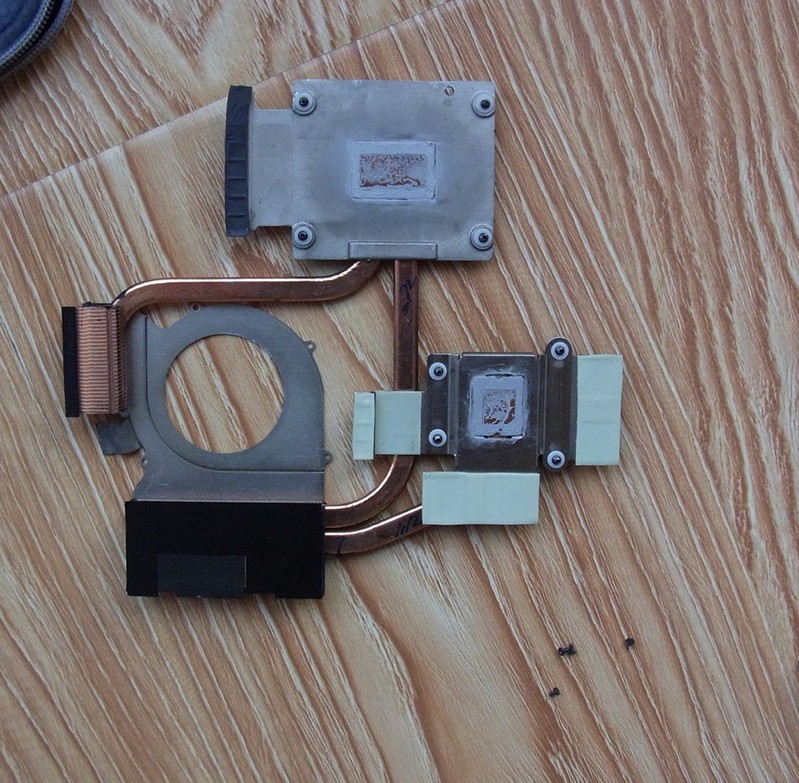
the heat sink and cooling fan

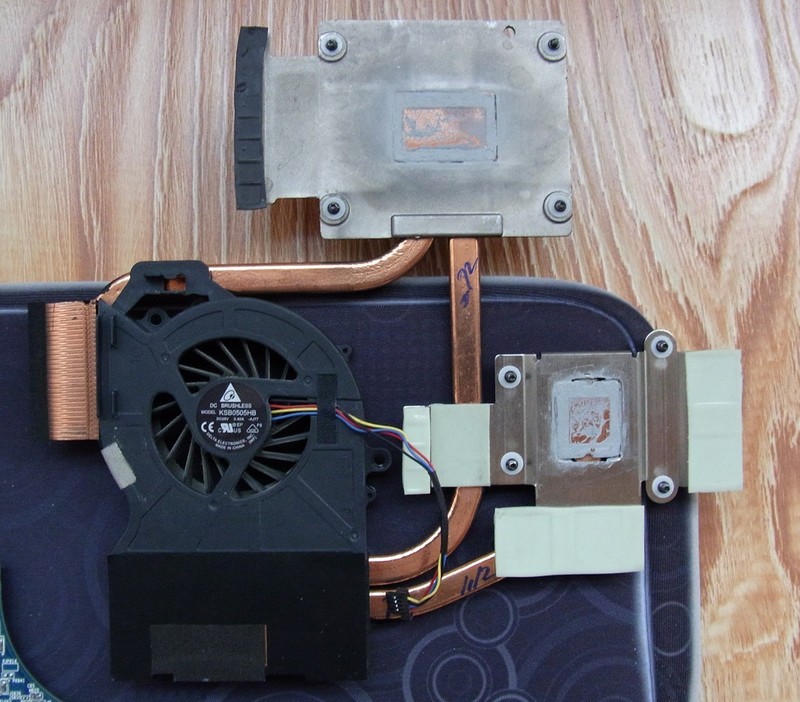
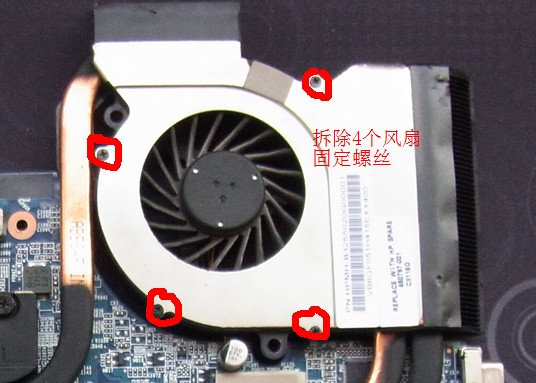
remove four screws

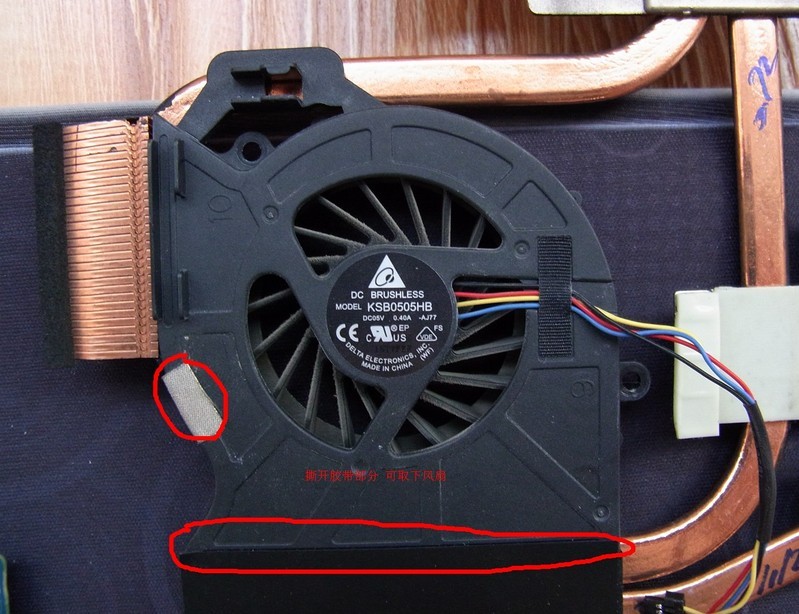
uncover the tapes securing the cooling fan, then you can clean the fan with a brush

the heat sink

turn off your laptop, unlock and remove the battery
released the latch, remove the service cover
once the service cover was removed, we can access the hard drive, ram and wireless card.
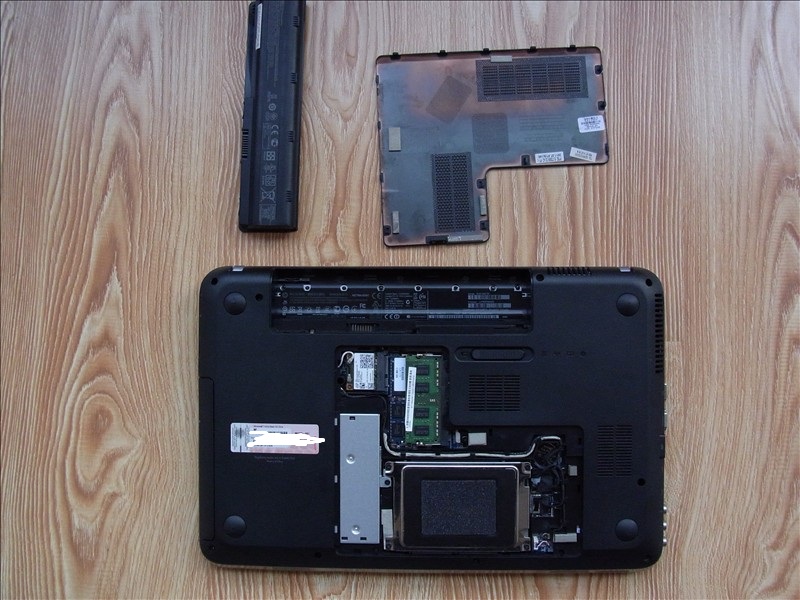
remove the ram, hard drive and dvd drive
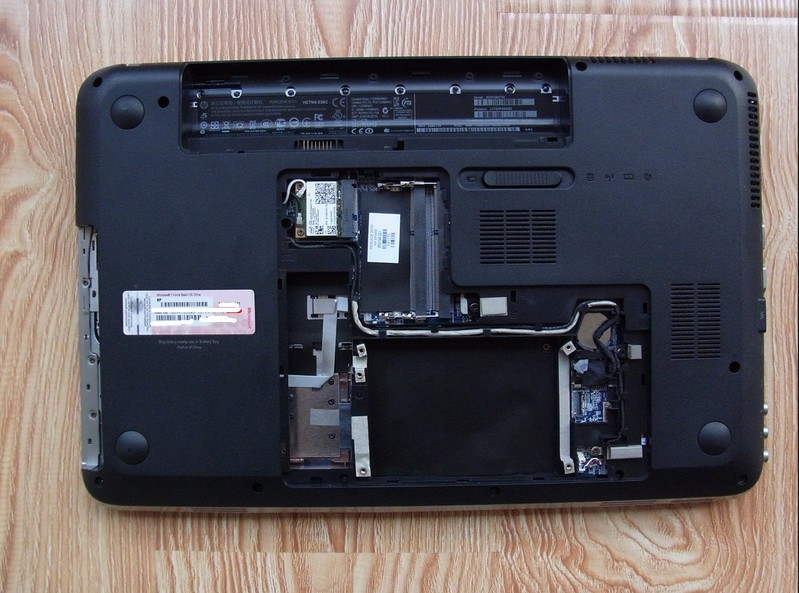
disconnect two antenna and remove two screws, then remove the wireless card
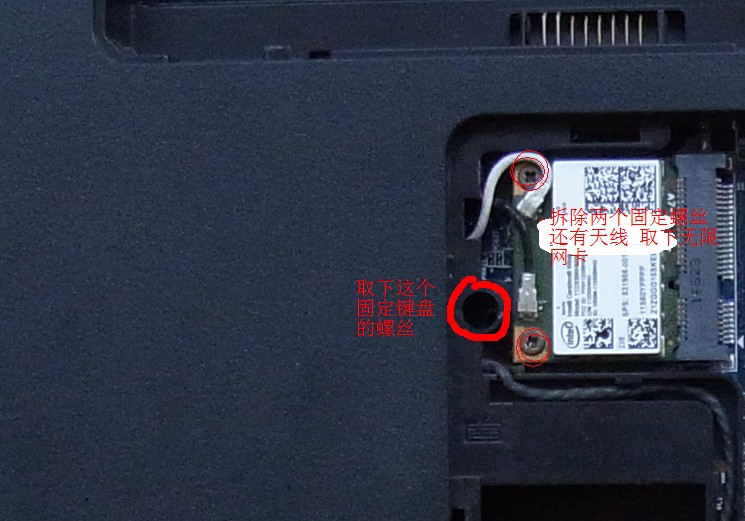
remove the screw securing the keyboard
turn over the laptop, lift up the keyboard, disconnect the keyboard cable and remove the battery

remove seven screws securing the palm rest, disconnect all the cables
remove all the screws from bottom case
then you can pry up the palm rest with a pry bar and guitar picks
disconnect the speaker cable, dc jack cable, lcd cable and usb board cable, remove the screws securing the motherboard
now the motherboard has been removed
remove eight screws securing the heat sink
the heat sink and cooling fan
remove four screws
uncover the tapes securing the cooling fan, then you can clean the fan with a brush
the heat sink
No comments:
Post a Comment