In this guide, i’ll explain how to disassemble Asus Zenbook UX305FA
to remove bottom case, battery, SSD, wireless lan card, heatsink and
motherboard, refer on this guide, you can repair your Asus UX305FA.
Asus UX305FA Teardown Step:
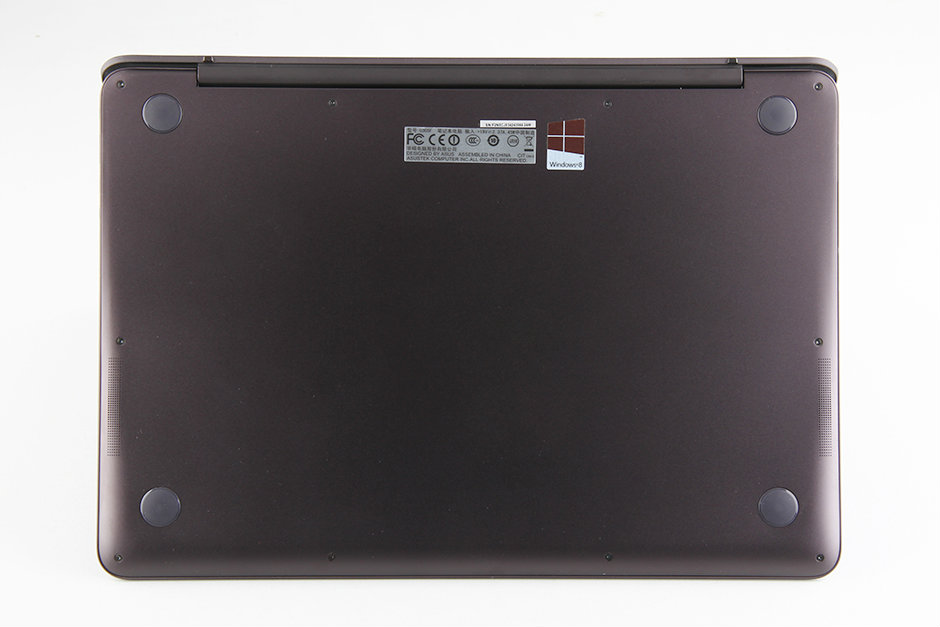
Remove 10 visible screws from bottom case

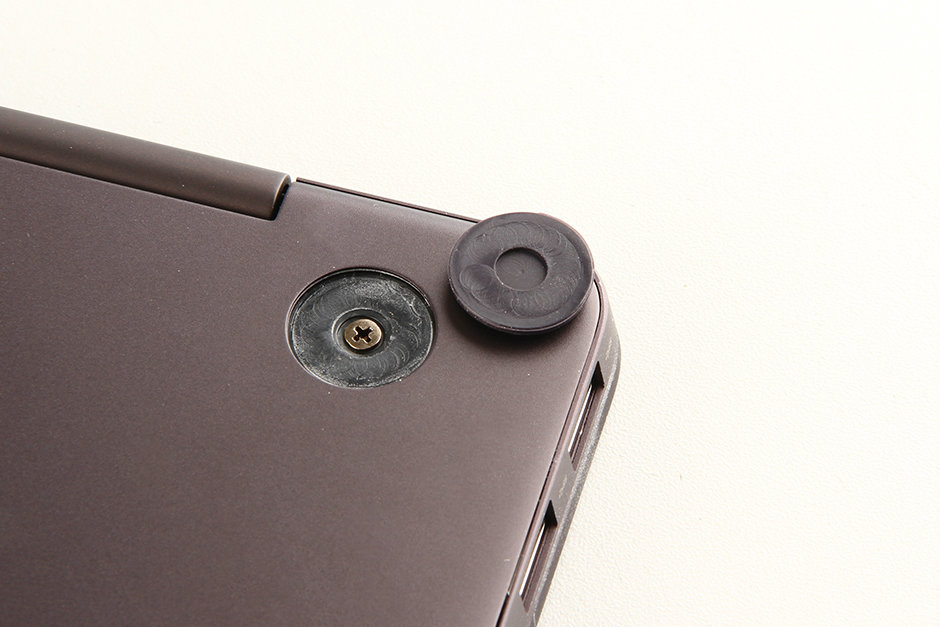
remove the four rubber mat, under the rubber mat, you can find the hidden screws

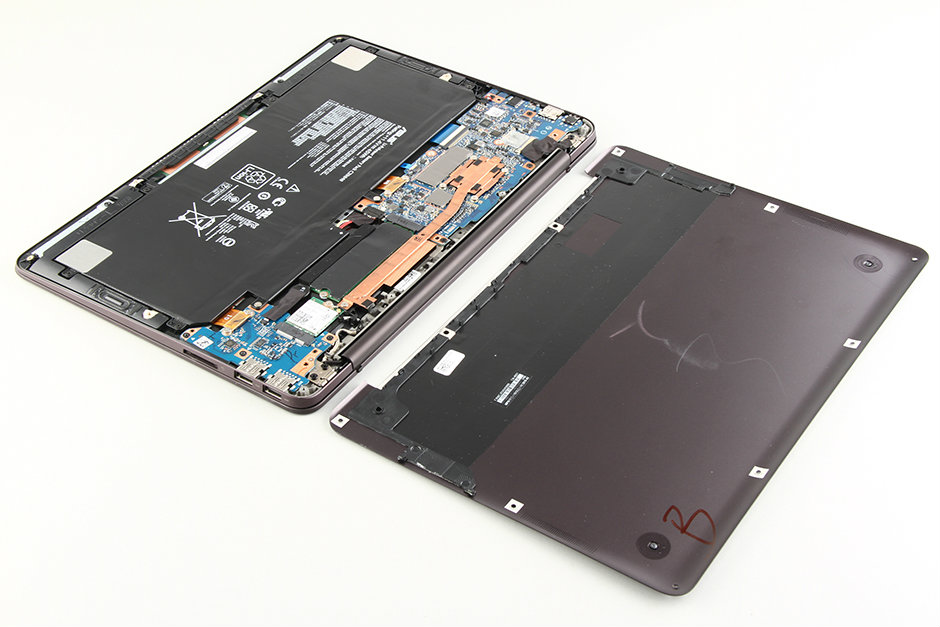
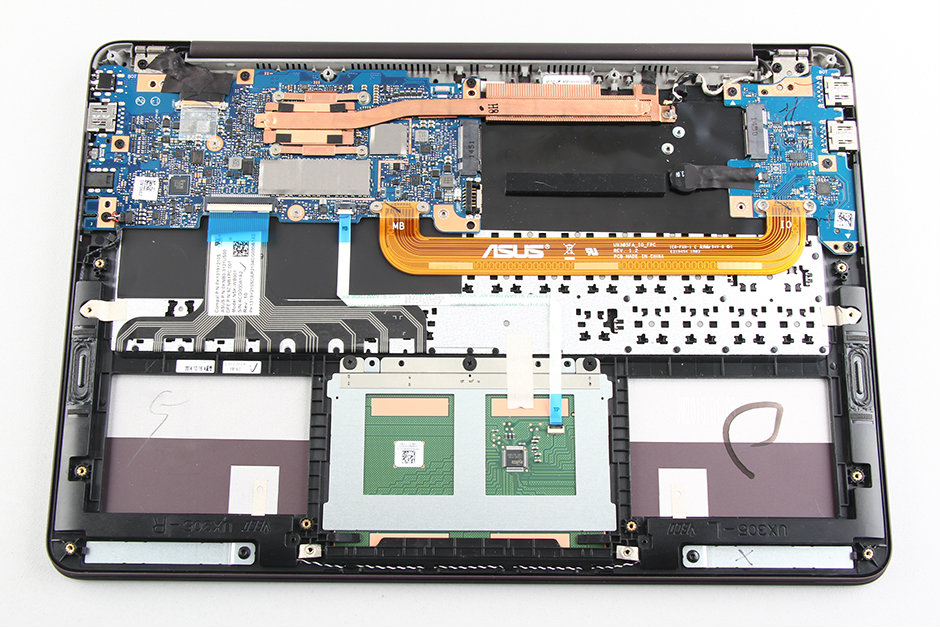
carefully pry up the bottom case with a pry bar or Guitar Pick

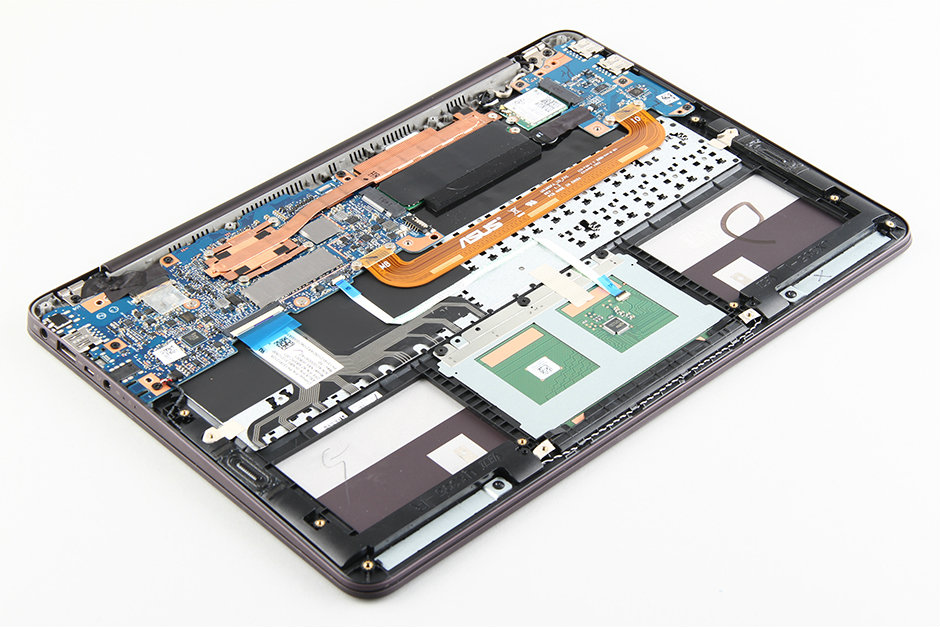
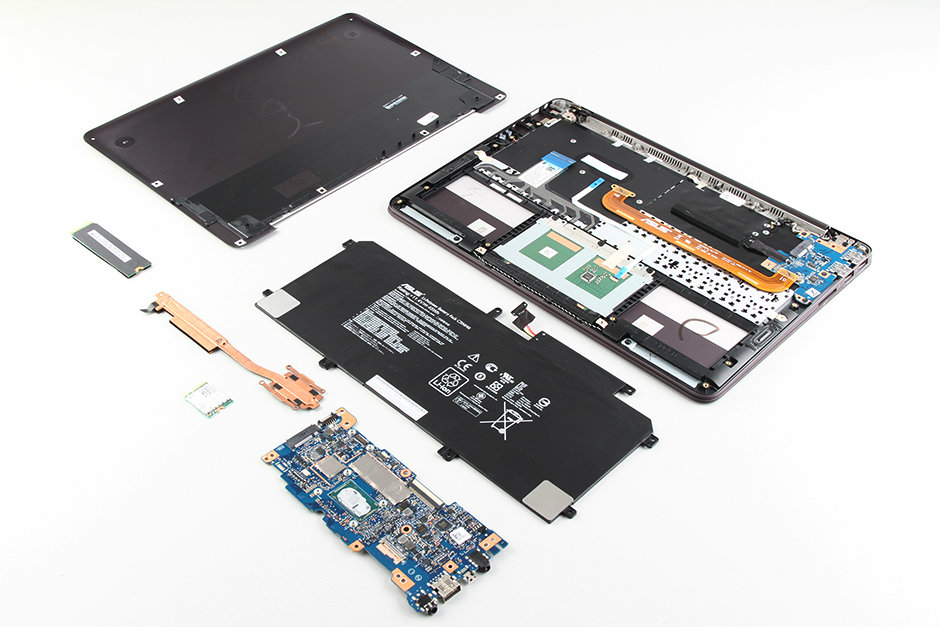
now we can access the internal components of the Asus UX305FA, including SSD, battery, WLAN, heatsink, speaker and motherboard

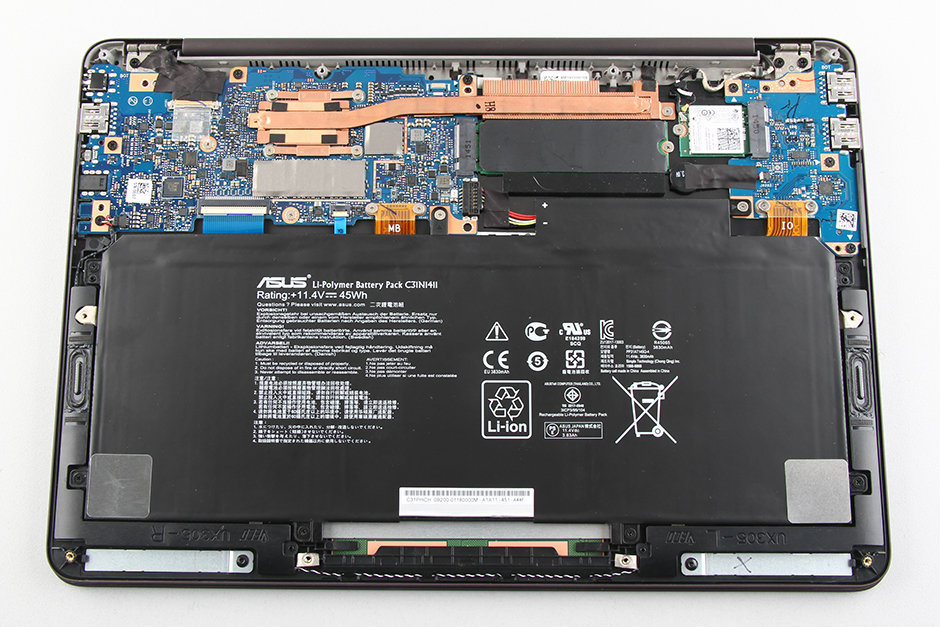
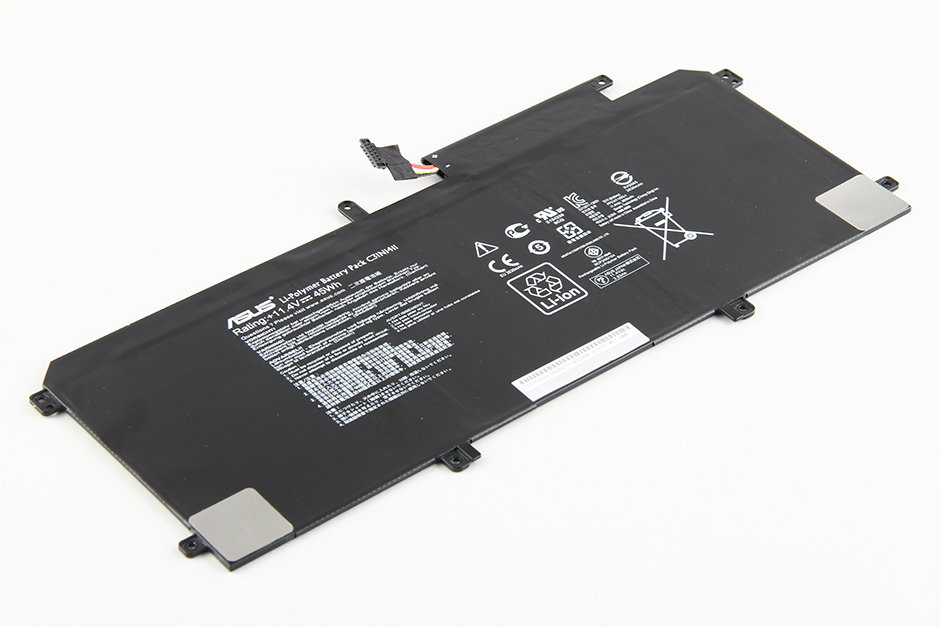
to protect hardare, we need to disconnect the battery power cable first

Asus UX305FA come with a 11.4v, 45wh li-polymer battery, Asus P/N: C31N1411


under the battery, we can find the keyboard

remove one screw securing the SSD

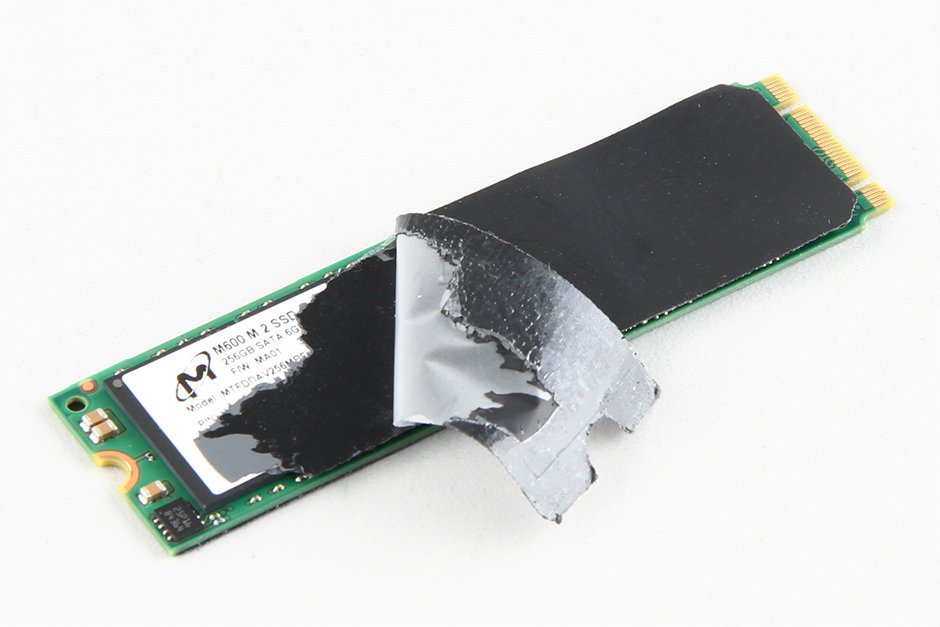
because Asus UX305FA is a fanless ultrabook, so the SSD is covered by a layer of cooling stickers
the Asus UX305FA come with a Micron 256GB M.2(NGFF) SSD

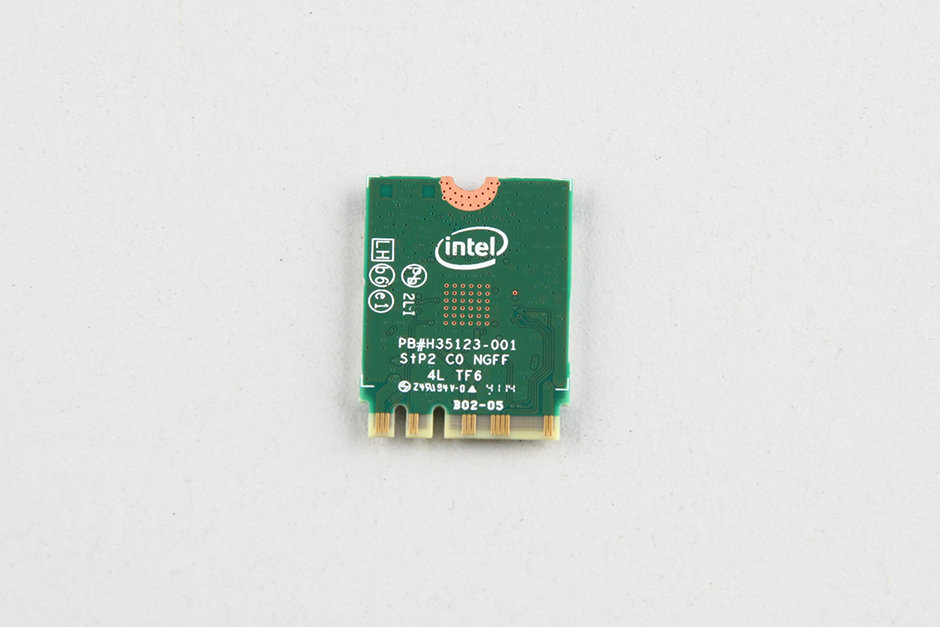
remove one screw securing the wireless lan card

Intel Dual Band Wireless-N 7265 WLAN


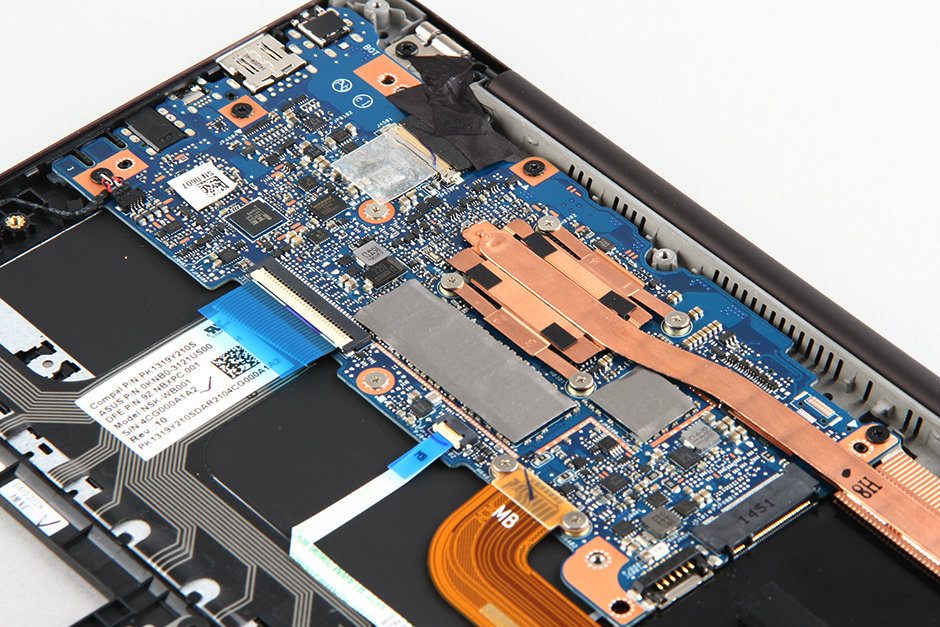
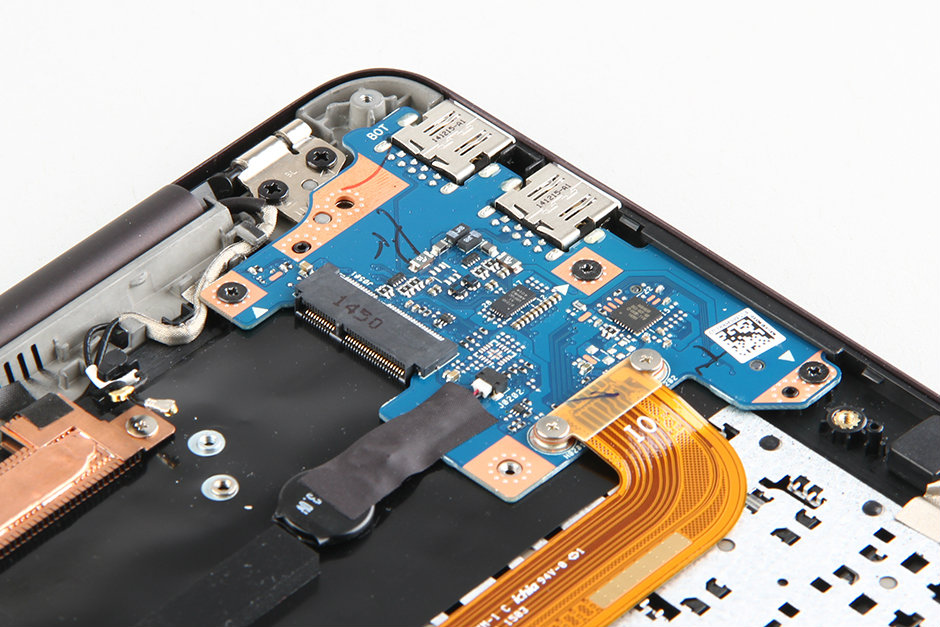
disconnect the yellow cable from motherboard to USB board

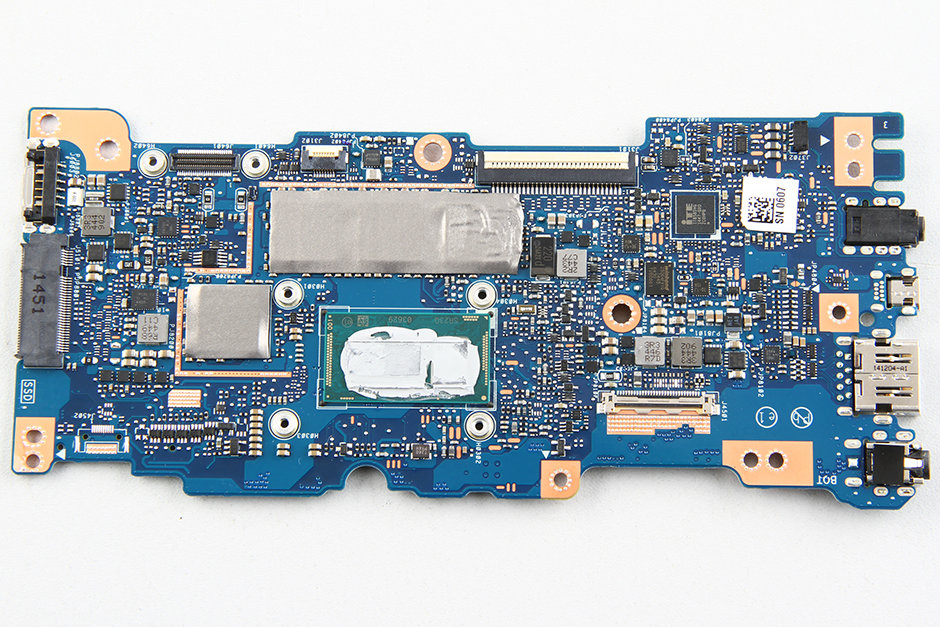
remove four screws securing the motherboard, disconnect the lcd cable, touchpad cable, speaker cable

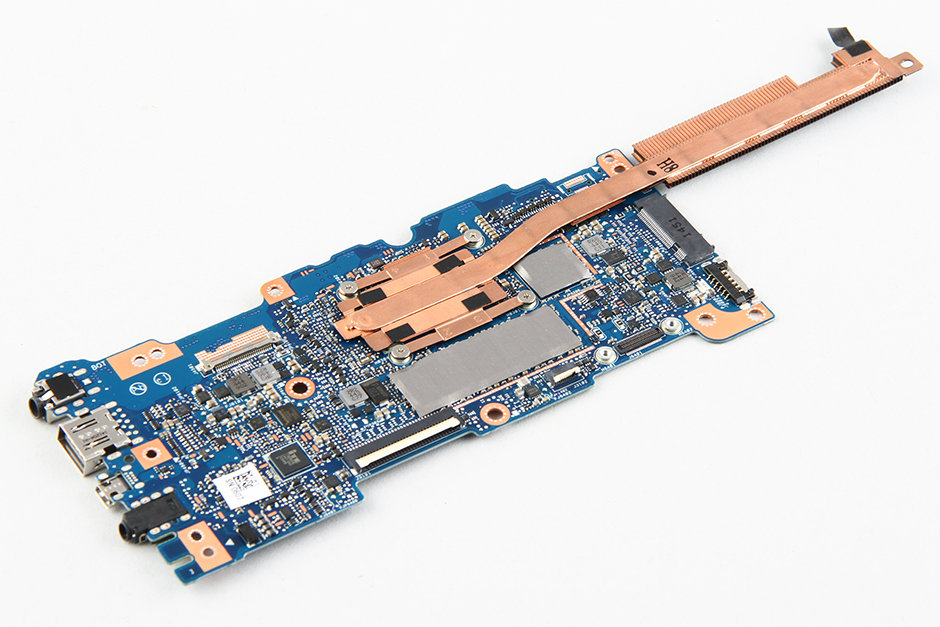
the motherboard has been removed

now we can see the full keyboard, its seem not a backlit keyboard

the USB board

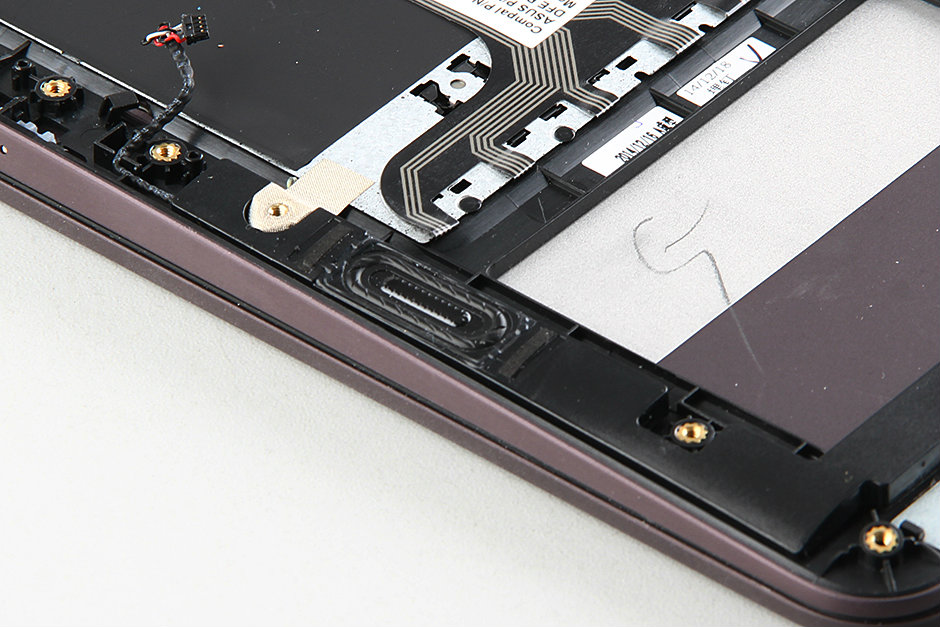
the right side speaker

the left side speaker

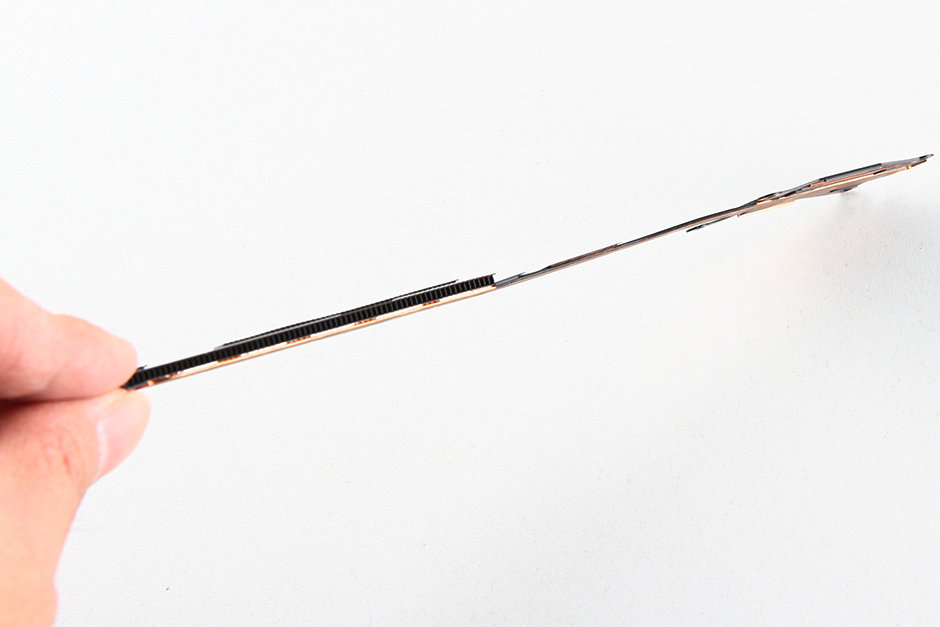
remove four screws securing the heatsink

remove the heatsink

the heatsink is very thin

the onboard RAM chips is covered by a layer of cooling stickers


Asus UX305FA Teardown Step:
Remove 10 visible screws from bottom case
remove the four rubber mat, under the rubber mat, you can find the hidden screws
carefully pry up the bottom case with a pry bar or Guitar Pick
now we can access the internal components of the Asus UX305FA, including SSD, battery, WLAN, heatsink, speaker and motherboard
to protect hardare, we need to disconnect the battery power cable first

Asus UX305FA come with a 11.4v, 45wh li-polymer battery, Asus P/N: C31N1411

under the battery, we can find the keyboard
remove one screw securing the SSD

because Asus UX305FA is a fanless ultrabook, so the SSD is covered by a layer of cooling stickers
the Asus UX305FA come with a Micron 256GB M.2(NGFF) SSD
remove one screw securing the wireless lan card
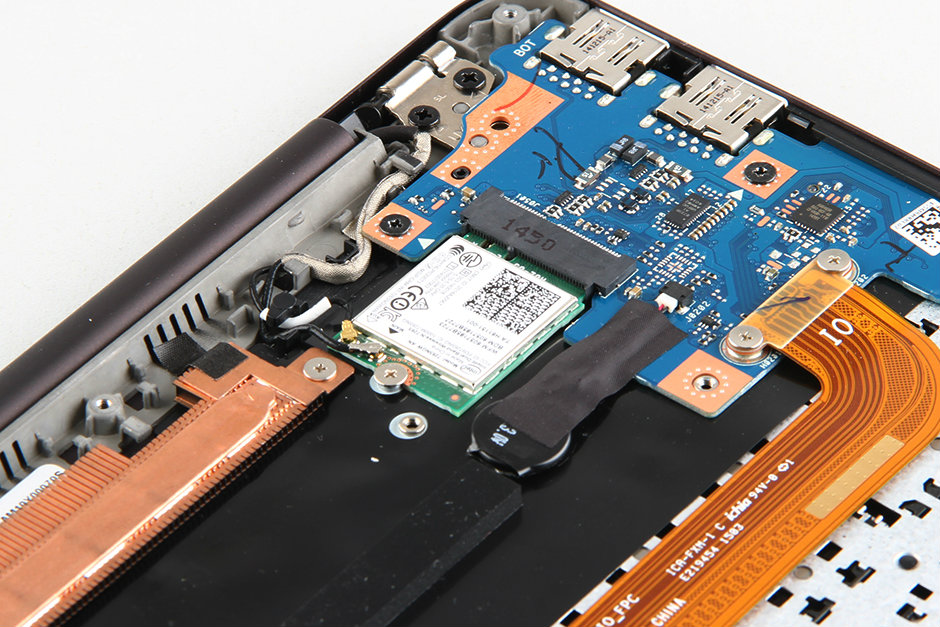
Intel Dual Band Wireless-N 7265 WLAN

disconnect the yellow cable from motherboard to USB board
remove four screws securing the motherboard, disconnect the lcd cable, touchpad cable, speaker cable
the motherboard has been removed
now we can see the full keyboard, its seem not a backlit keyboard

the USB board
the right side speaker

the left side speaker
remove four screws securing the heatsink
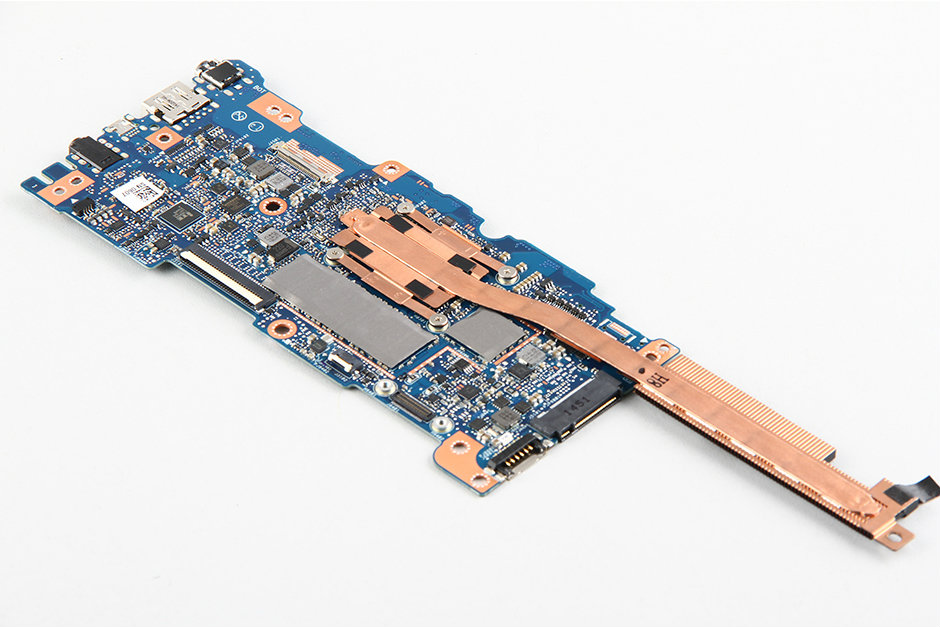
remove the heatsink
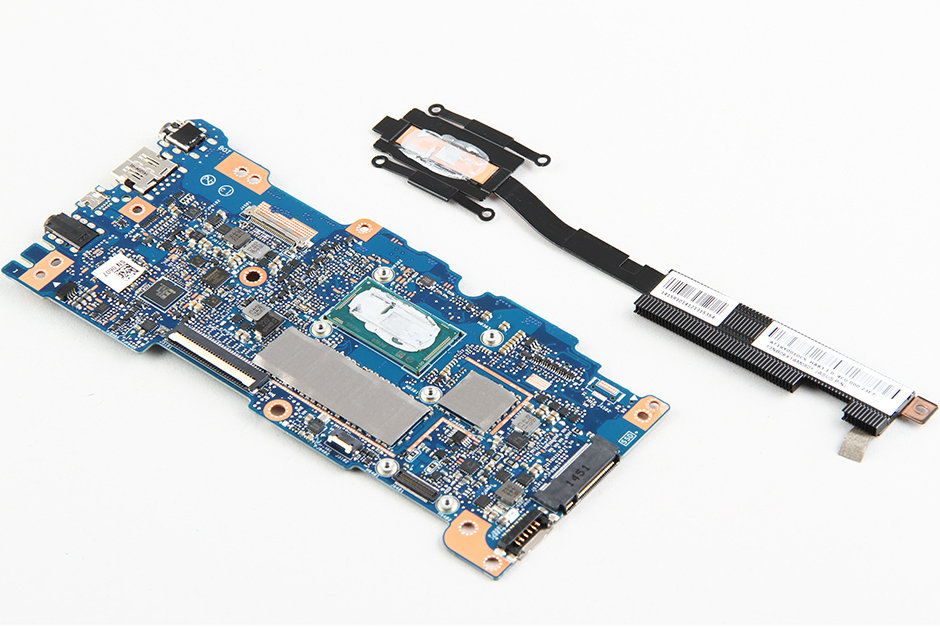
the heatsink is very thin
the onboard RAM chips is covered by a layer of cooling stickers


No comments:
Post a Comment